|
UAV/FPV-project: Skywalker aerial platform
|
Summary
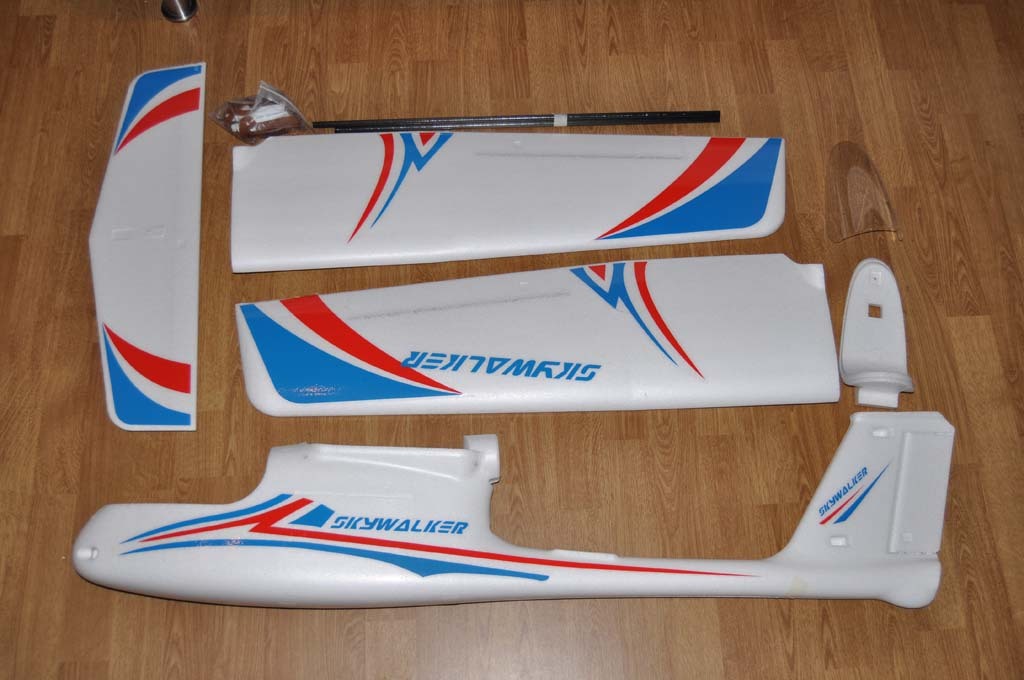
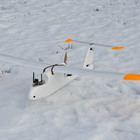
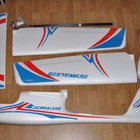
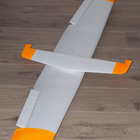
After various problems with my earlier aerial platform I realized it was too small and made installation much more complex than it really had to be. The solution? I bought a 168 cm wingspan Skywalker, and built the plane with FPV-/UAV-use and expandability in mind.
|
Equipment
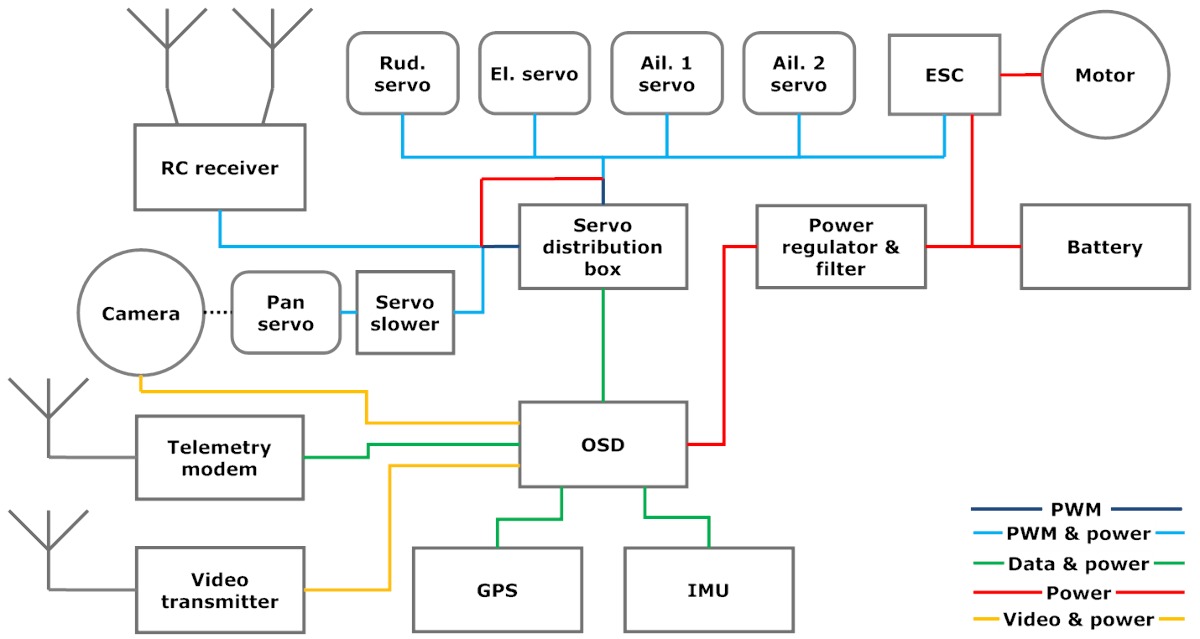
Permanently mounted gear
- RC RX: Thomas Scherrer UHF LRS system
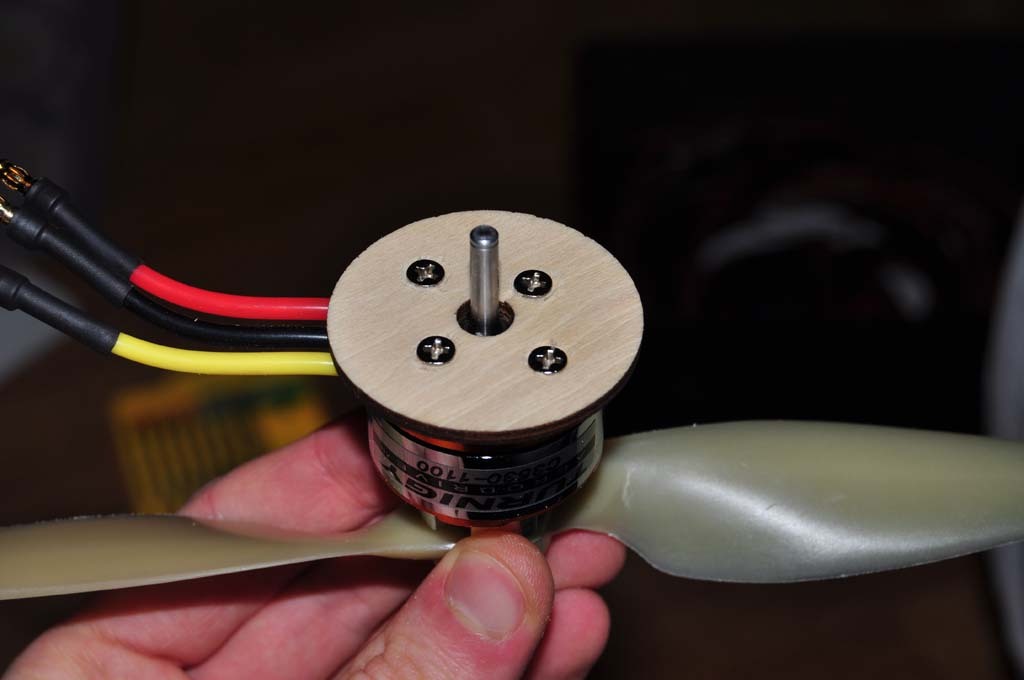
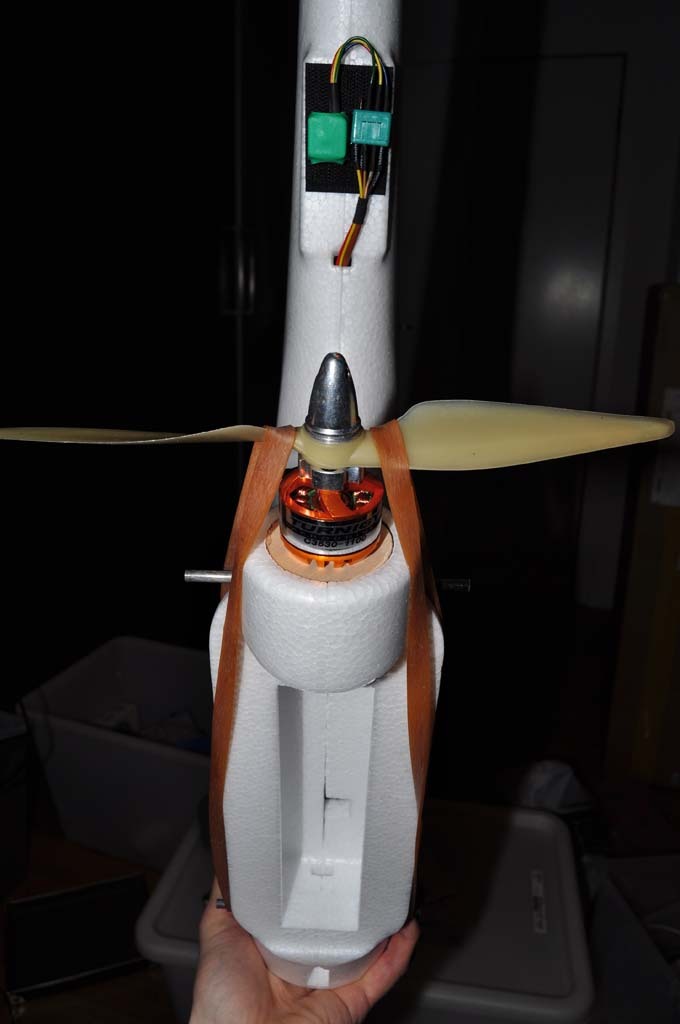
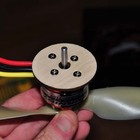
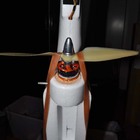
- Motor: Turnigy 35-30C 1100kv outrunner with 9x6 propeller
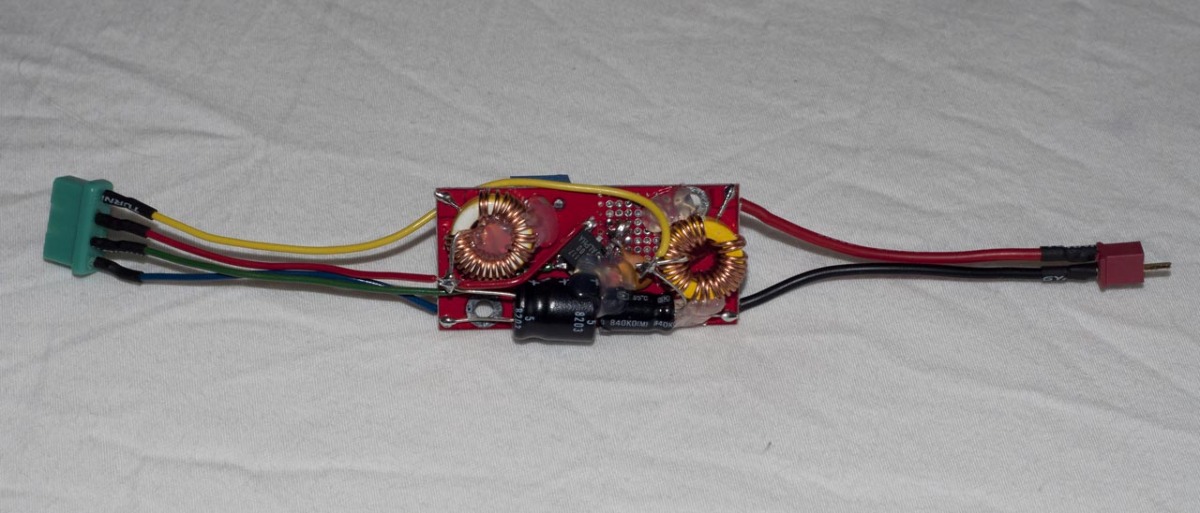
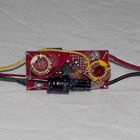
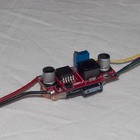
- ESC: Mystery 40A ESC with 3A UBEC
- Servos: 4x HXT900, superior RFI-immunity with screened cables to the tail servos
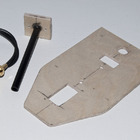
- Antennas: Two 433MHz dipoles fed with RG-174 and terminated with MCX-connectors for the UHF RC-system
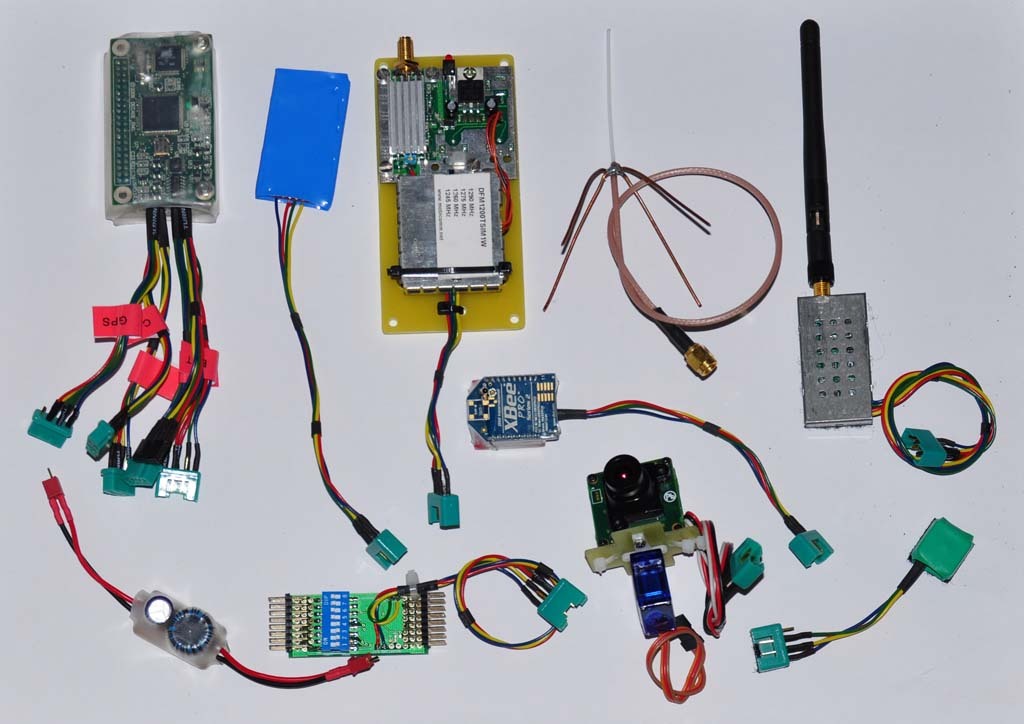
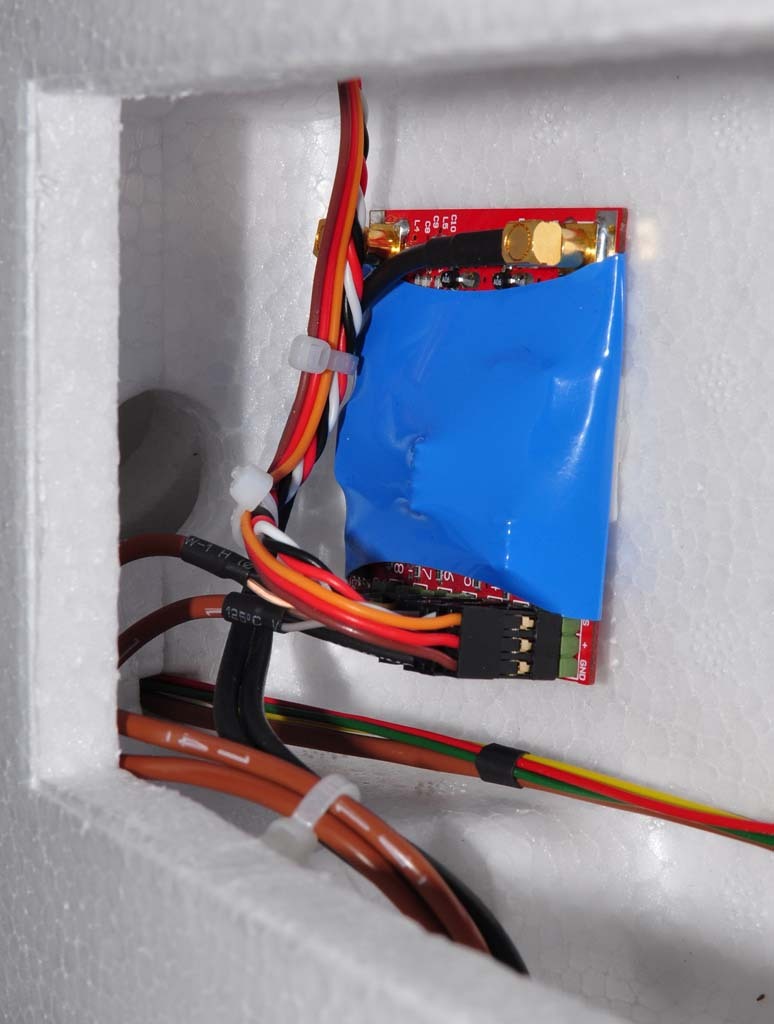
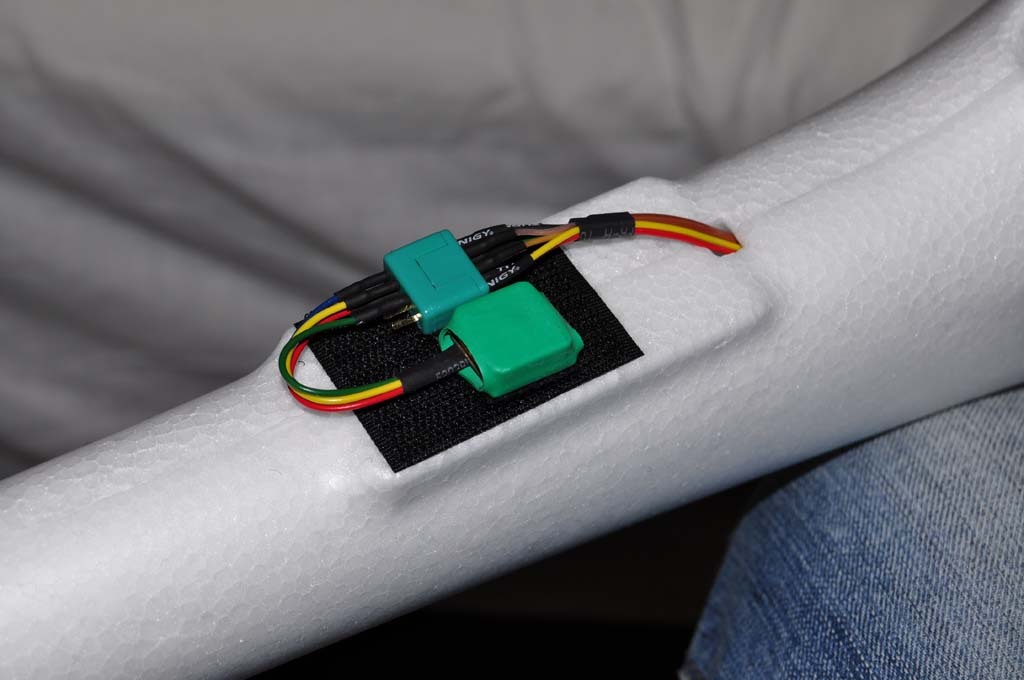
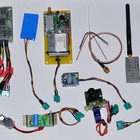
Extra FPV/UAV-gear
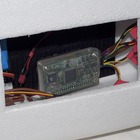
- GPS: MTK 3329-based 10Hz with special firmware allowing binary output format
- AHRS: Sparkfun 9DOF Razor IMU with AHRS firmware
- OSD: Custom build with a PIC18F2620 and BOB4-module
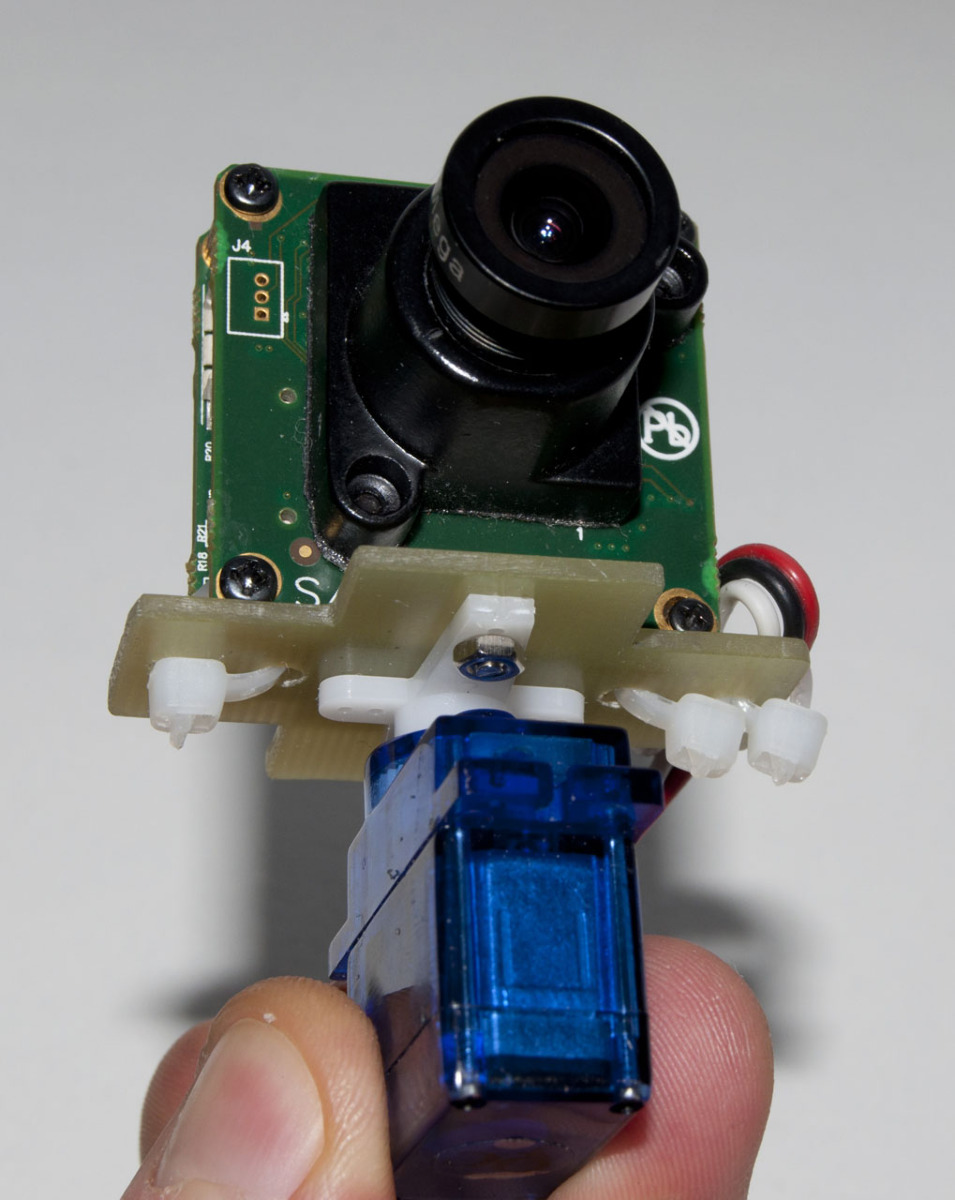
- Camera: DX201 with HXT900 pan or GoPro Hero HD with Hitec HS-77BB pan
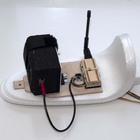
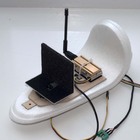
- Telemetry transceiver: Xbee Pro 2.5 series 50mW with 1/4-lamda whip
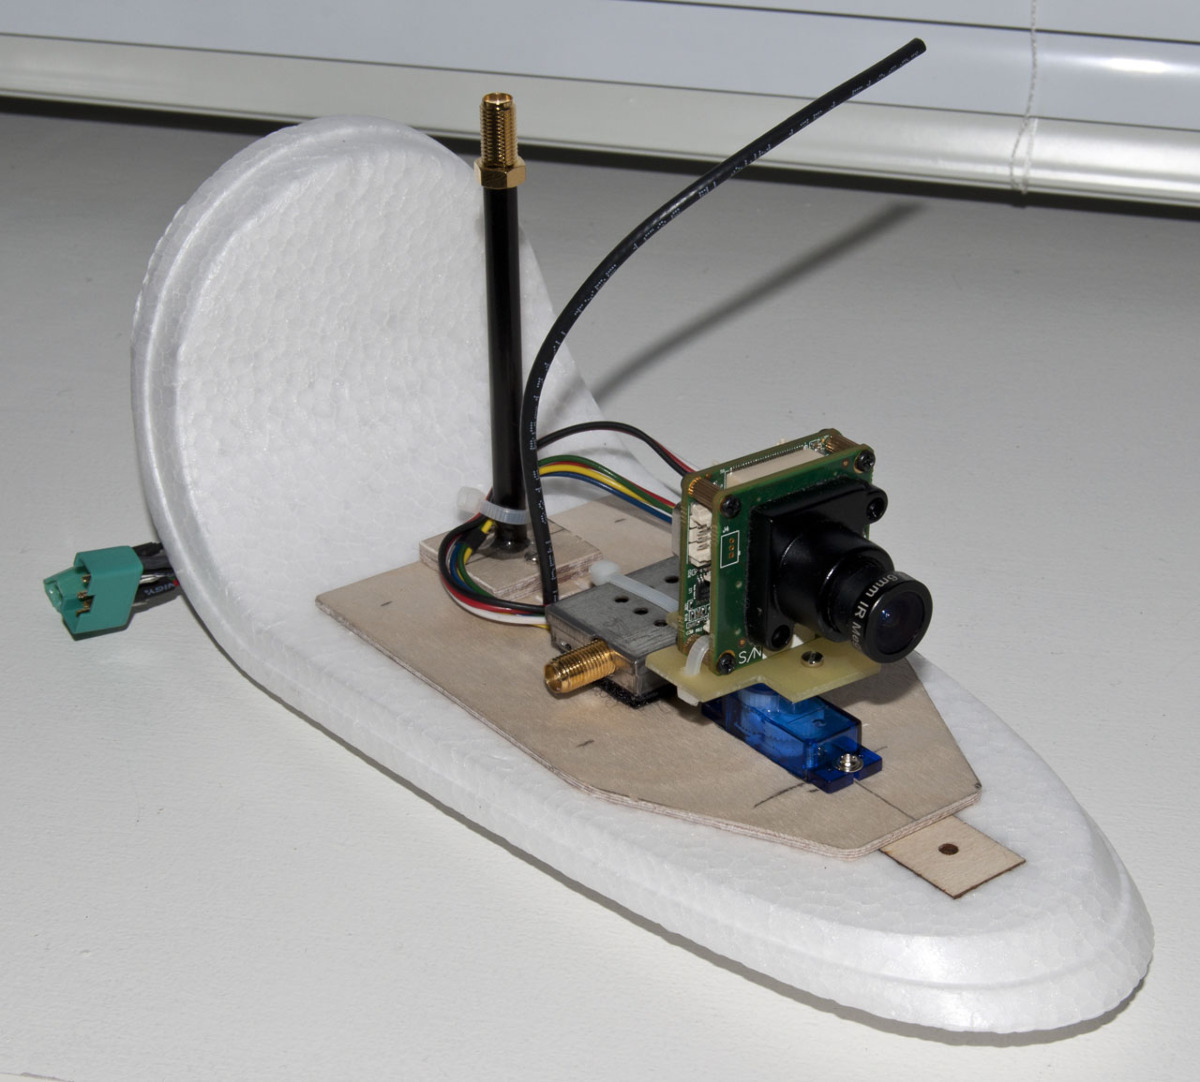
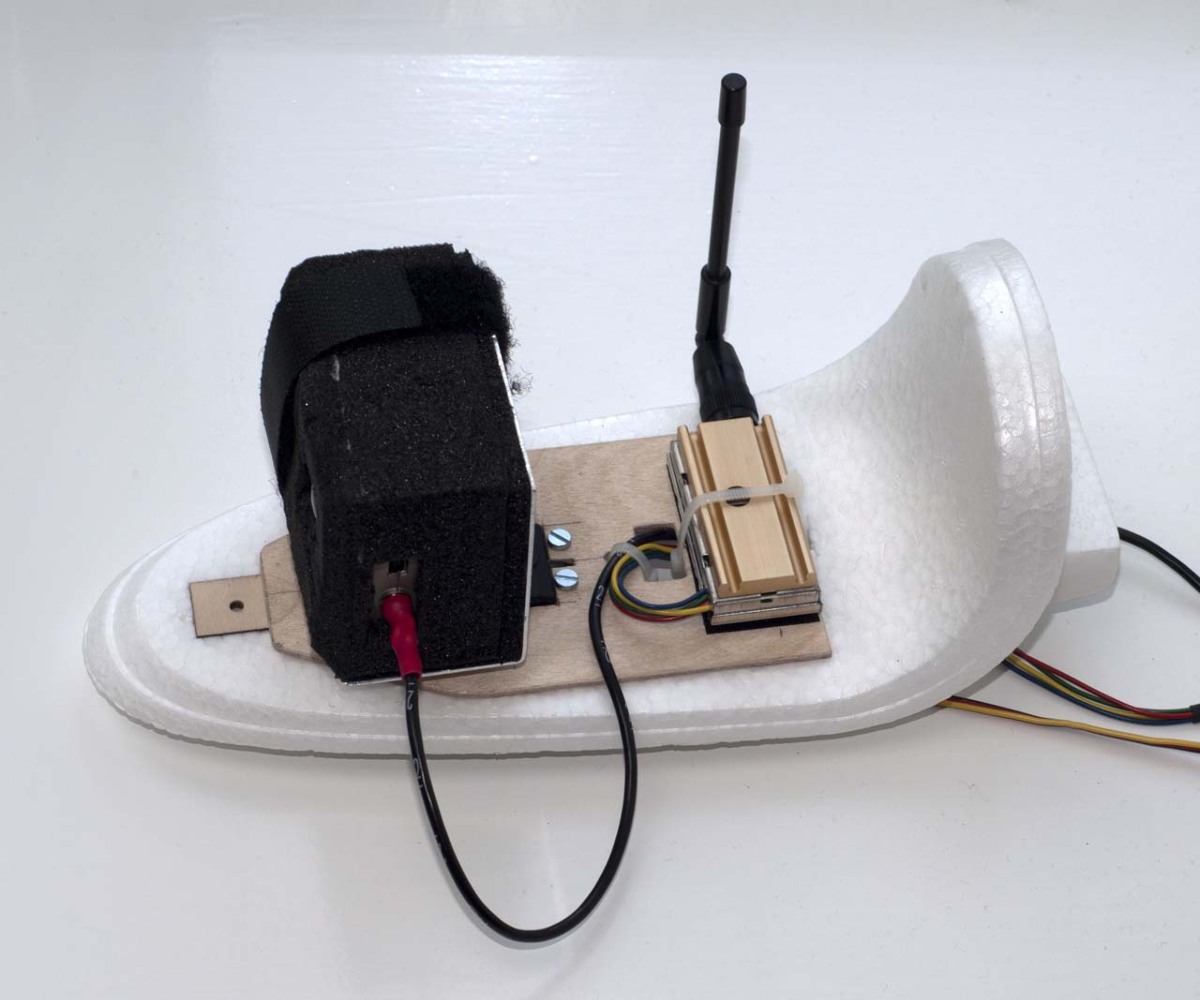
- Video TX: Lawmate 1.3GHz 1W video transmitter with a custom GP-antenna
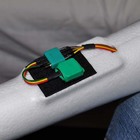
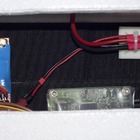
- SUAV servo distribution box by Thomas Ingebretsen for transparently passing servo signals from RC RX to servos, or receive servo positions in binary format from autopilot
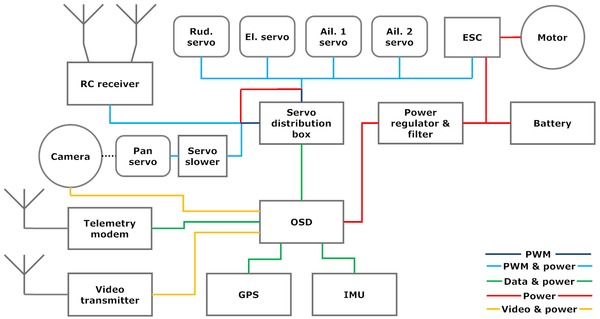
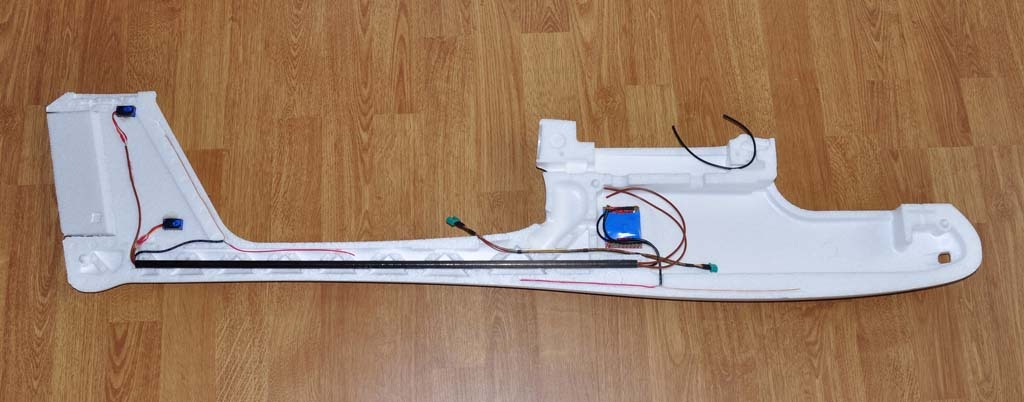
Layout
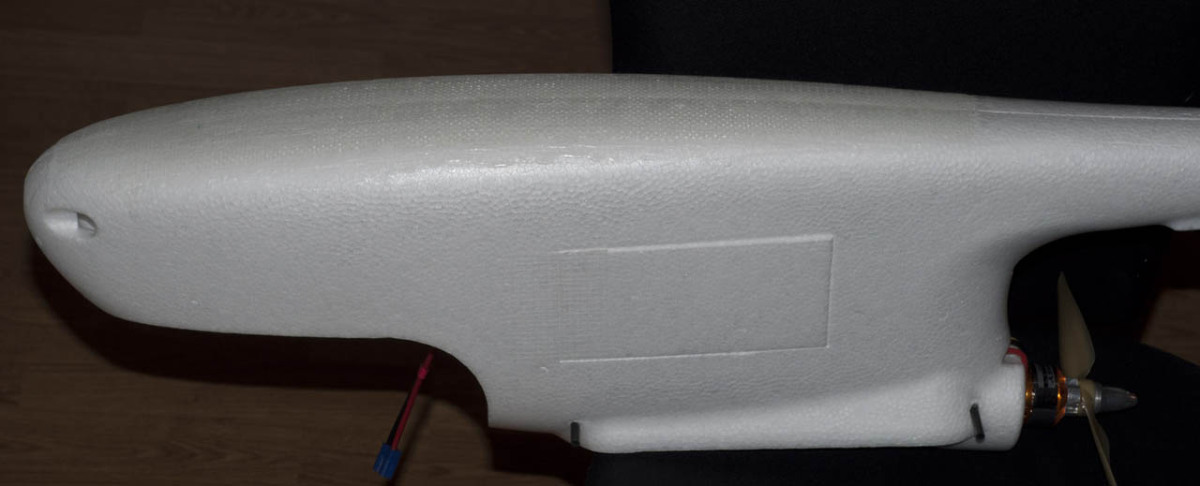
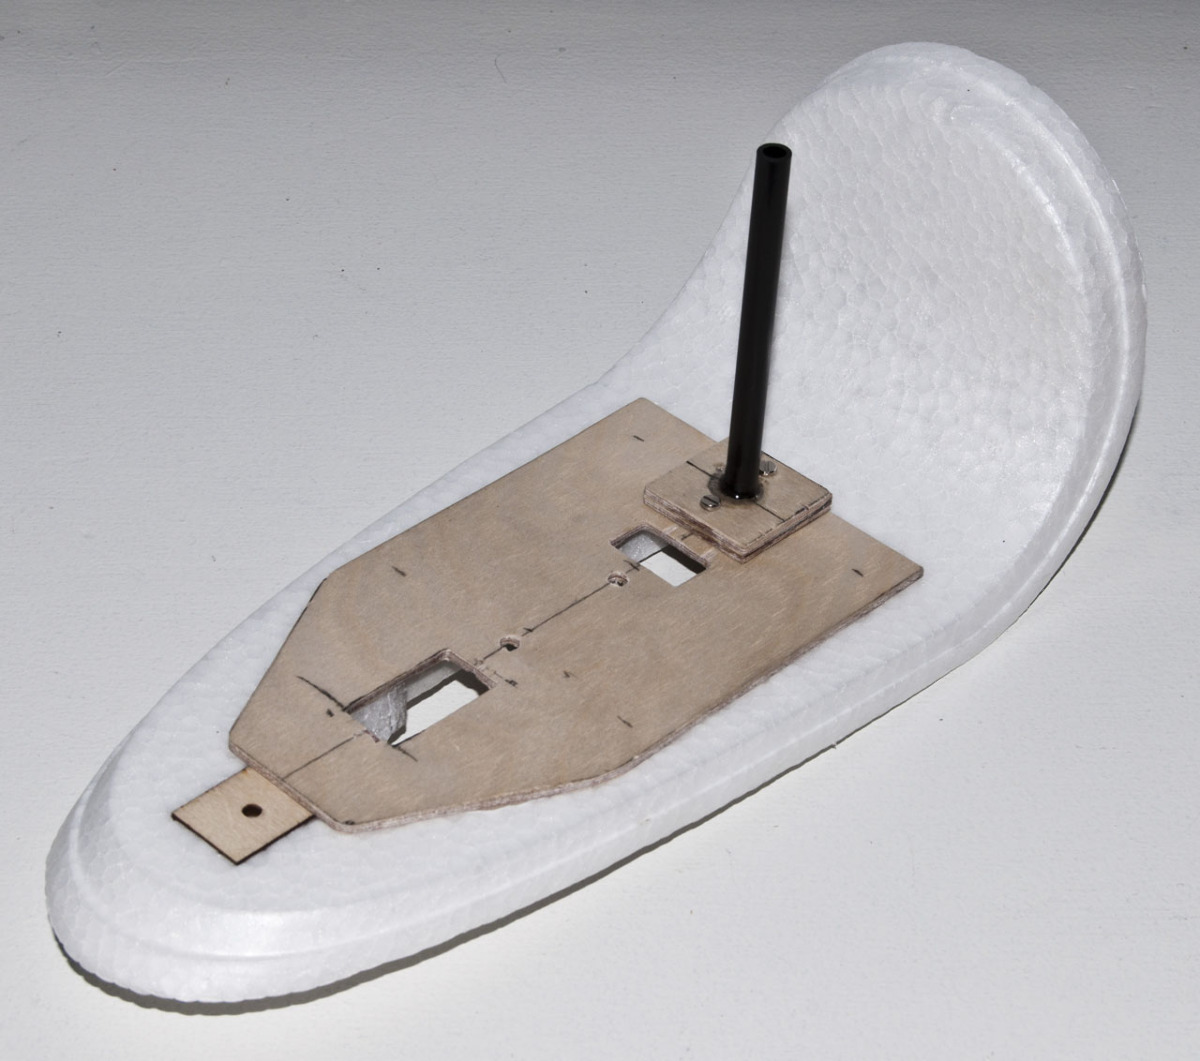
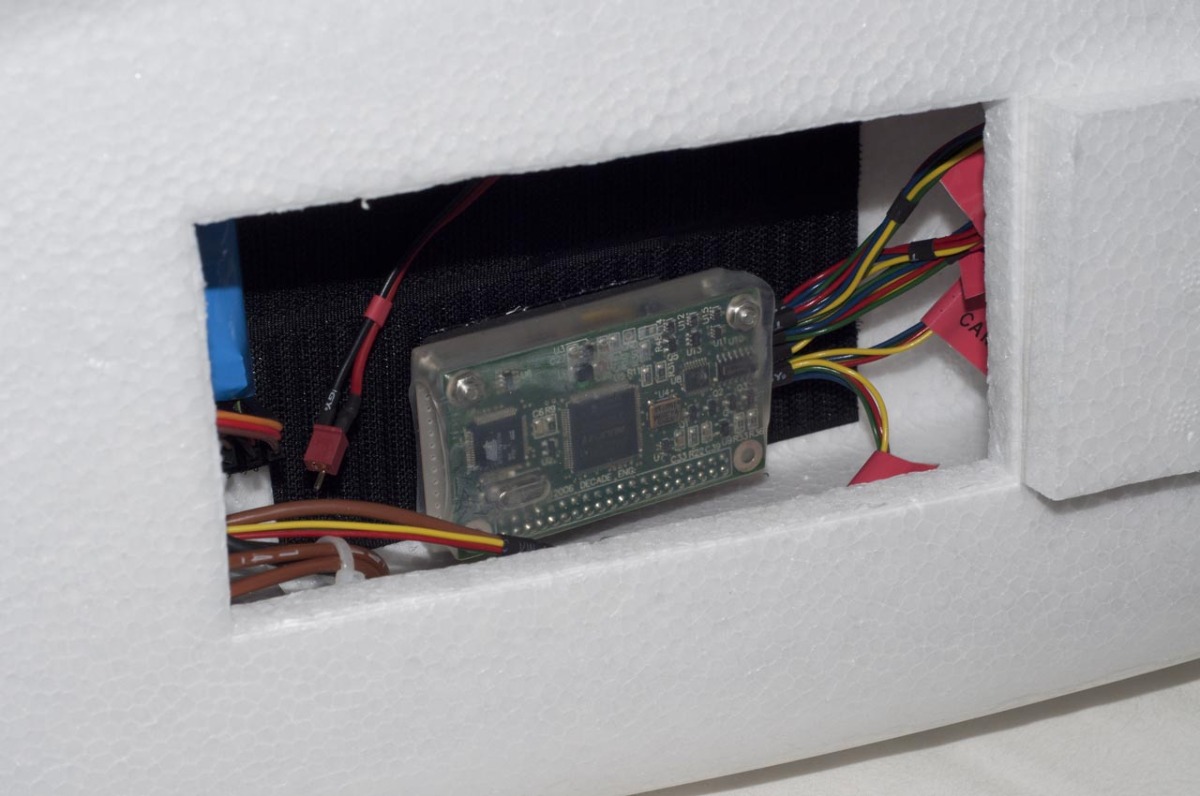
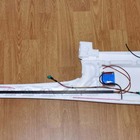
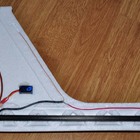
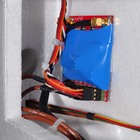
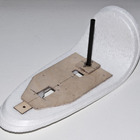
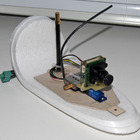
The main concept behind the layout was to get maximum separation between transmitter- and receiver antennas, and avoid problems with noise at (almost) any cost. Let's start at the tail: The vertical UHF dipole is built into the leading edge of the foam on the tail, and the screened servo cables are routed through the carbon fibre boom along with the coax cable for the antenna. The GPS is located on the tail boom, just behind the motor. Most of the payload gear is located inside the lid on the side of the body, and the telemetry transceiver is located just in front of the wing span. On the nose, we will find the video transmitter along with the camera.
Building and installation of permanent gear
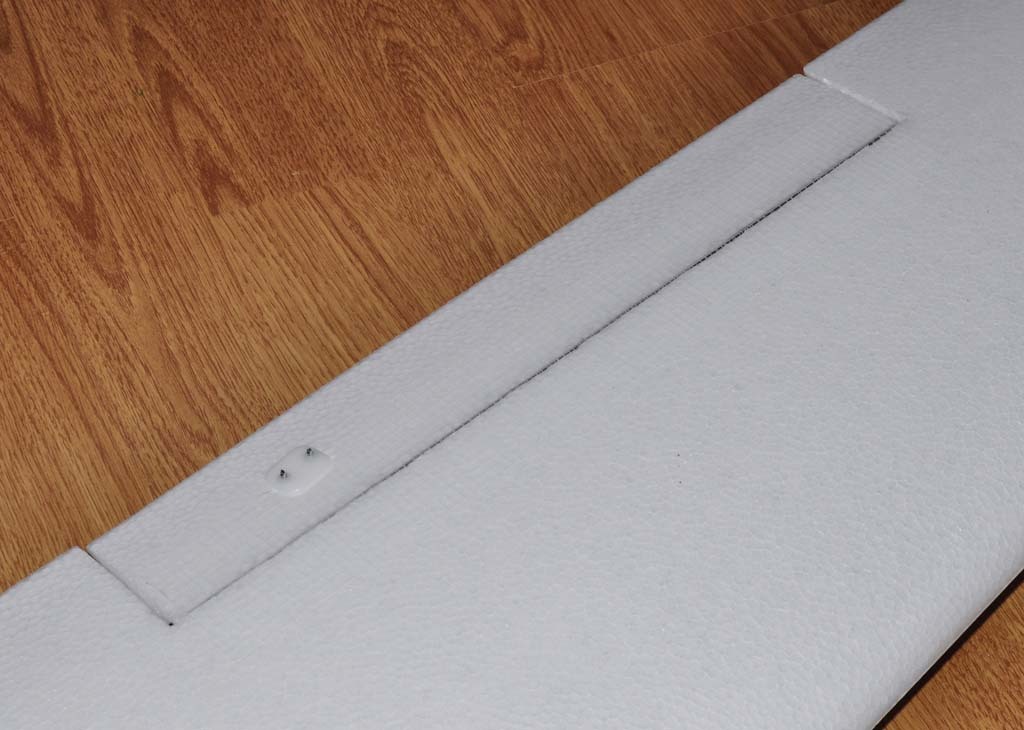
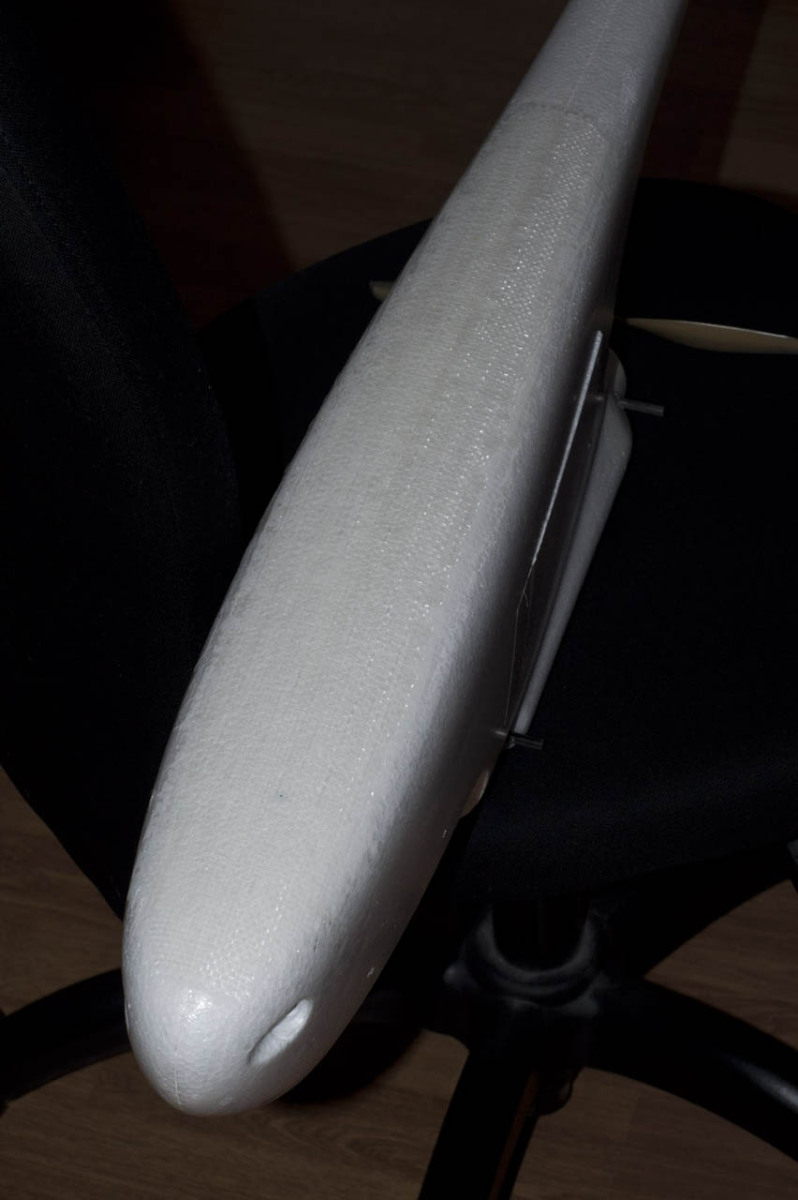
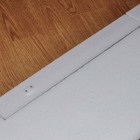
The first thing I did was to remove the 80's-style stickers with the help of a hot air gun. All control surfaces was cut out and hinged with a very strong fibre-tape from both sides. This solution was more robust and flexible than the stock foam hinges, and removed a lot of stress on the servos. Two 433MHz dipoles was integrated into the body, with good difference in polarization and distance.
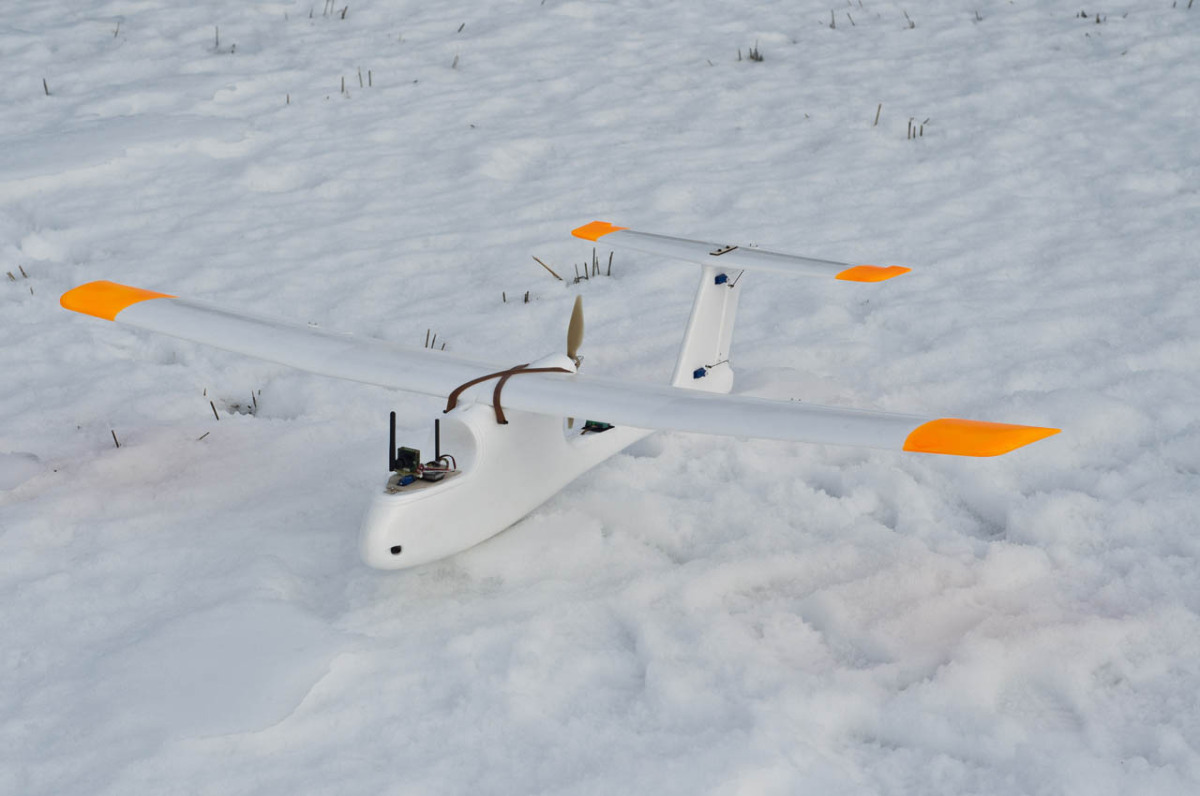
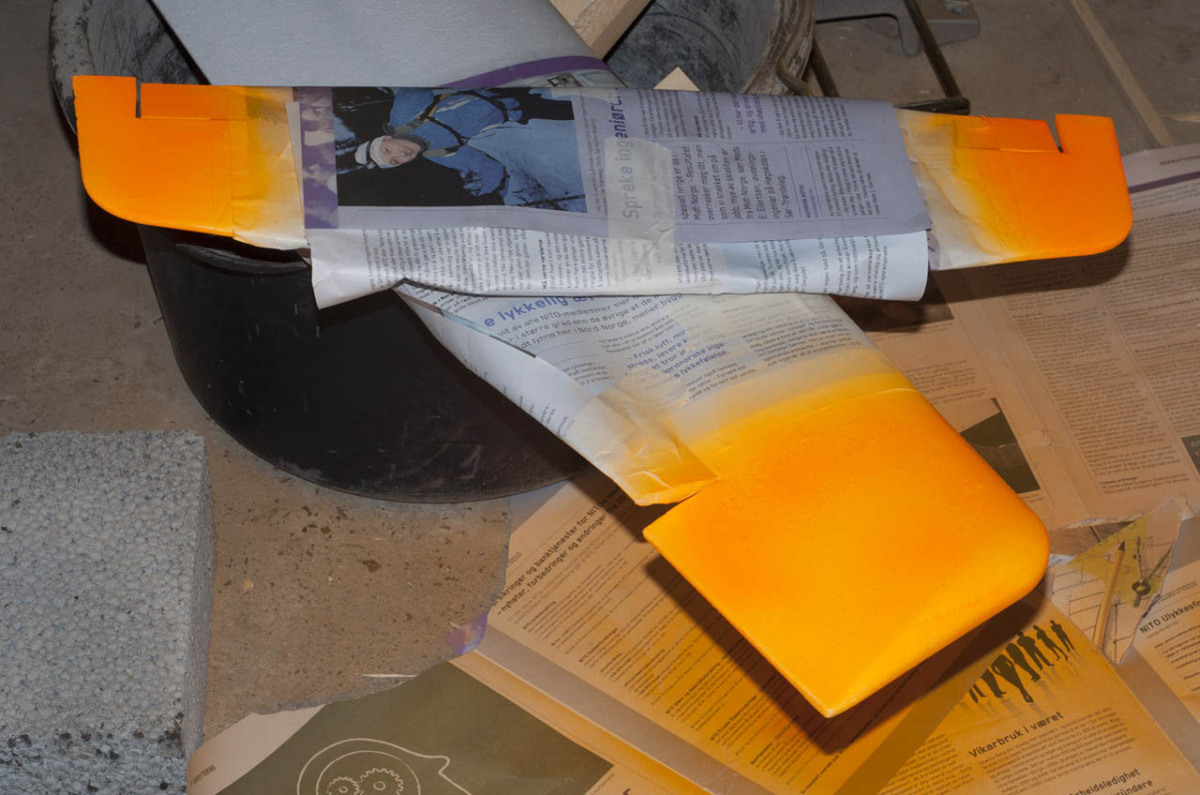
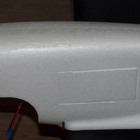
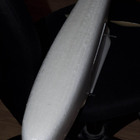
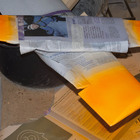
After a few flights, there were two things that needed to be done. First, the plane needed to be more visible, so I painted the wing tips "fluorescent orange". Secondly, the belly was rapidly becoming scratched up even on soft landings, so I reinforced the belly with a layer of fibreglass.
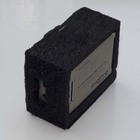
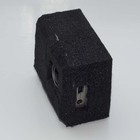
Payload installation
The payload room is completely covered with velcro, so attaching new devices and rearranging is easily done.
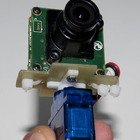
Installing a GoPro camera
I recently upgraded the pan servo to a HS-77BB, and made a rather ugly looking foam-house to protect the GoPro. Not sure if I will keep this one, but at least the pan works good.
Comments
You need to be logged into Facebook in the browser for comments to appear
|