High altitude balloon payload: EOS1
|
SummaryA project with the primary target of taking pictures from near space. Finished in 2007, and I still have the payload.The following text was written in 2007. |
Introduction
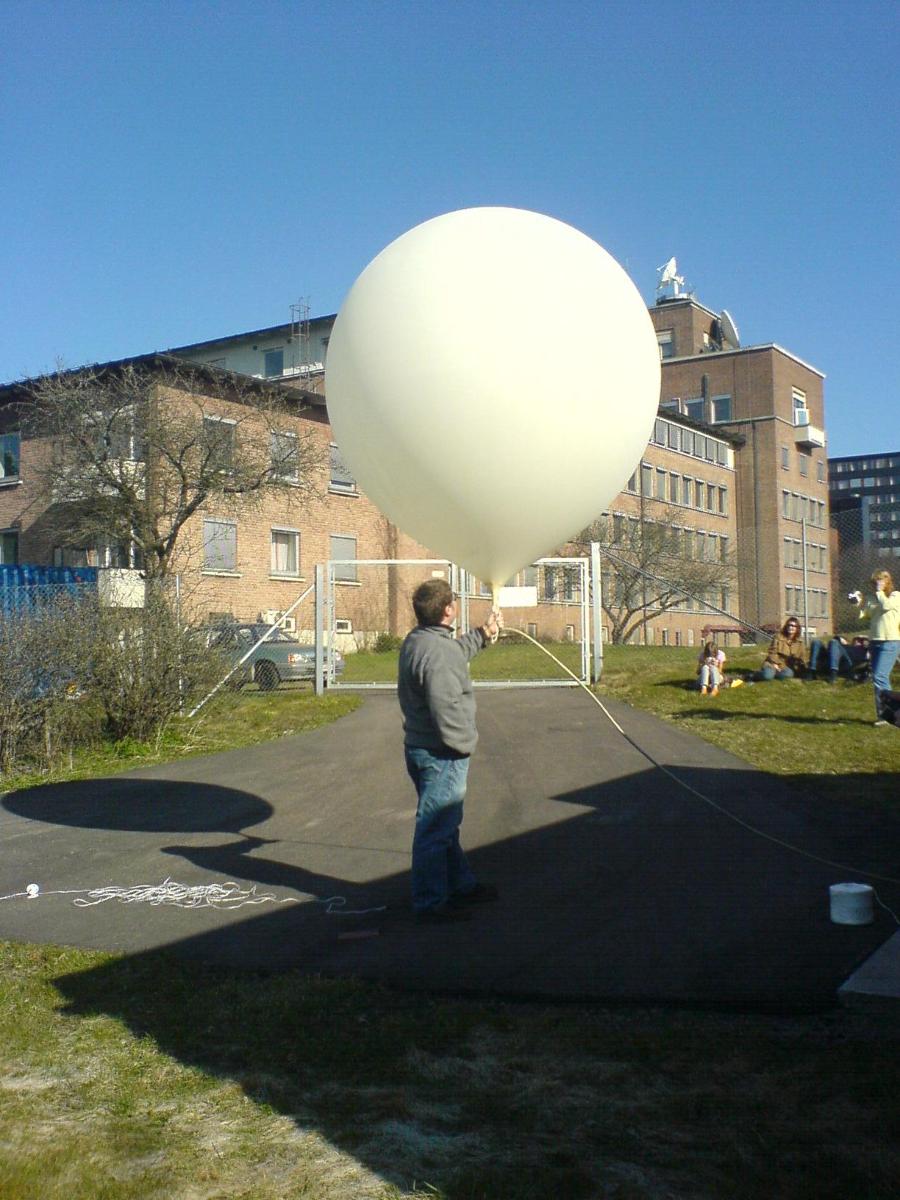
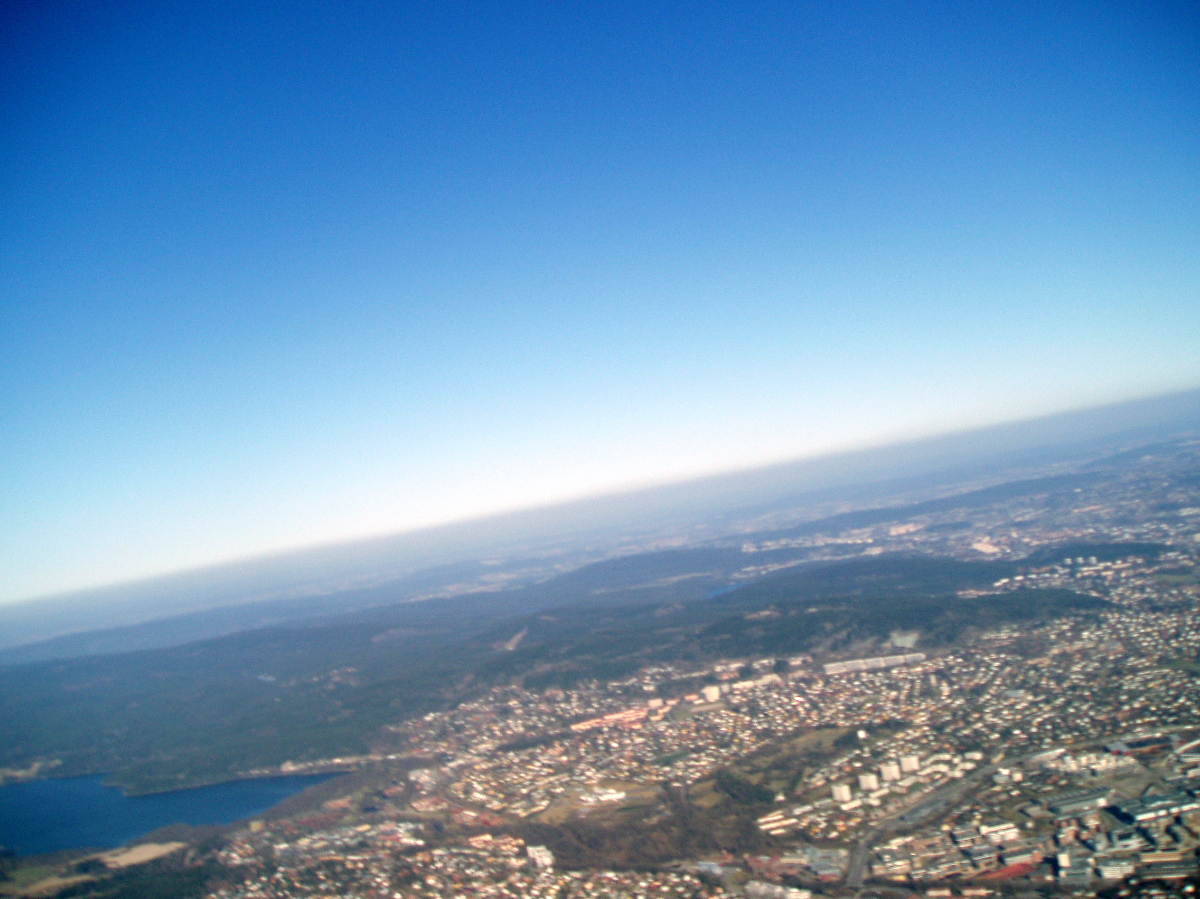
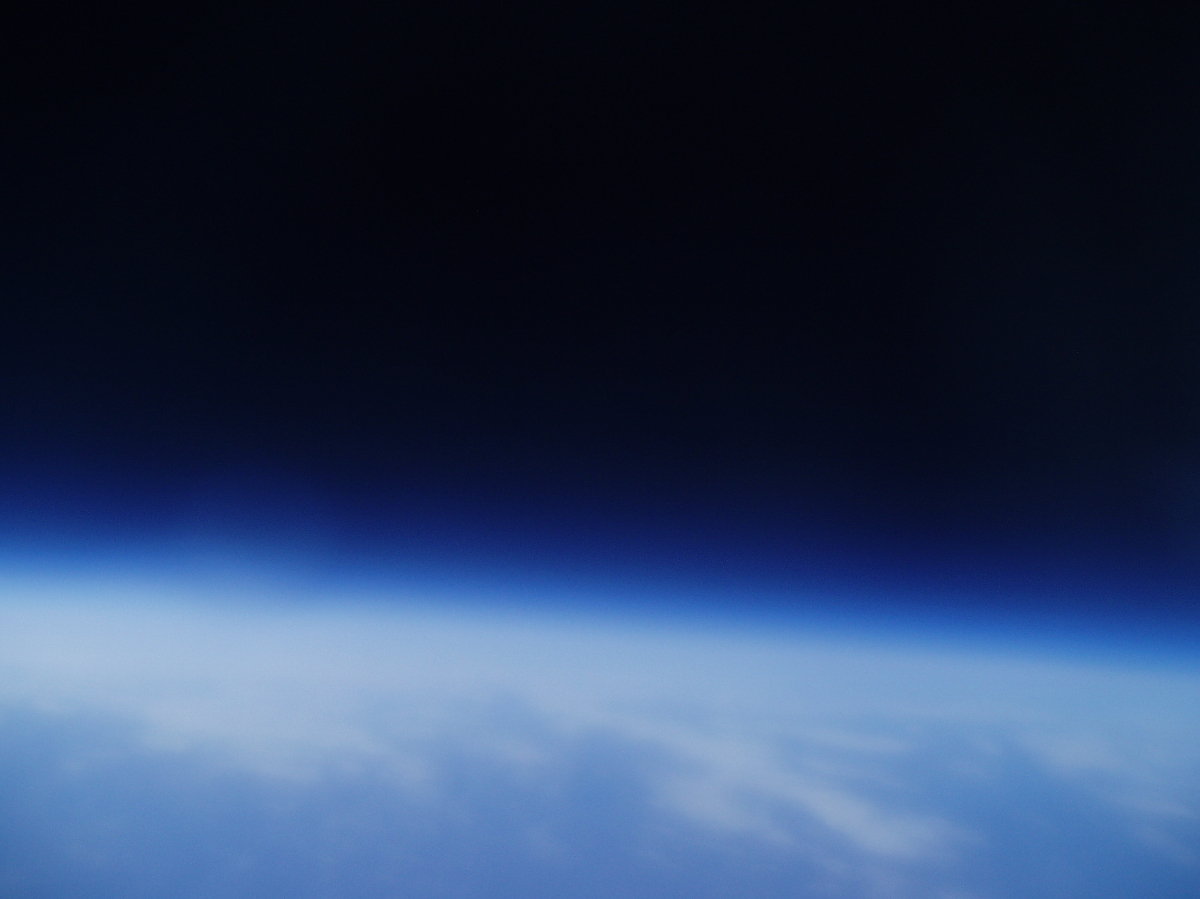
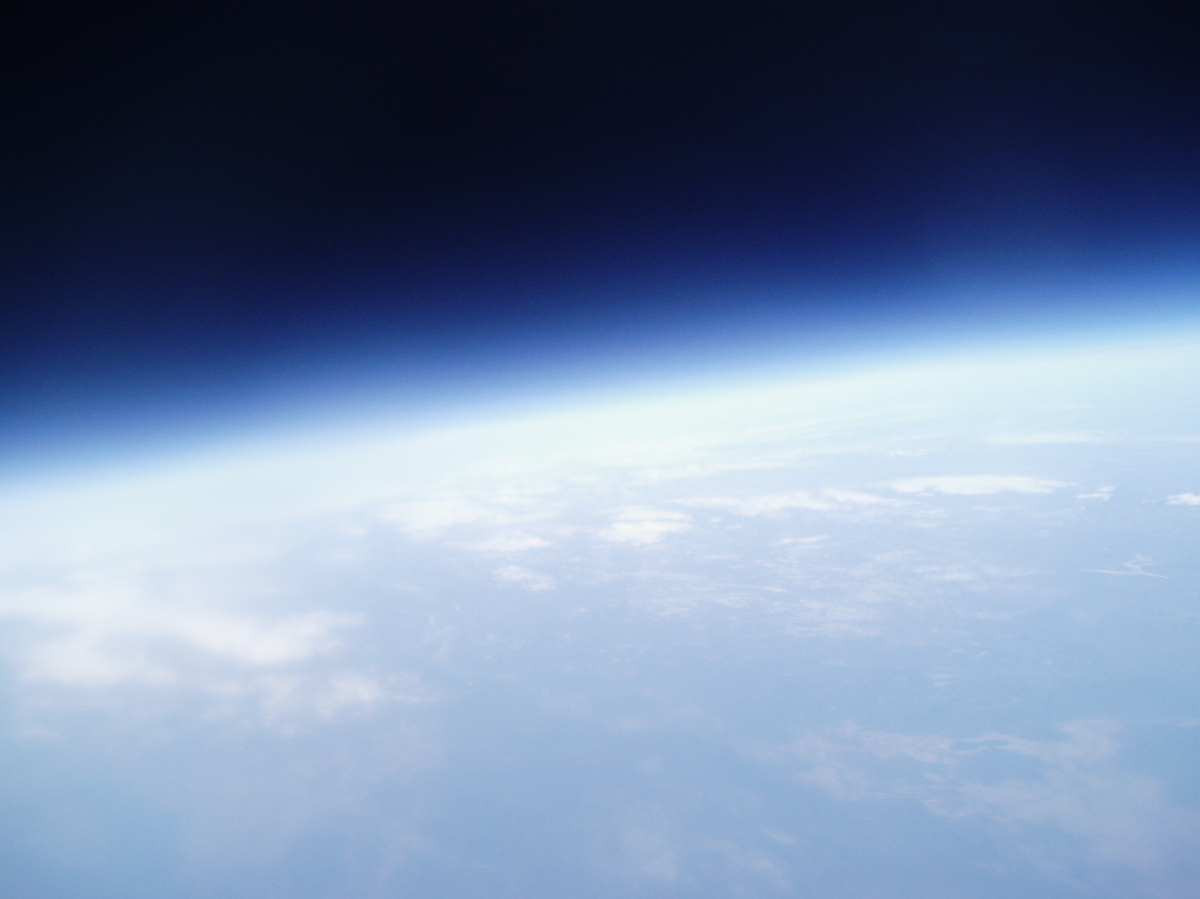
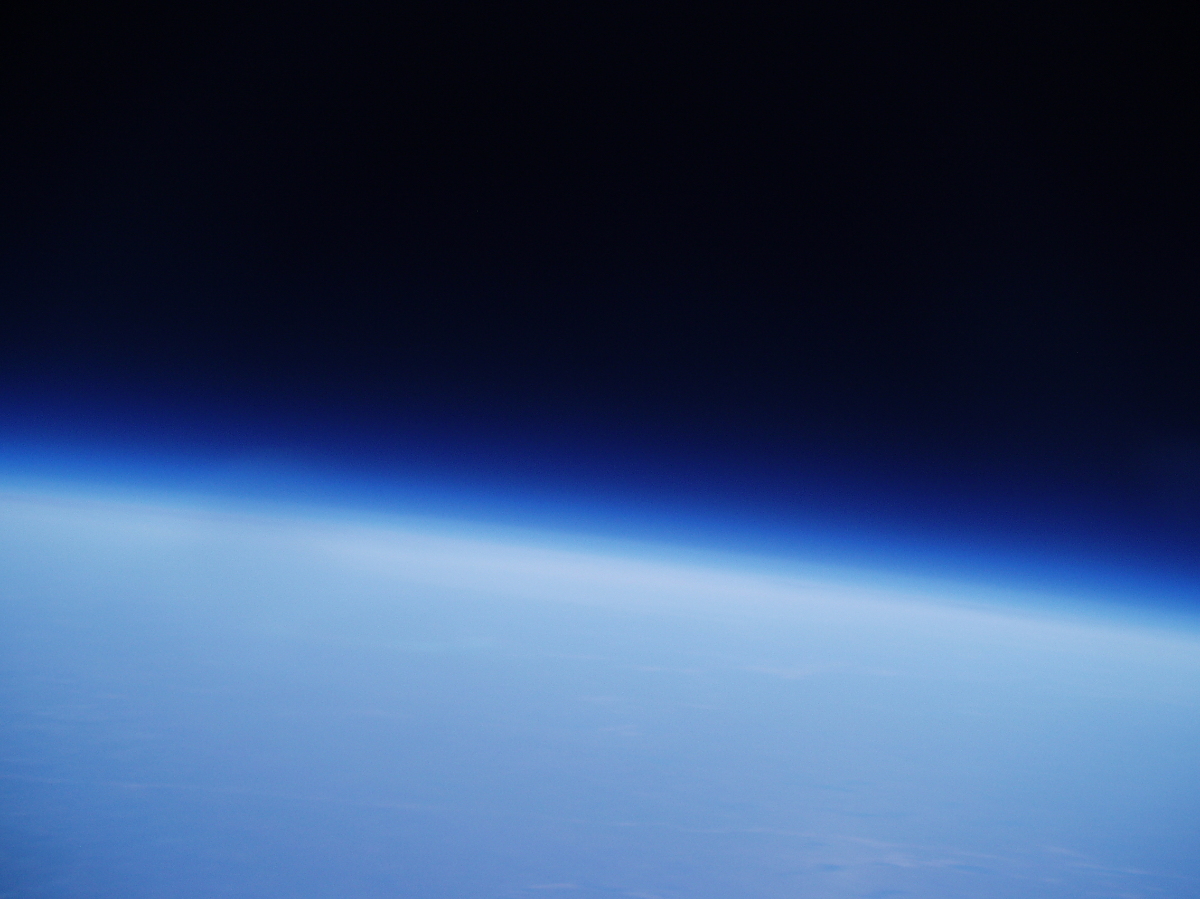
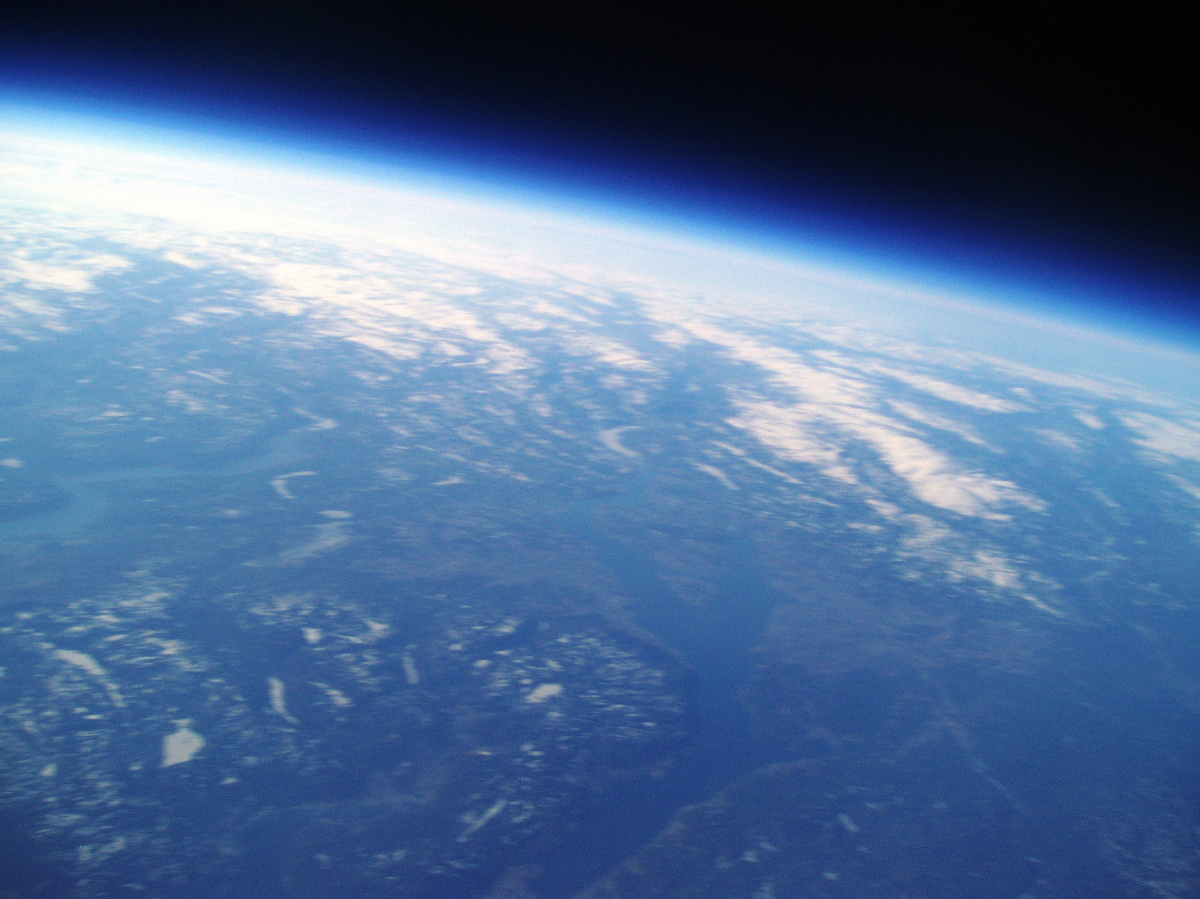
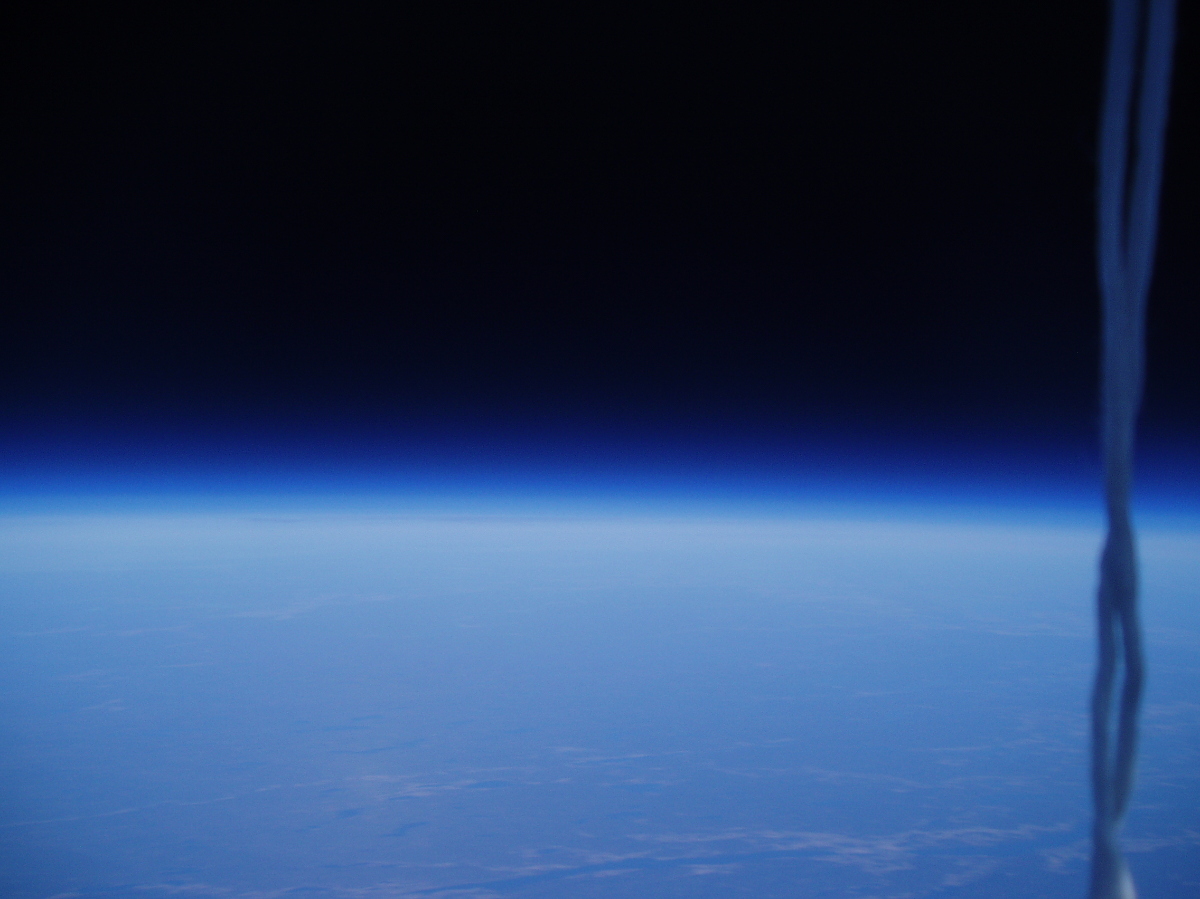
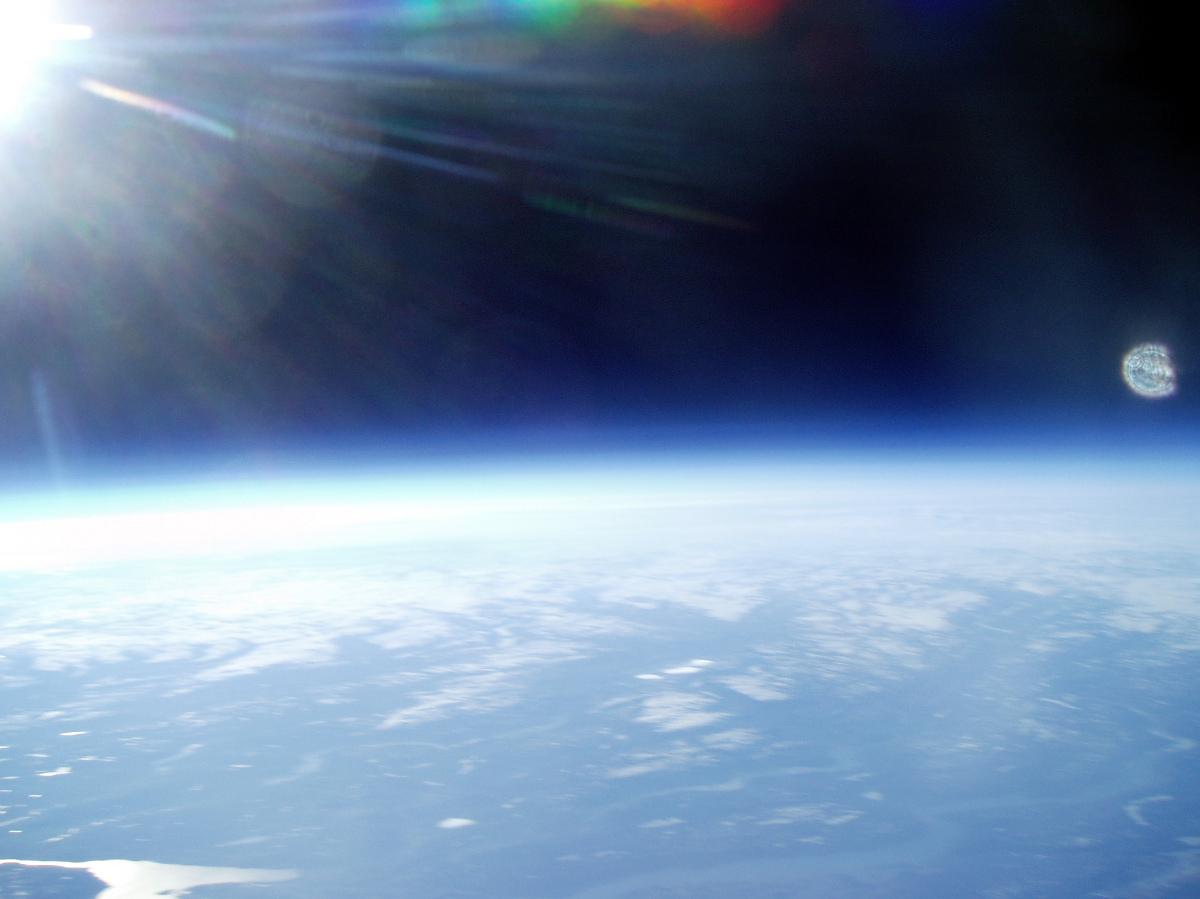
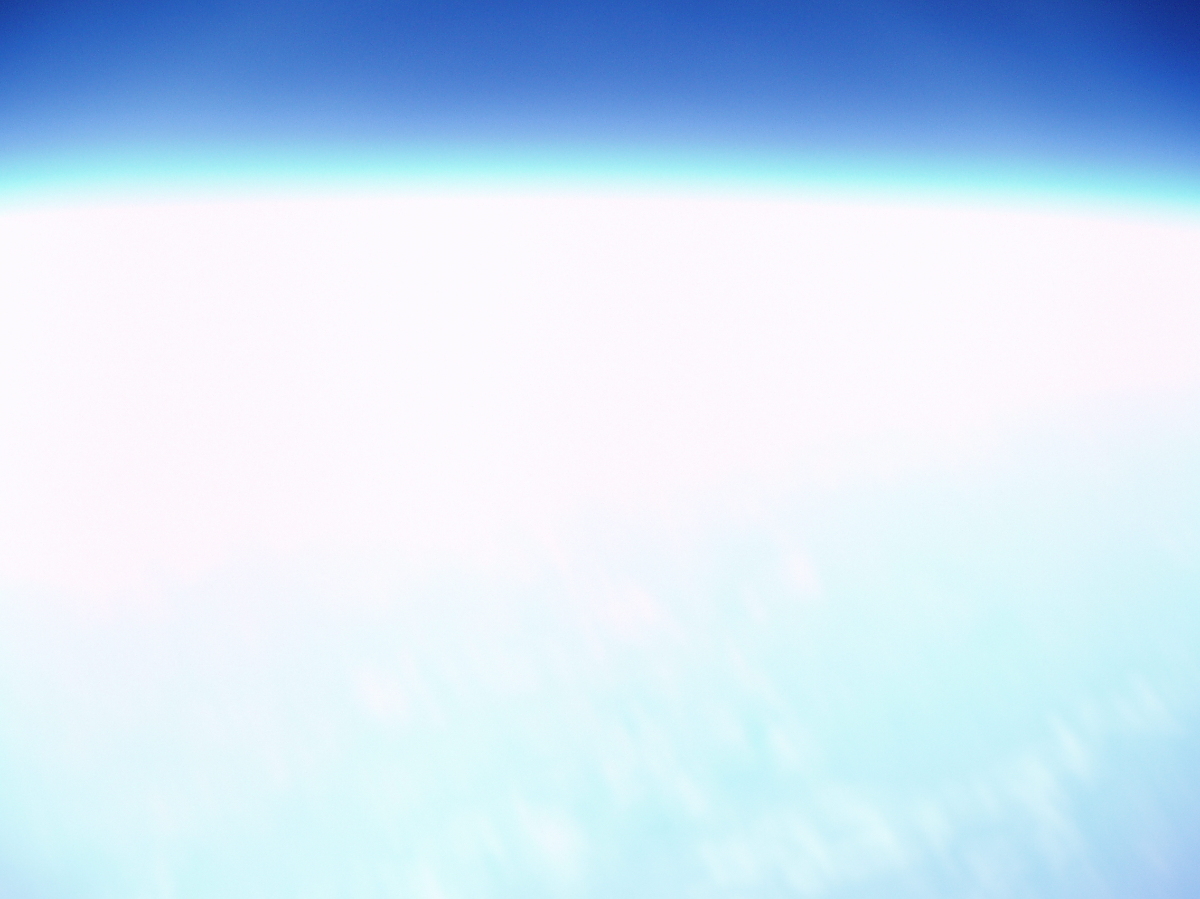
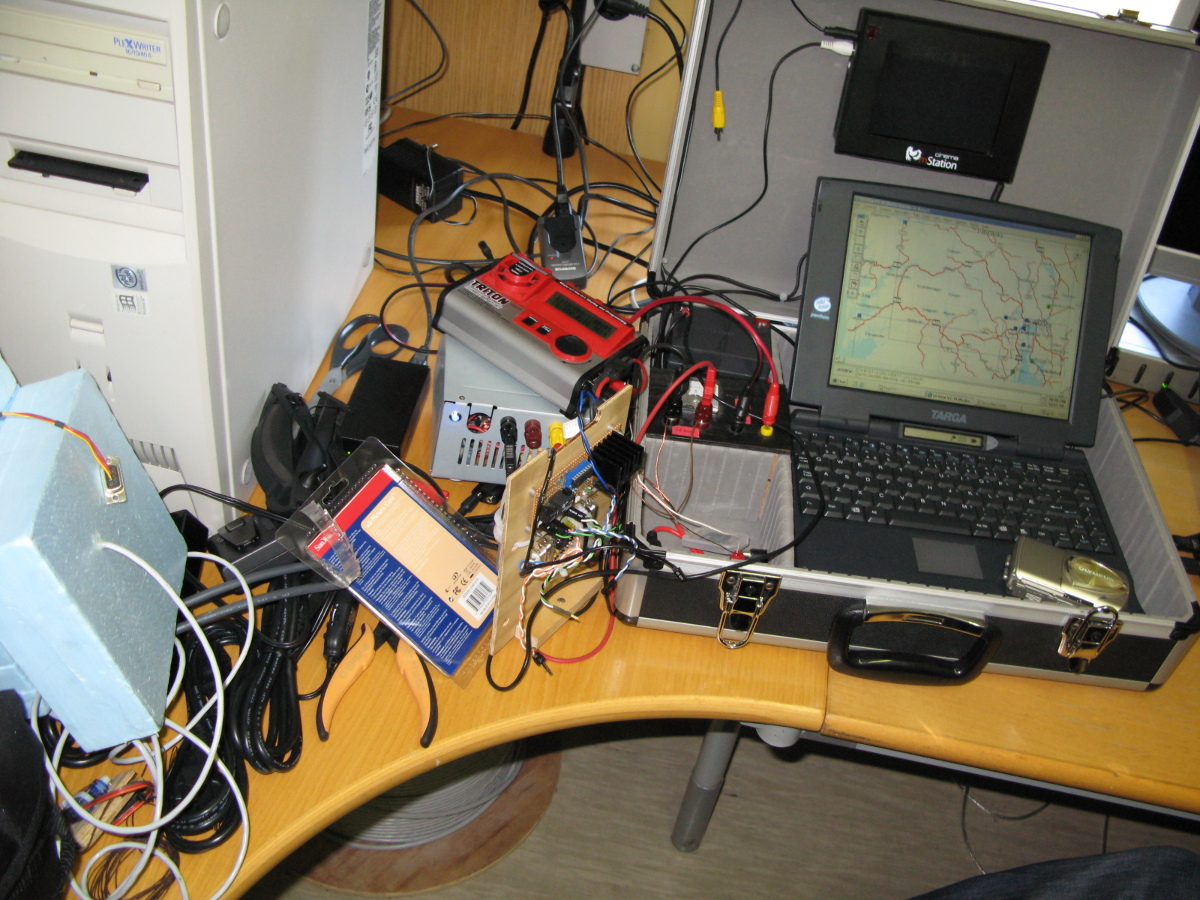
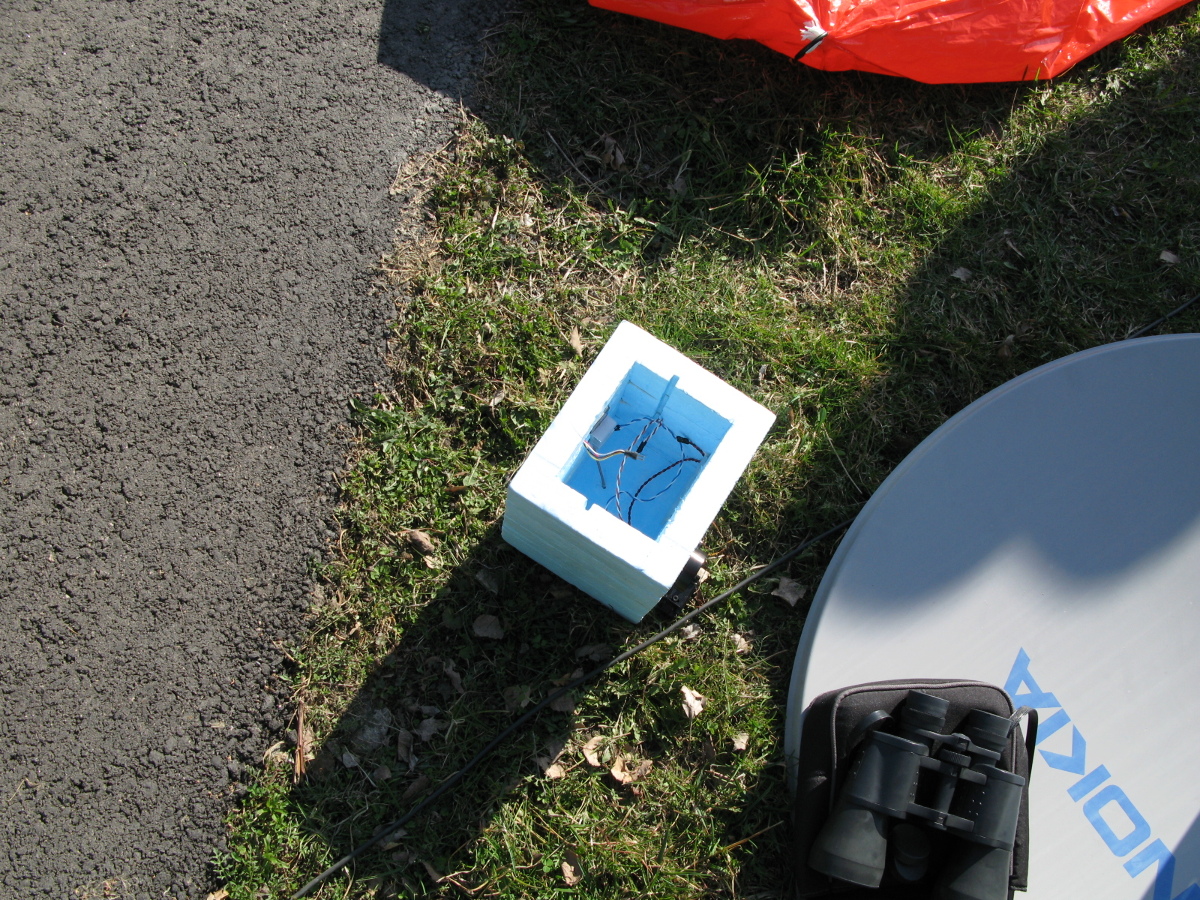
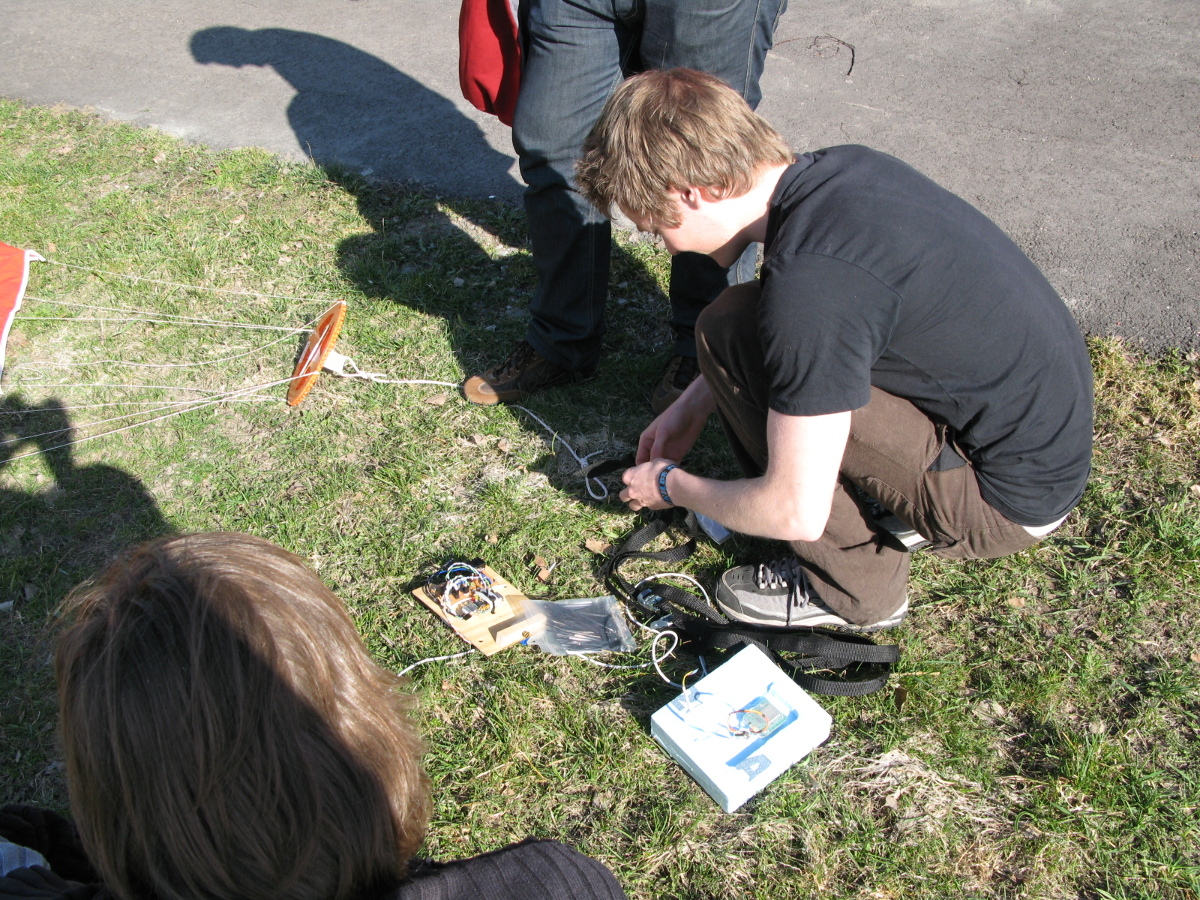
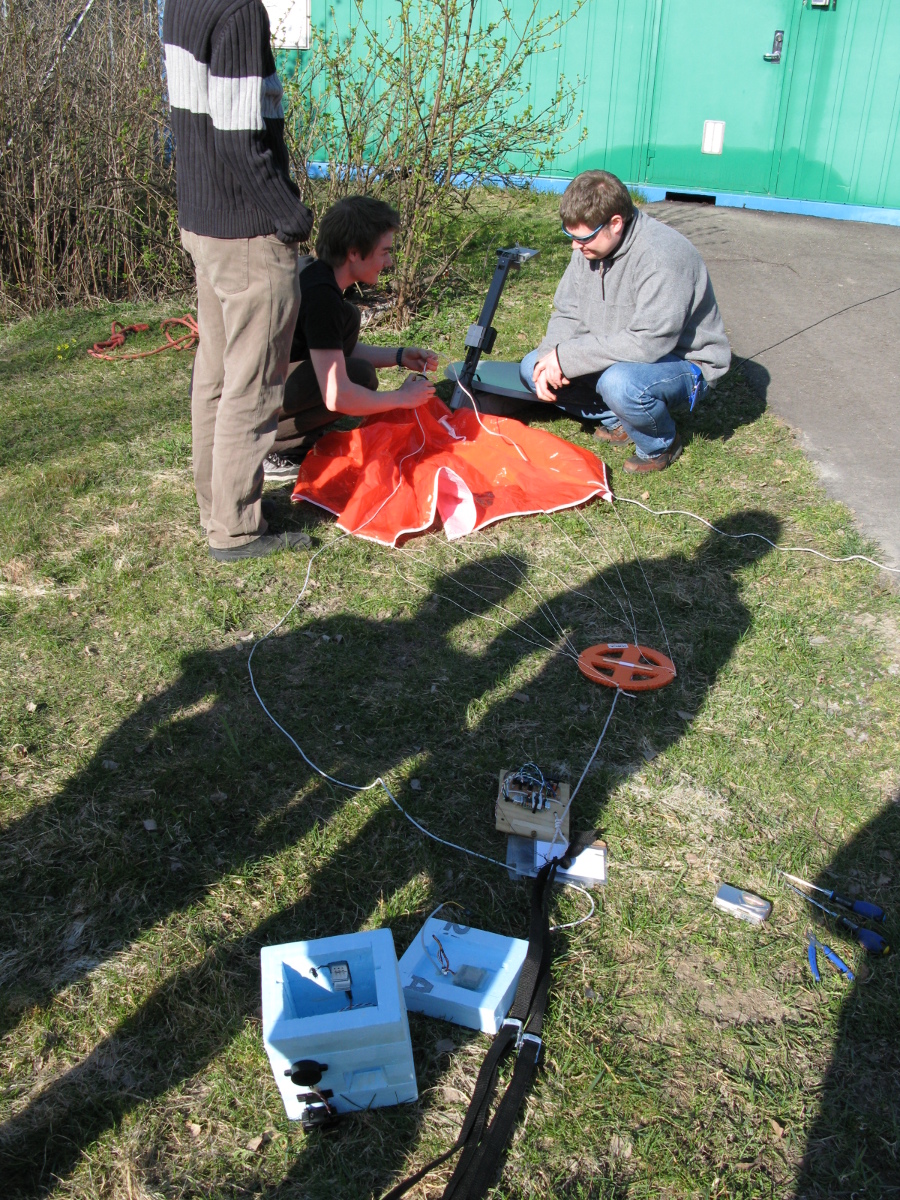
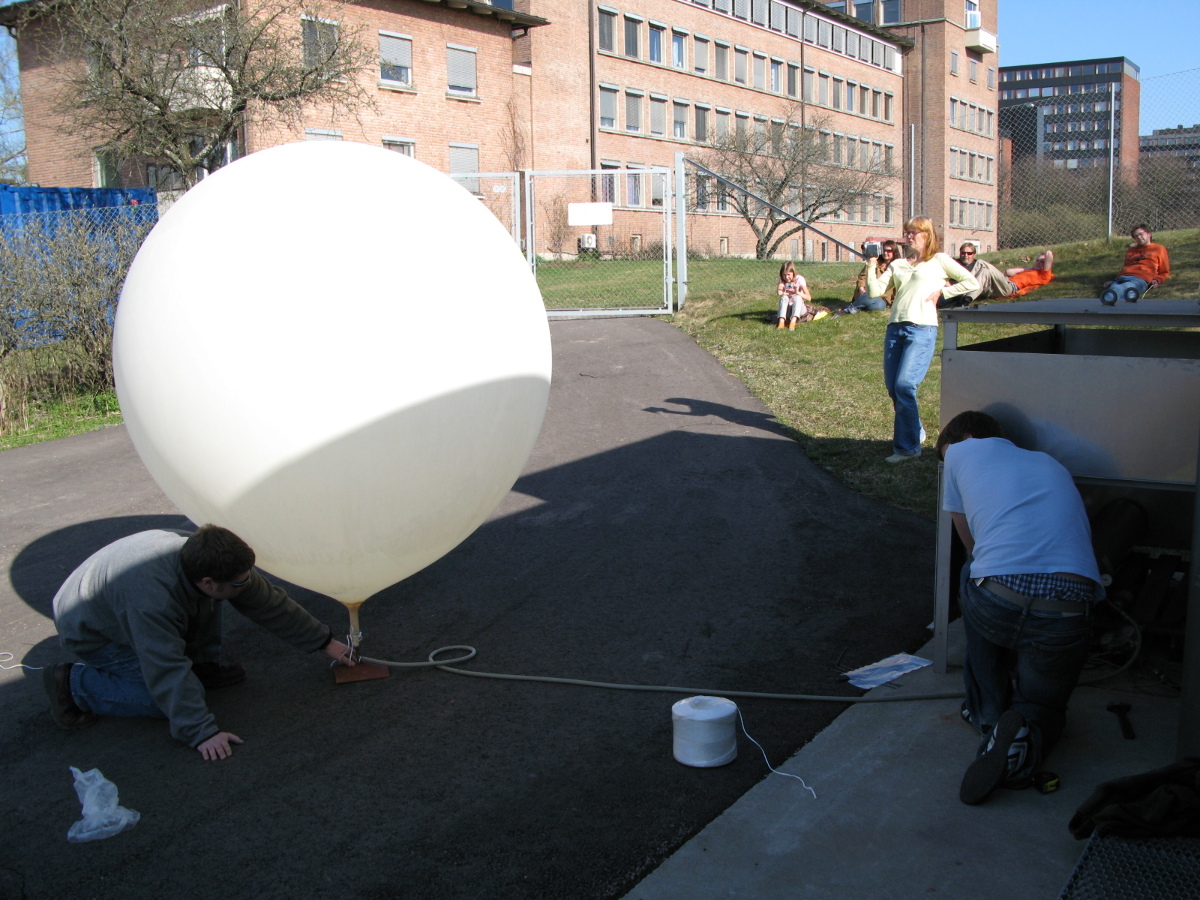
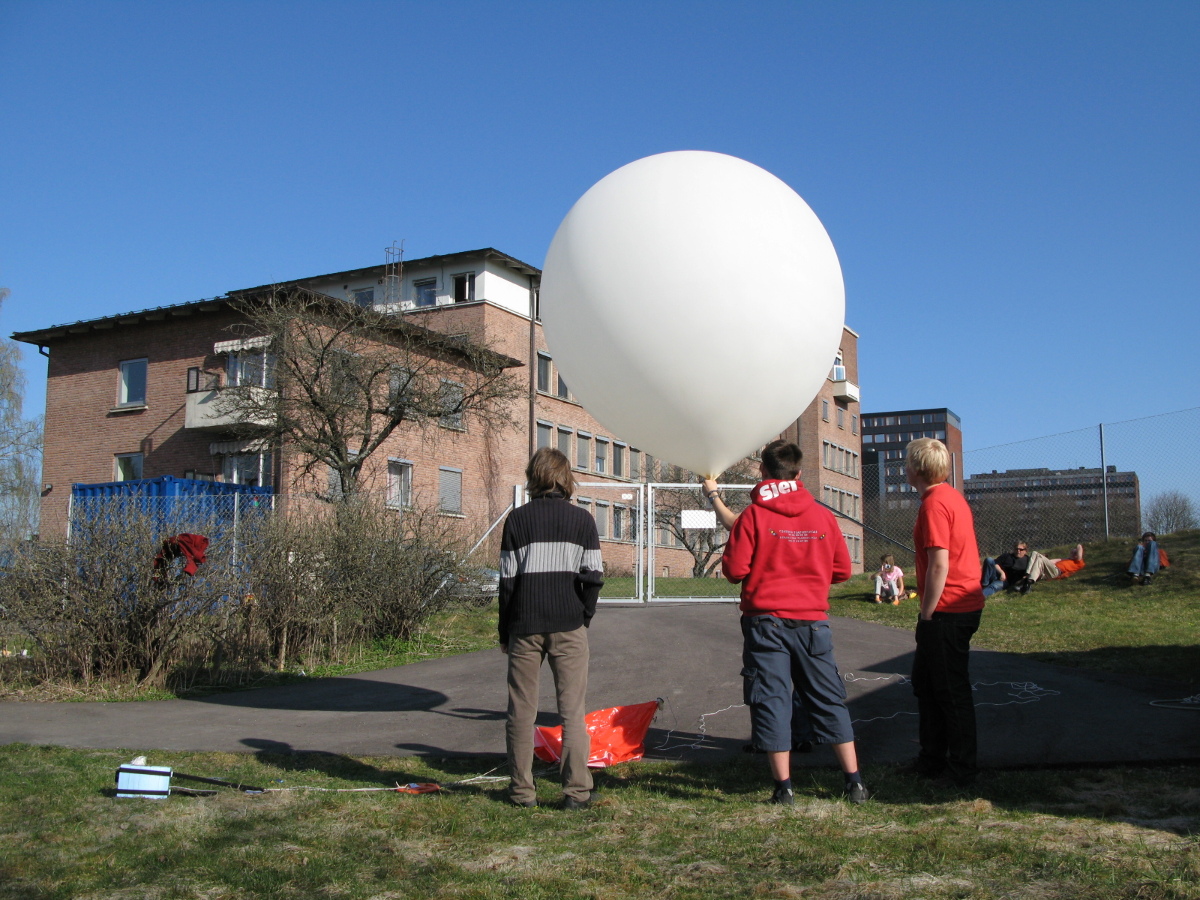
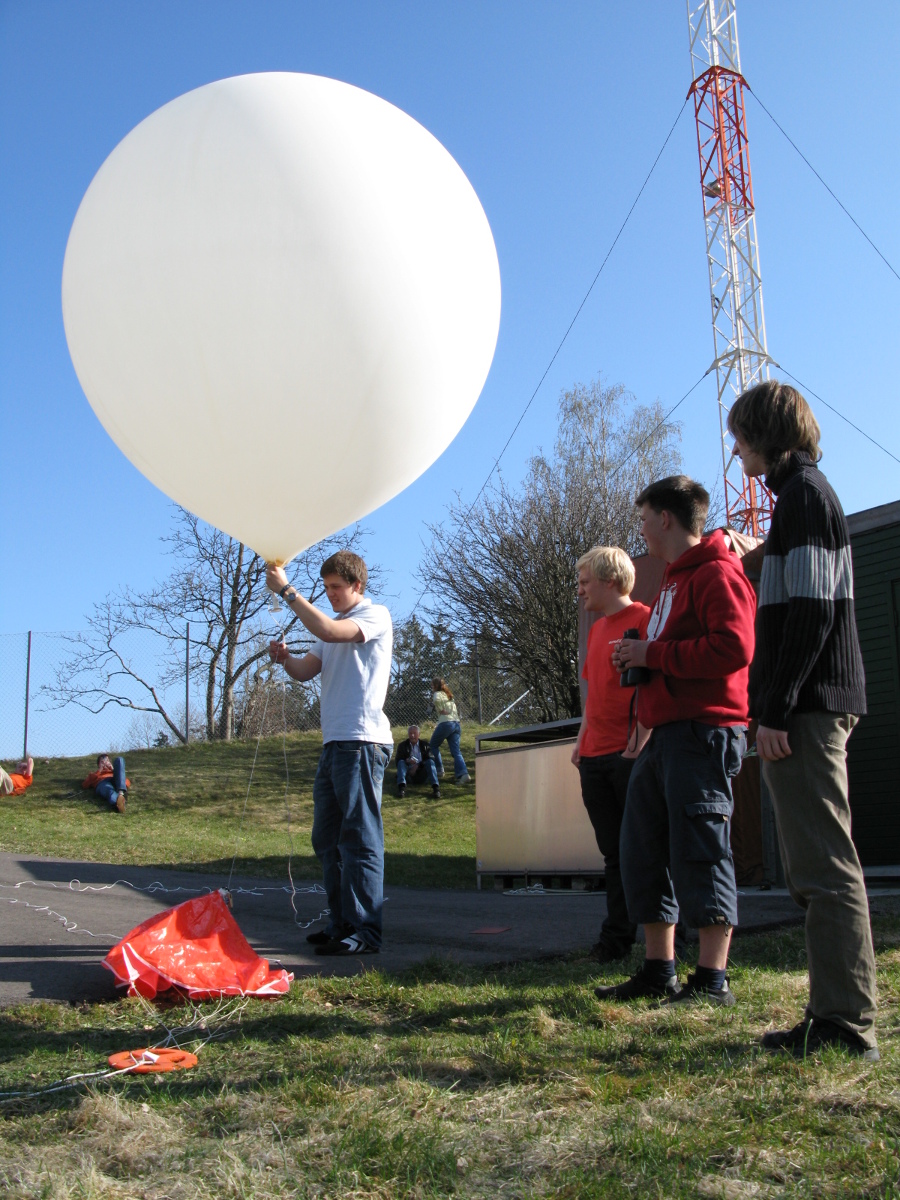
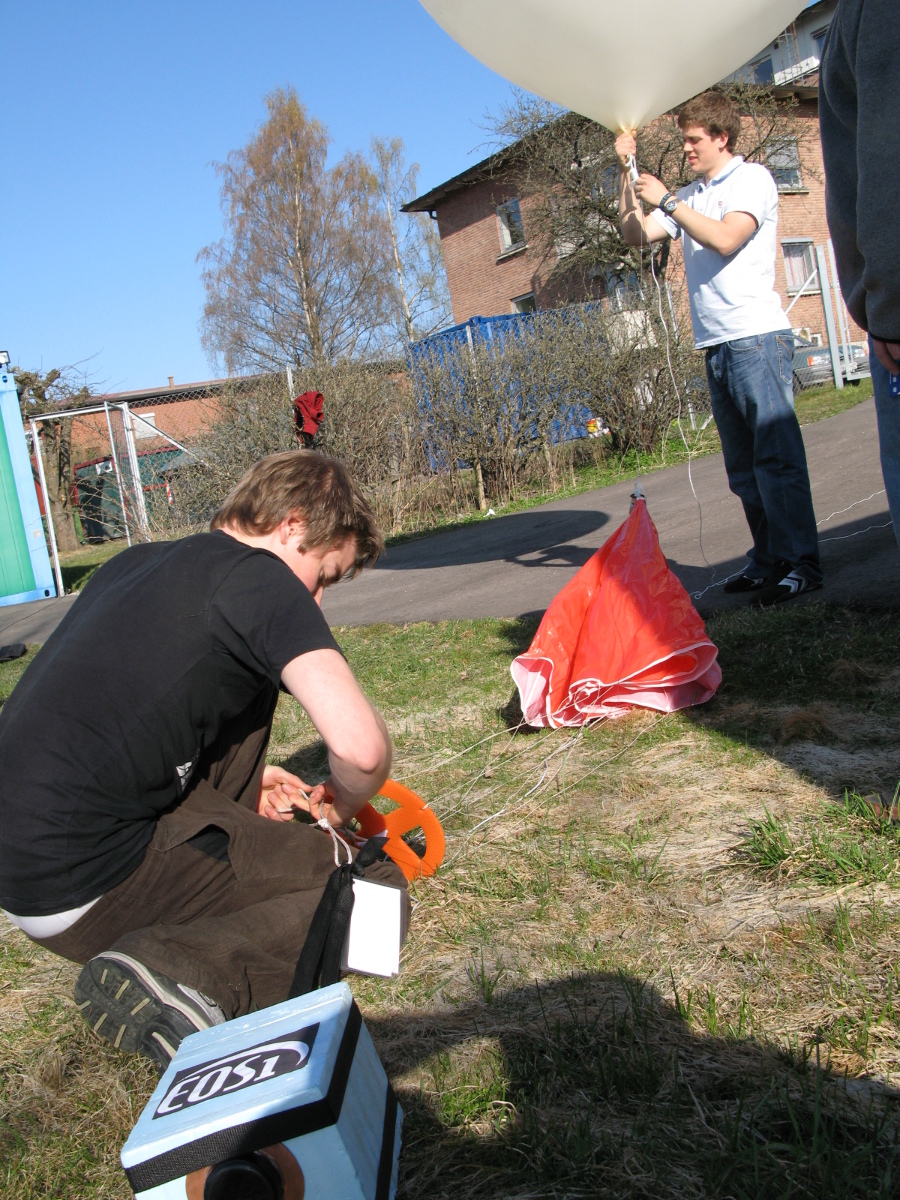
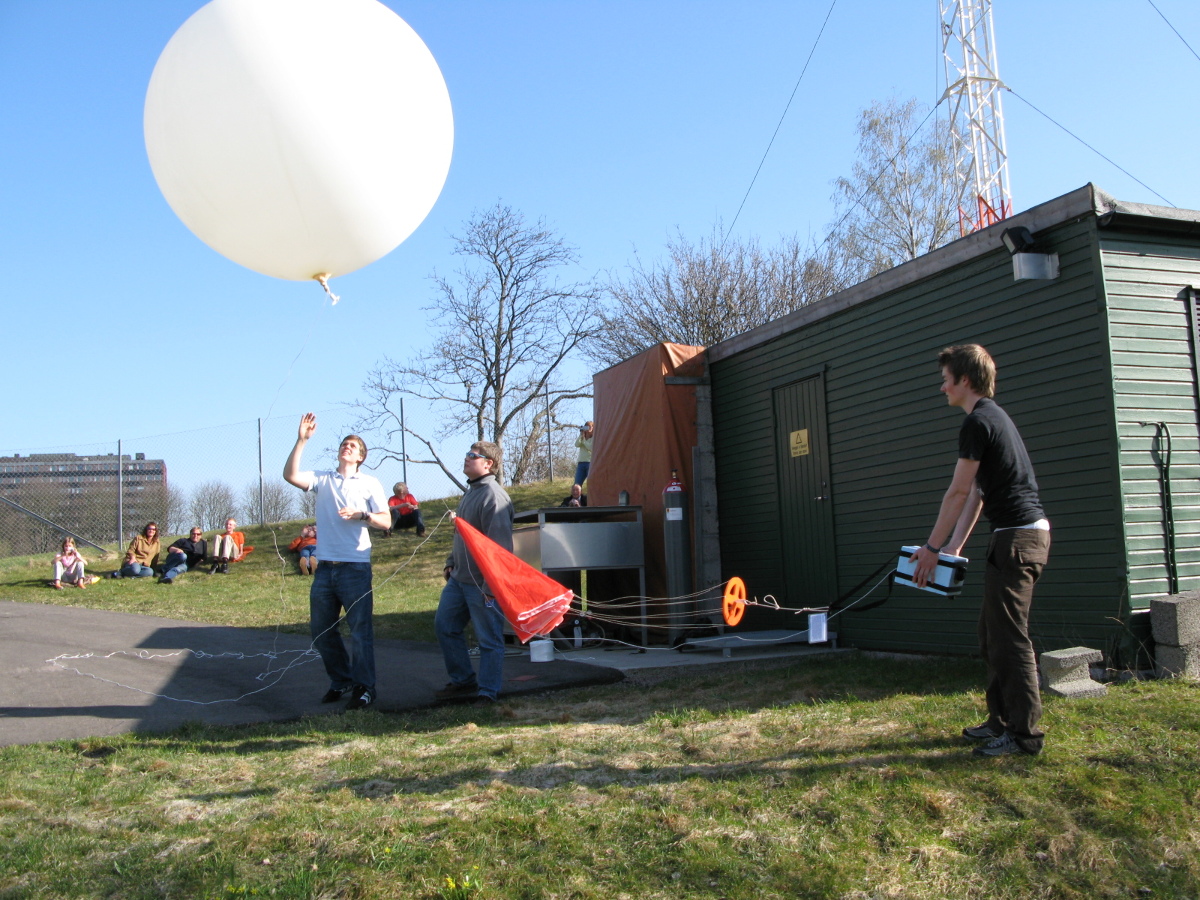
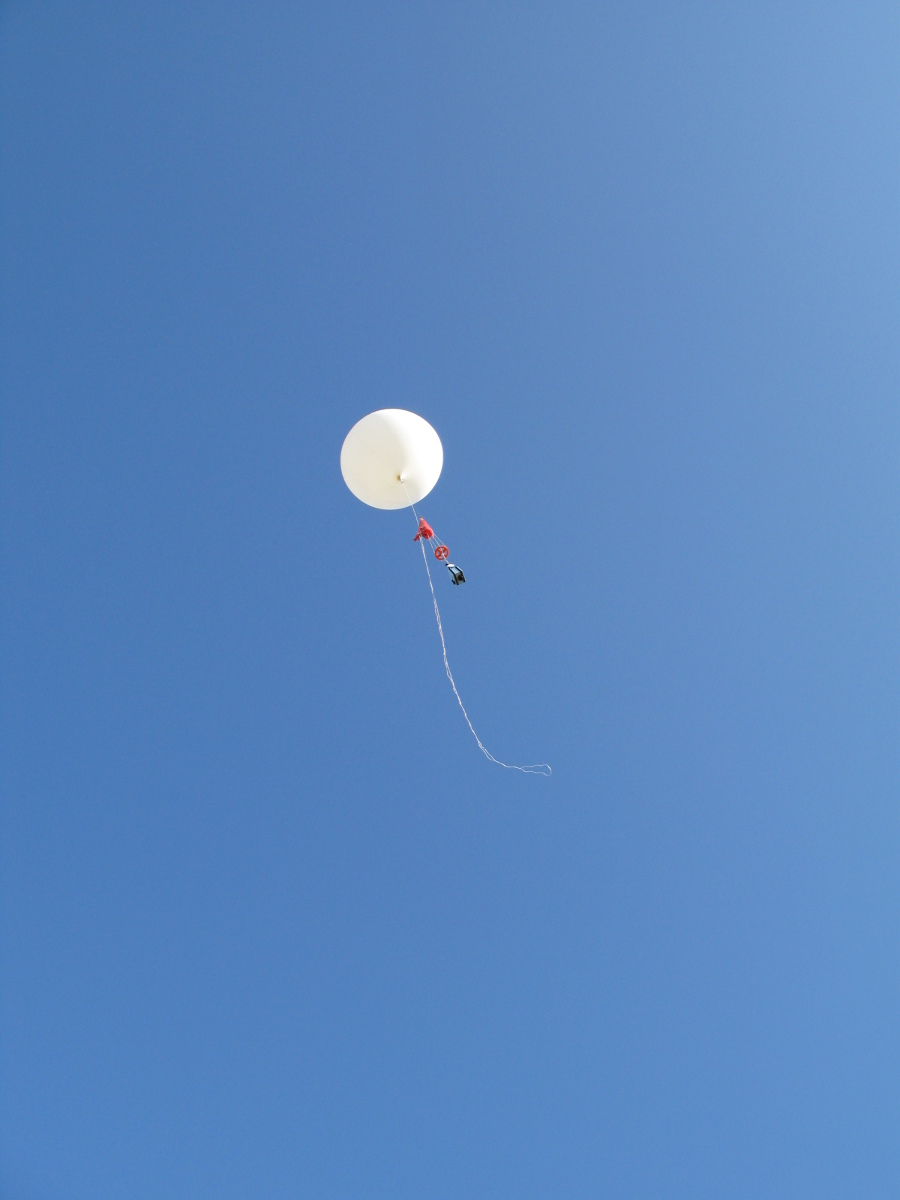
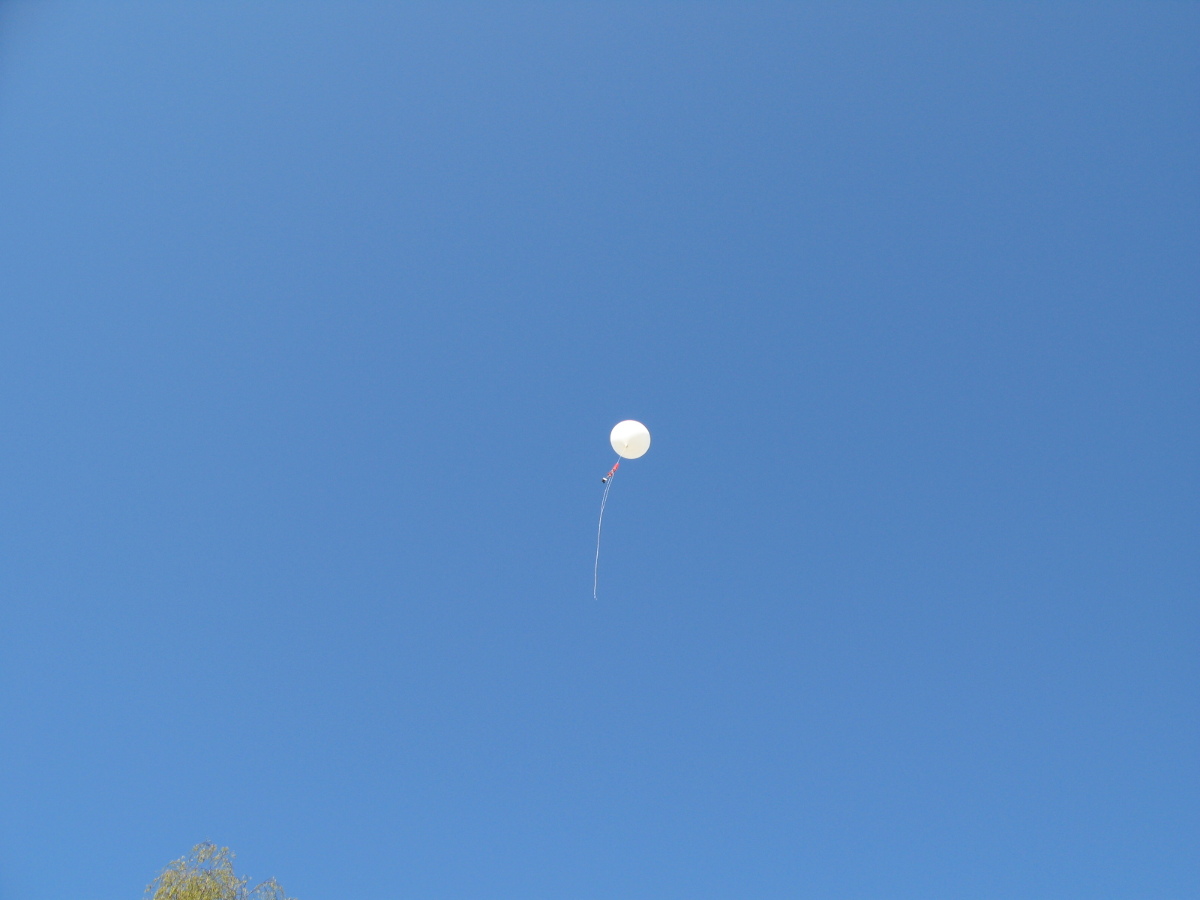
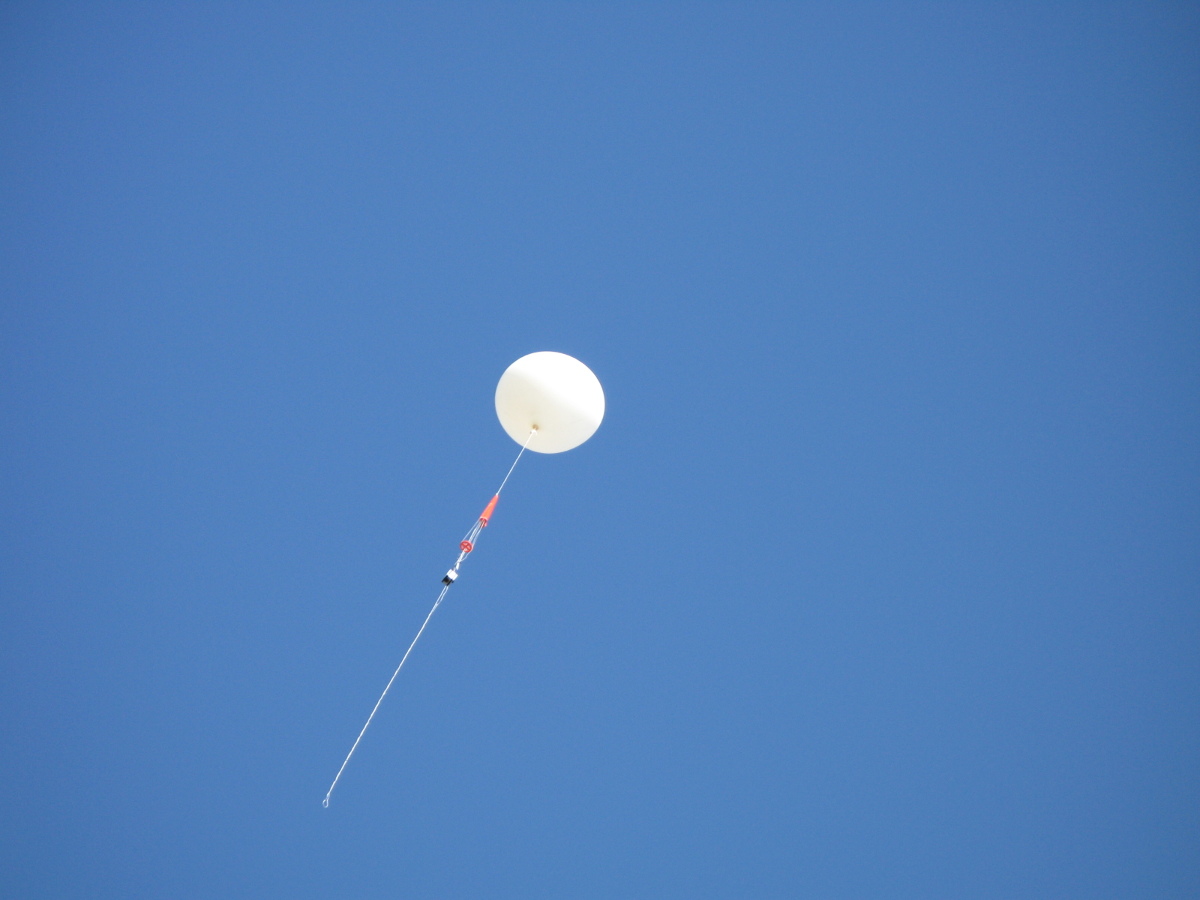
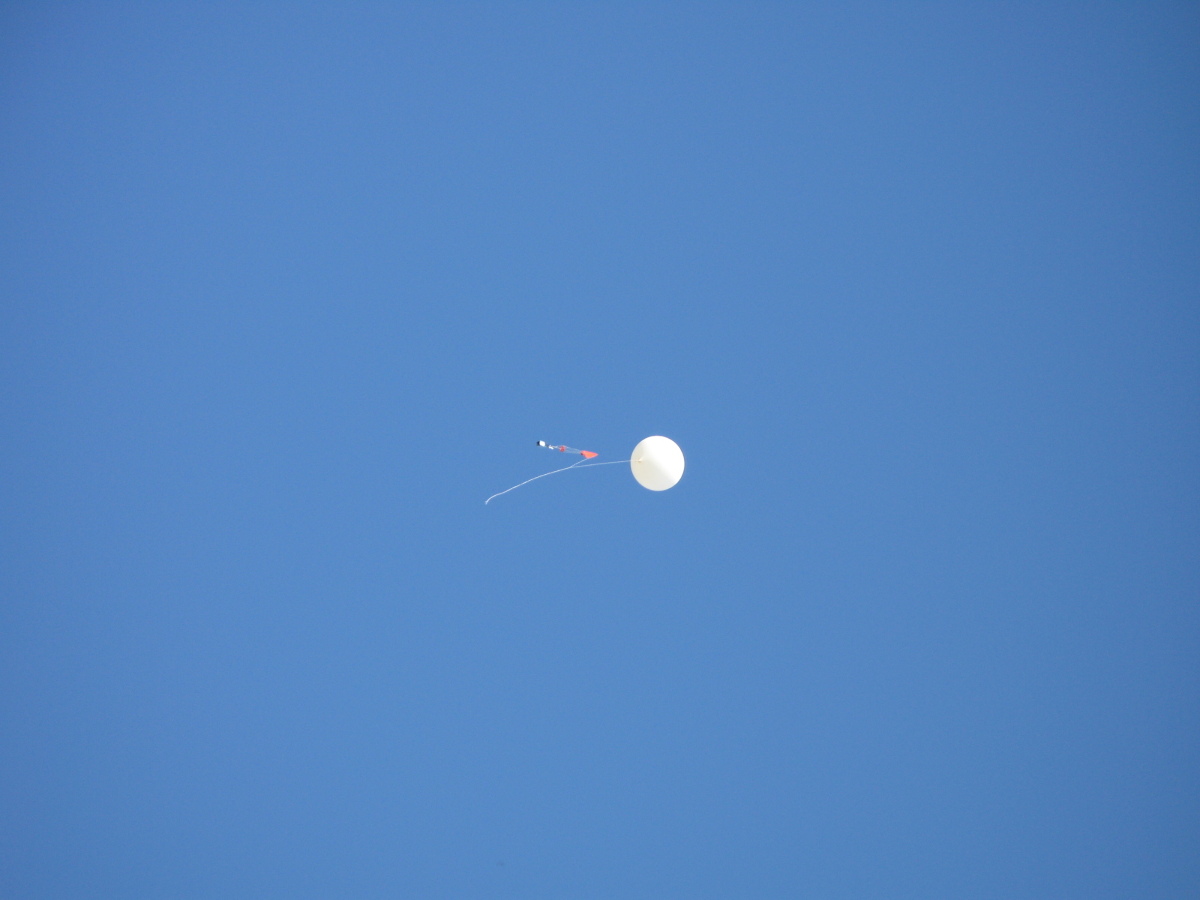
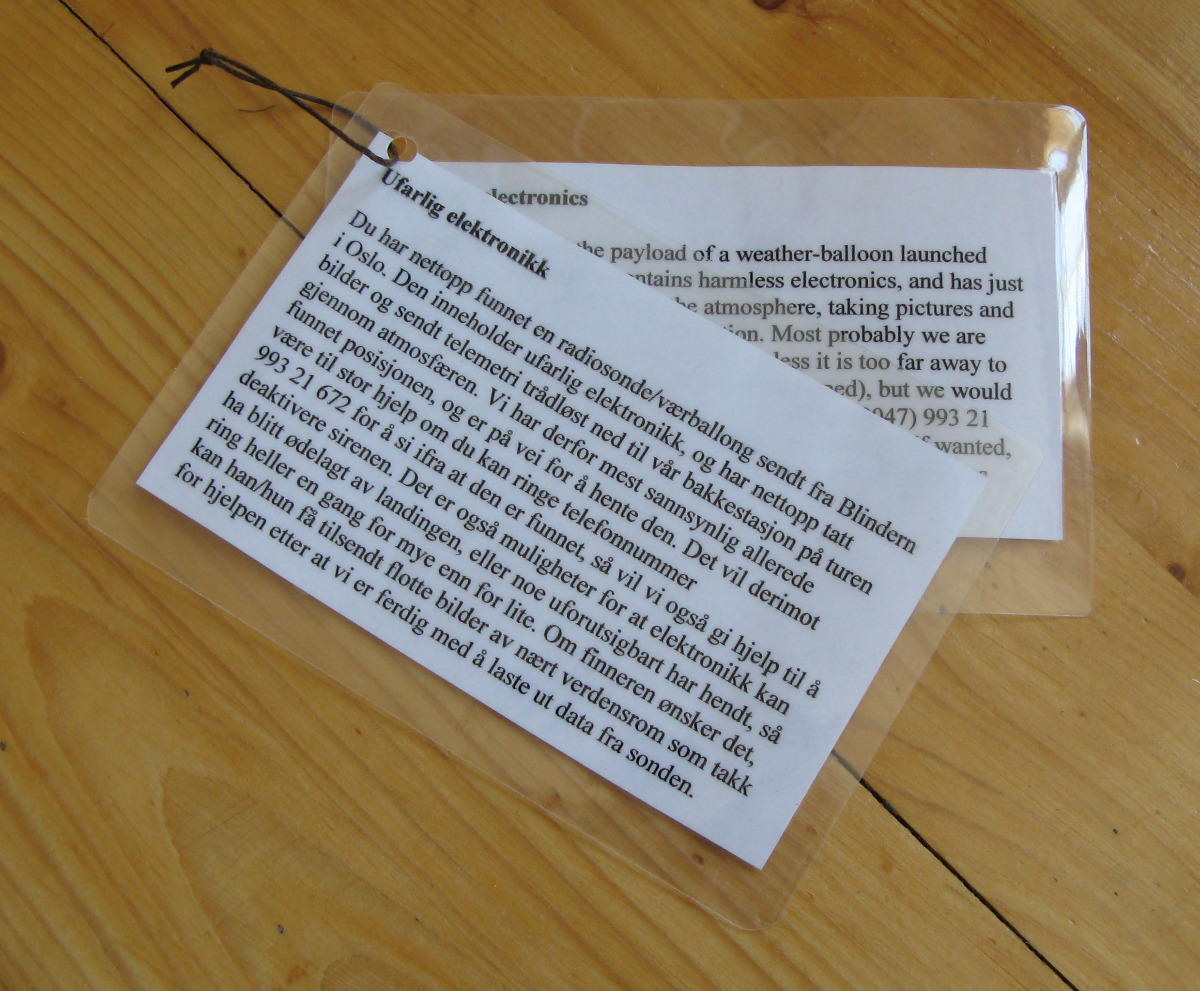
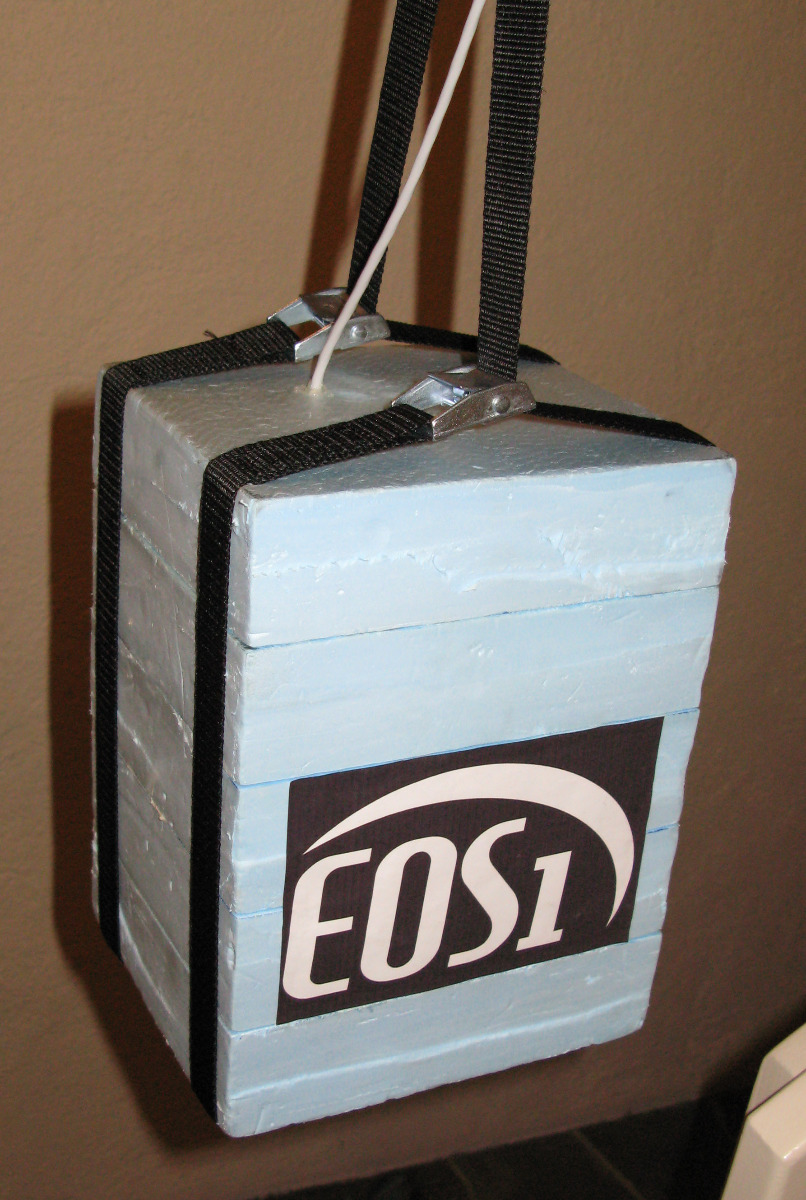
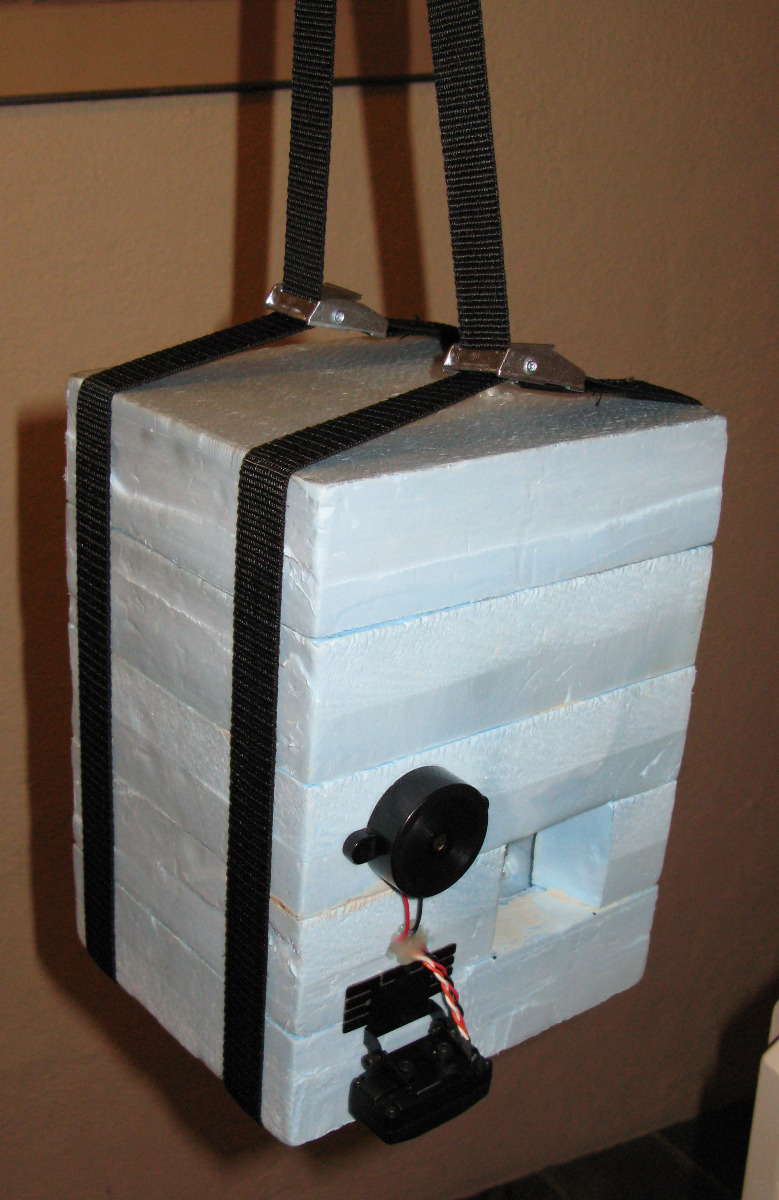
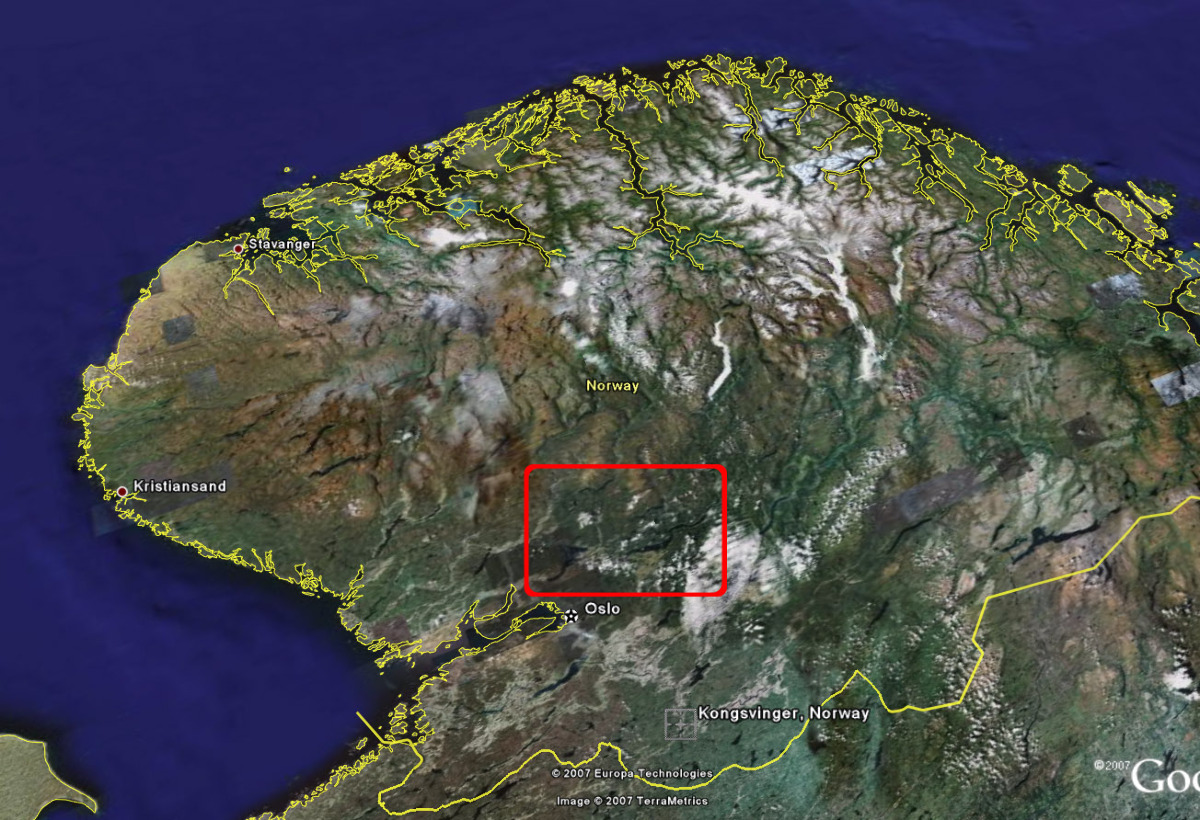
Spaceflights and electronics have always been the among my primary interests, and I have always had a dream of sending a probe up to near space where the conditions are almost equal to "real space", e.g. a horizon fading from blue to black, low temperatures, and so on. After discovering the use of meteorological balloons for hobby usage, I was surprised of the low cost and the high altitude such a balloon can reach. I thought about this project for over two years, but first the summer 2006 I started the planning and building. After presenting my plans for the Meteorological Institute of Norway, they was willing to give me a balloon and gas for free. The project has been changed many times through the building process. I changed from using a digital downlink for all communication to split it into multiple transmitters. The chassis was also changed many times. I first built a cylindrical chassis, and then changed to a cube-shaped PVC chassis. The chassis I ended up using was made of styrofoam, and it's dimensions was 18,5 cm wide, 16 cm long, and 25 cm high. The primary goal was to send a payload up to near space, take photos from an altitude where the horizon fades from black to blue, and most important; recover the payload in working condition and get the pictures from the memory card. EOS1 was launced 4/15/2007, and turned out to be a big success. I achieved a range of over 80 kilometres with the 600mW transmitter, and the payload was found in perfect condition after falling from 90000 feet.Component list

Block schematic (unfortunately in norwegian)
- Opentracker OT1x; APRS-encoder
- Stripped Haicom HI-204III SiRFStarIII GPS
- BlackWidow 600mW video transmitter
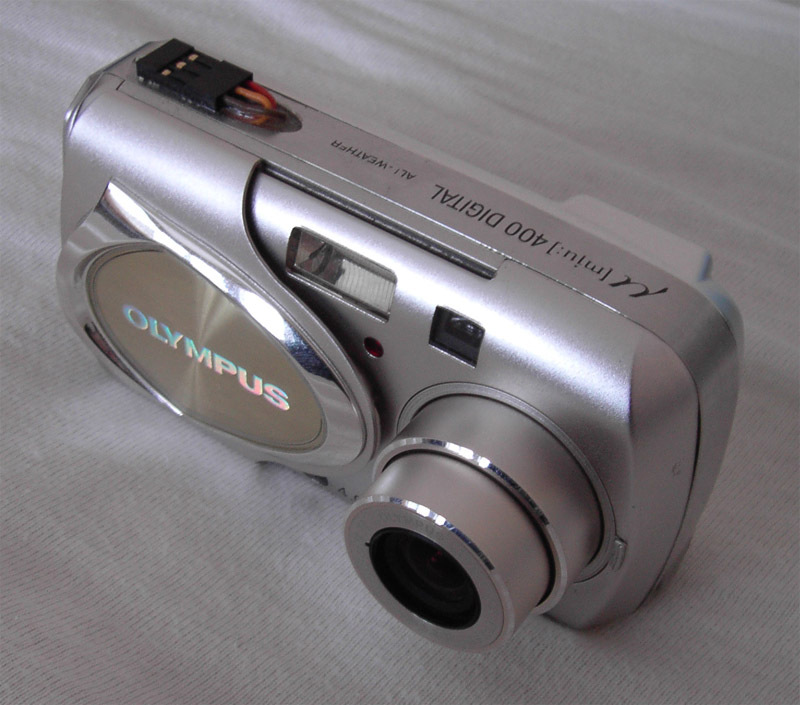
- Olympus µ[mju:] 400; the primary camera
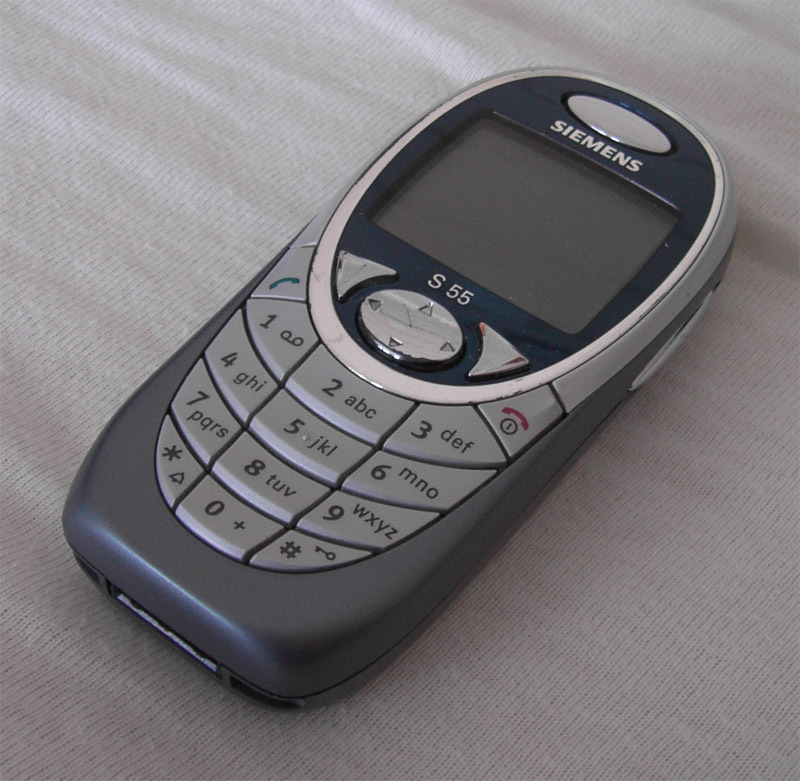
- Siemens S55 cell-phone
- 3700mAh 7.4V lithium polymer battery-pack
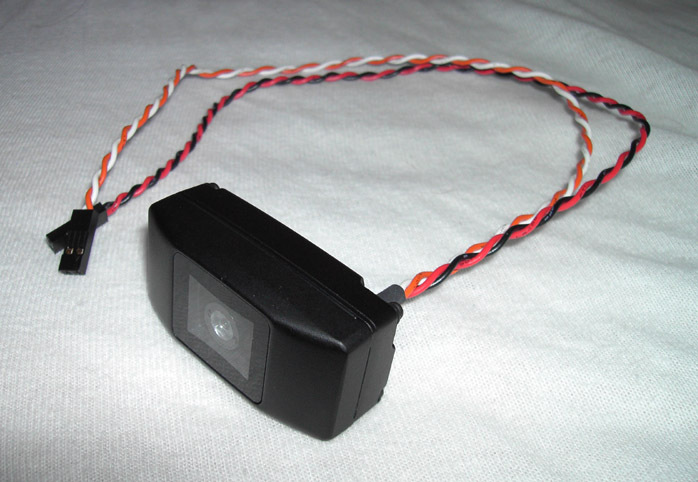
- Pioneer ND-BC1; the secondary camera (wide angle lens)
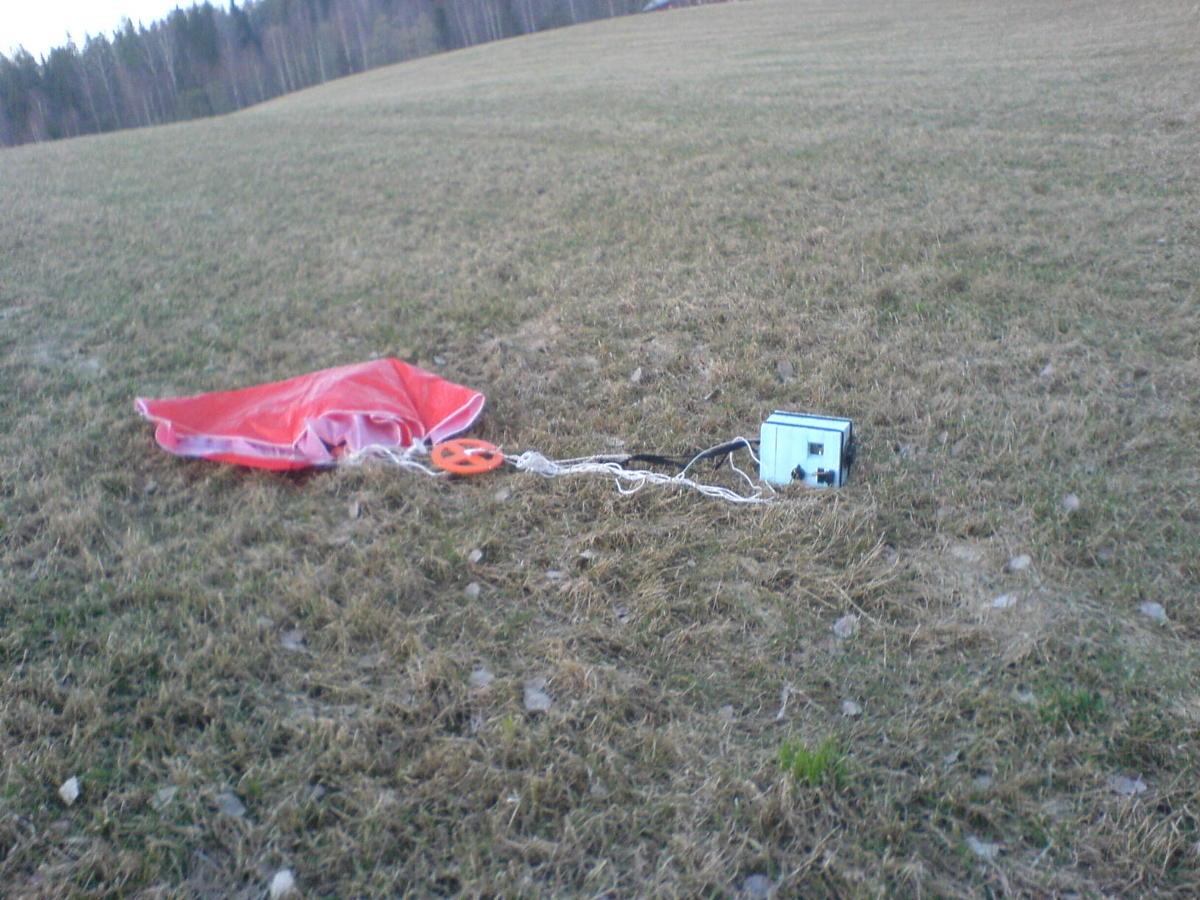
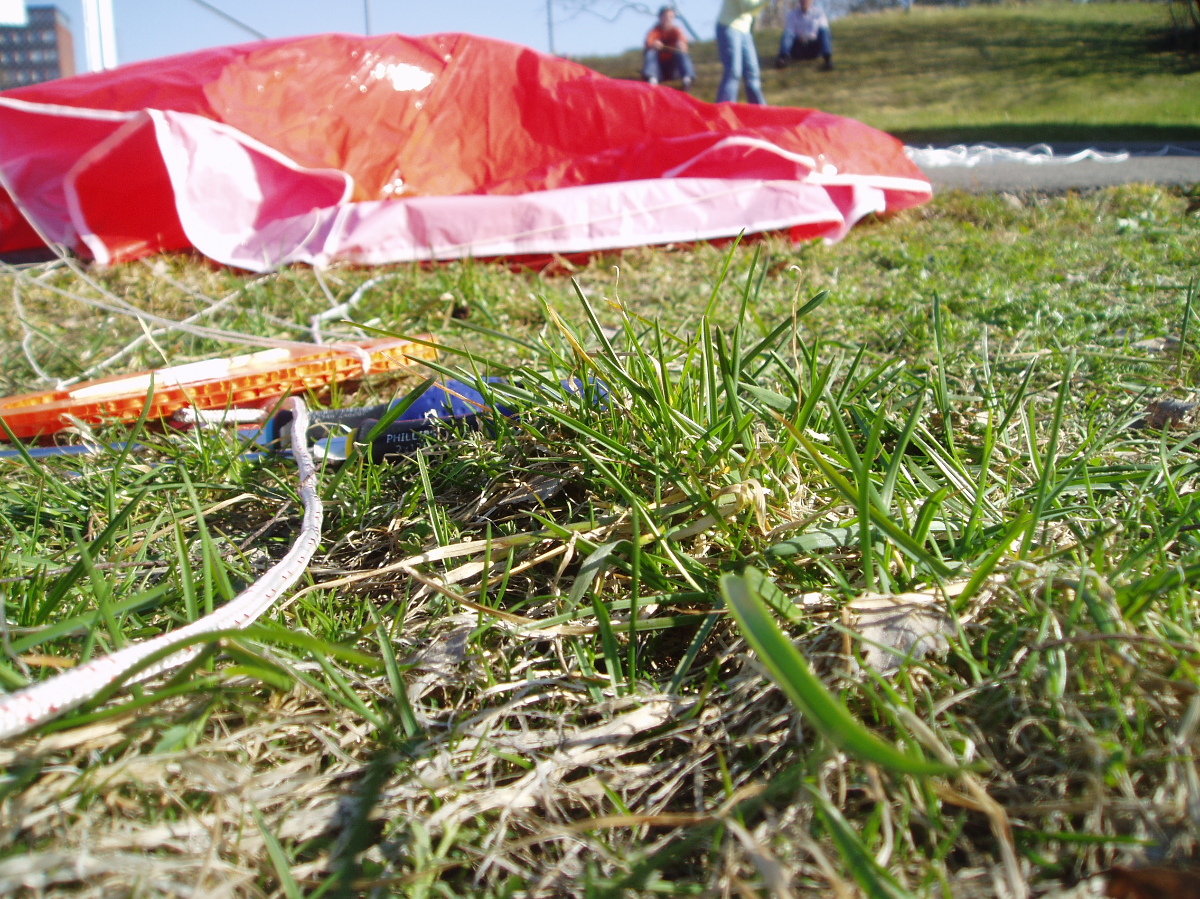
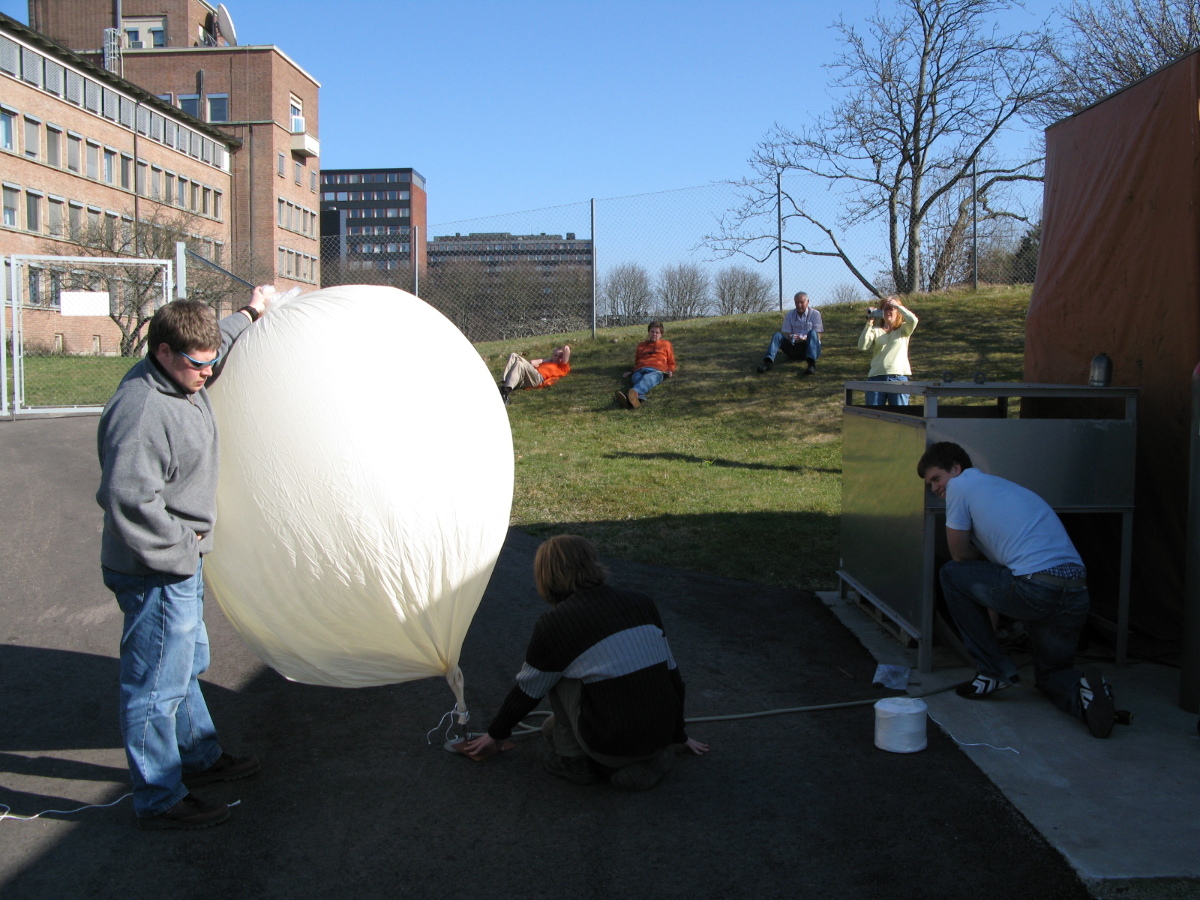
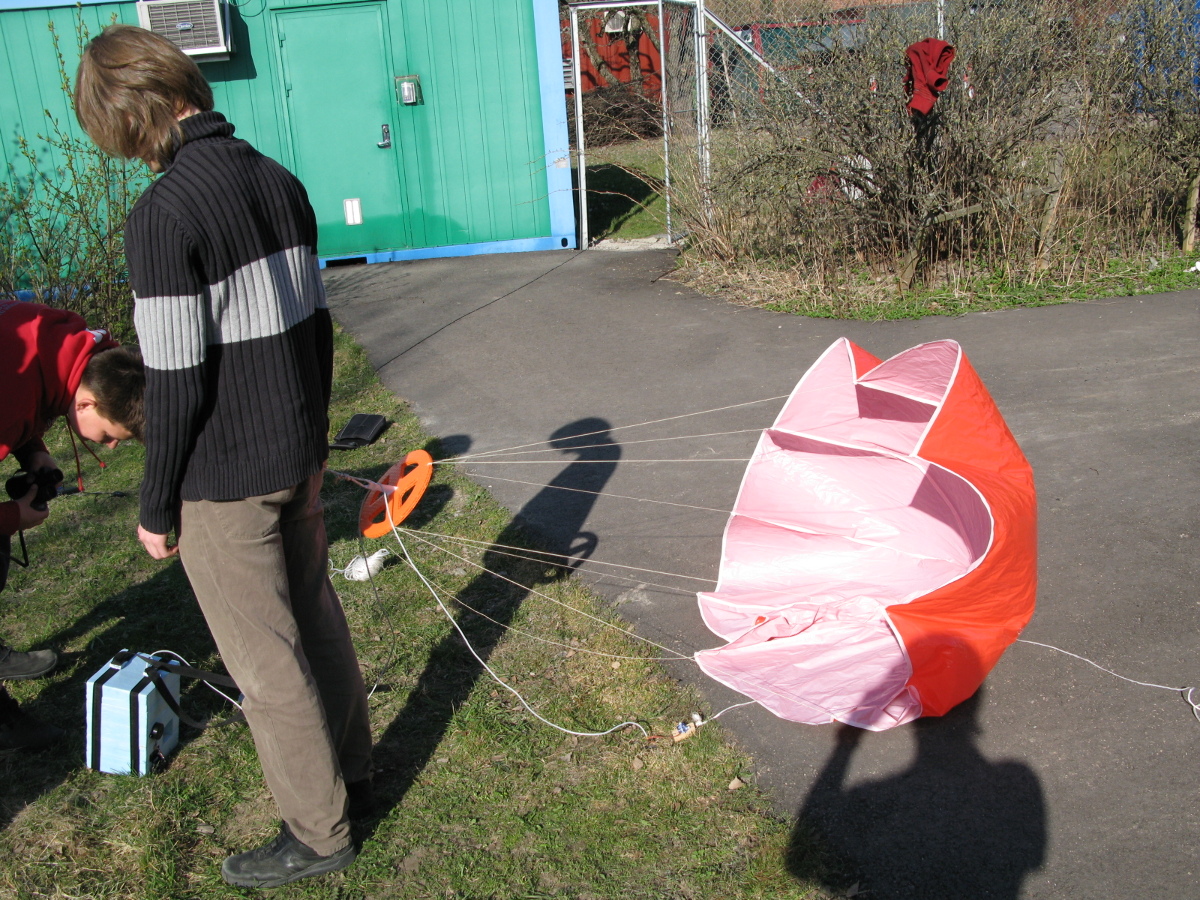
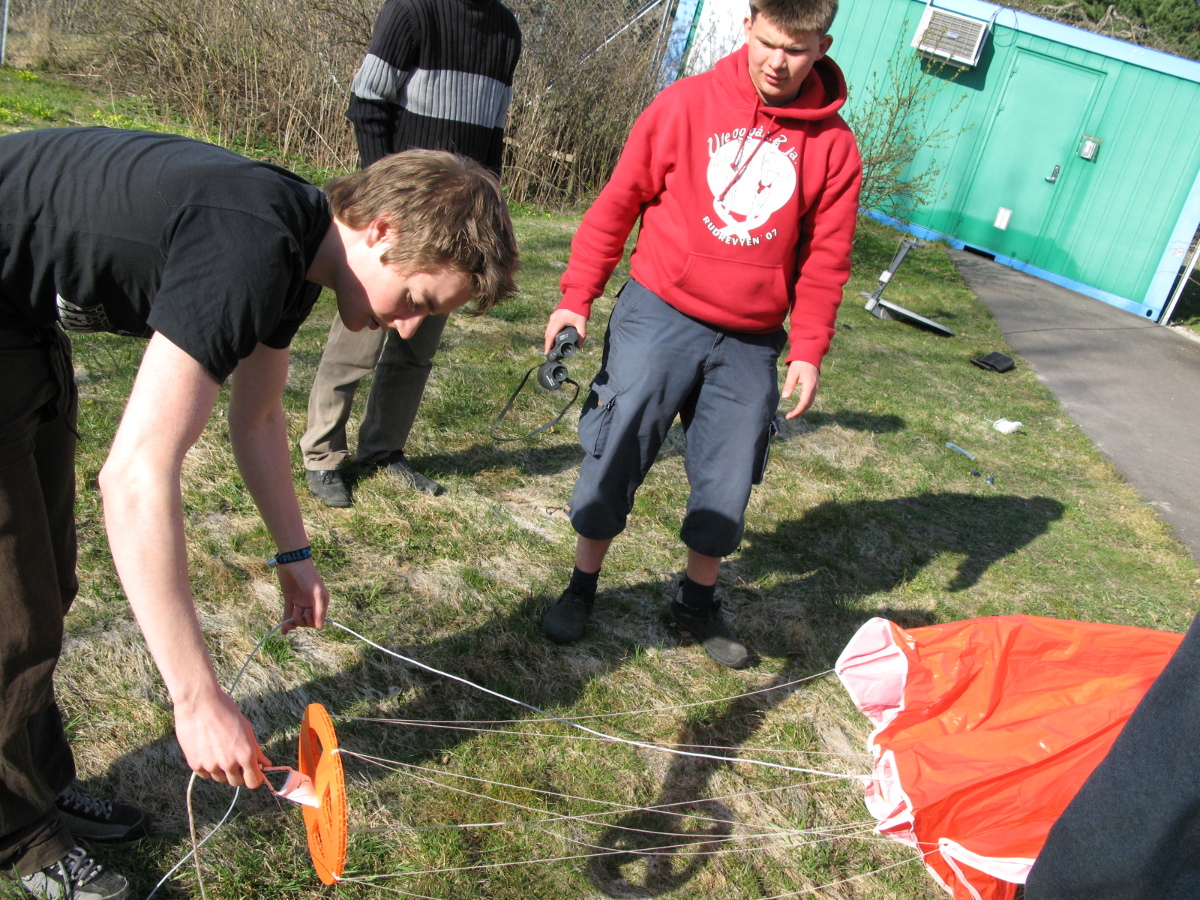
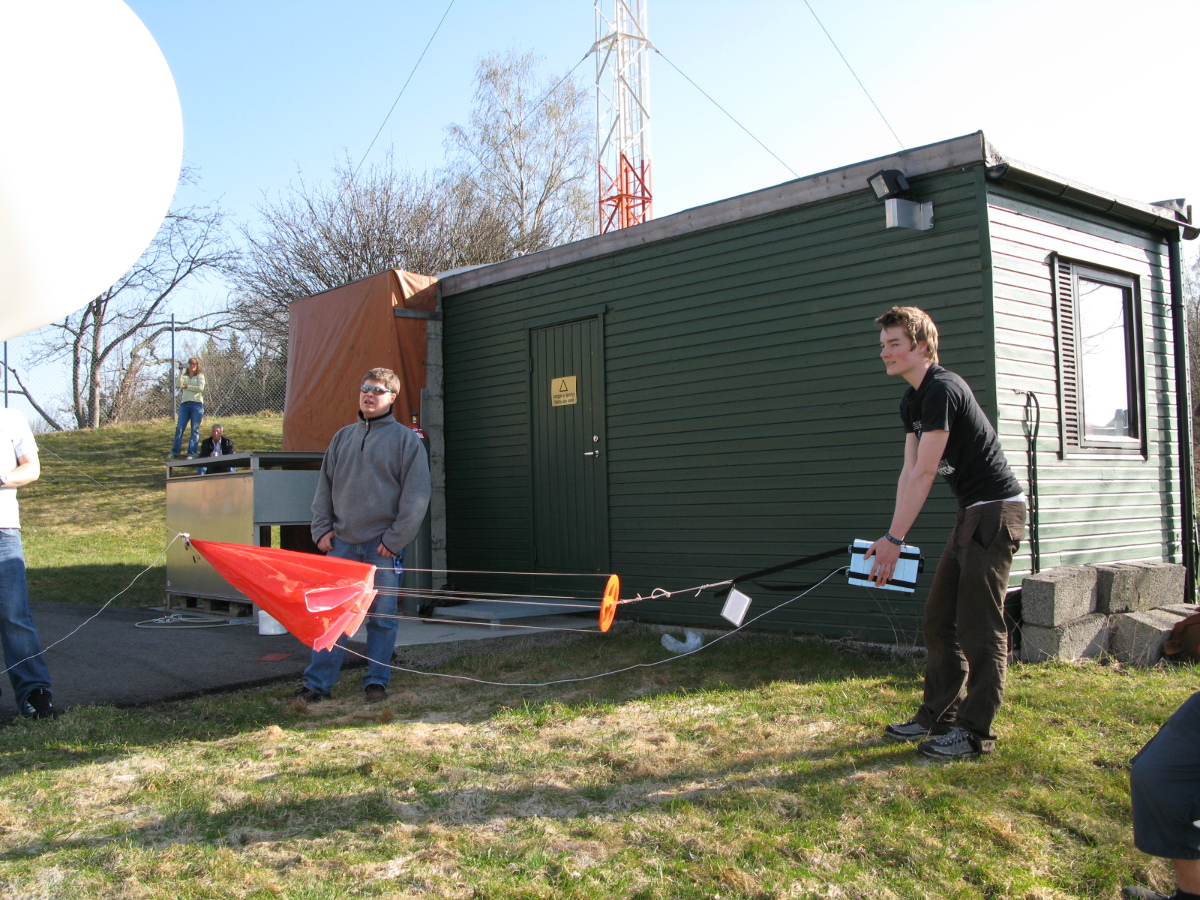
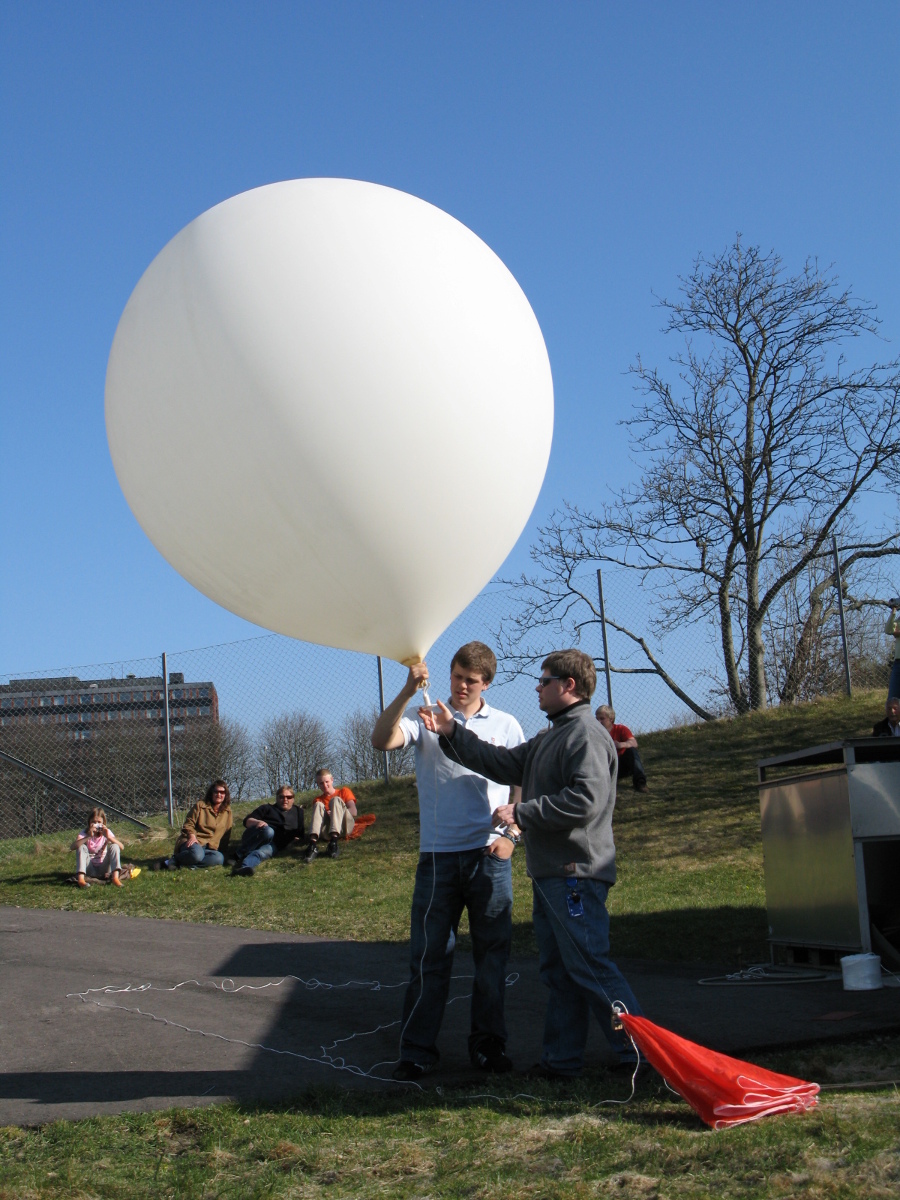
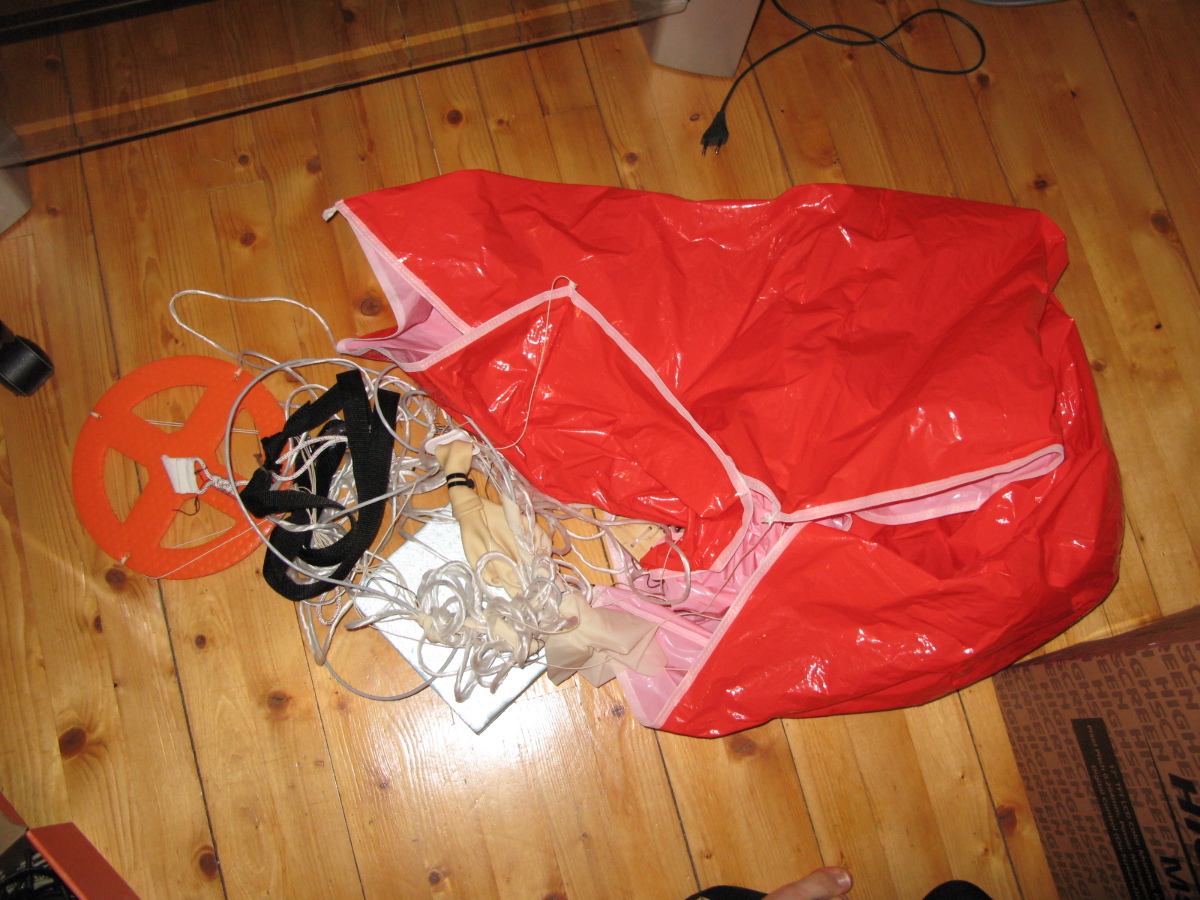
- 1200g Totex balloon and a parachute
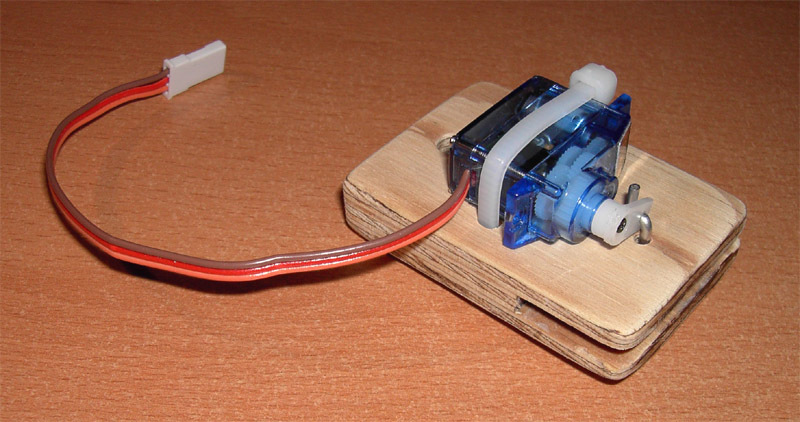
- Waypoint W-084; this R/C-servo will release the parachute after 2 hours
- Dipole antenna spaced 1/4 wavelength from a groundplane with one wavelength radius
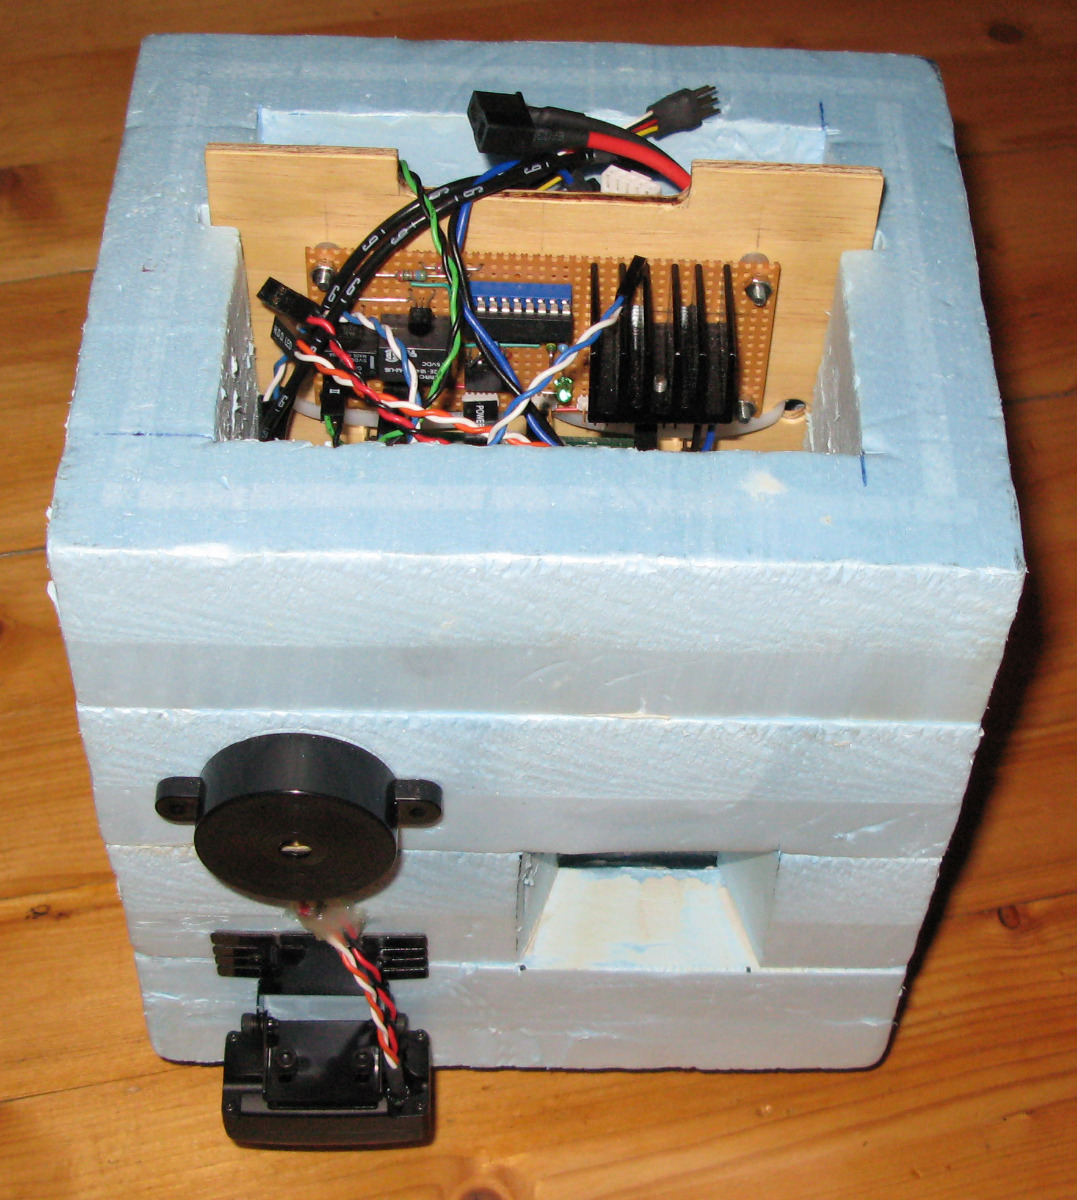
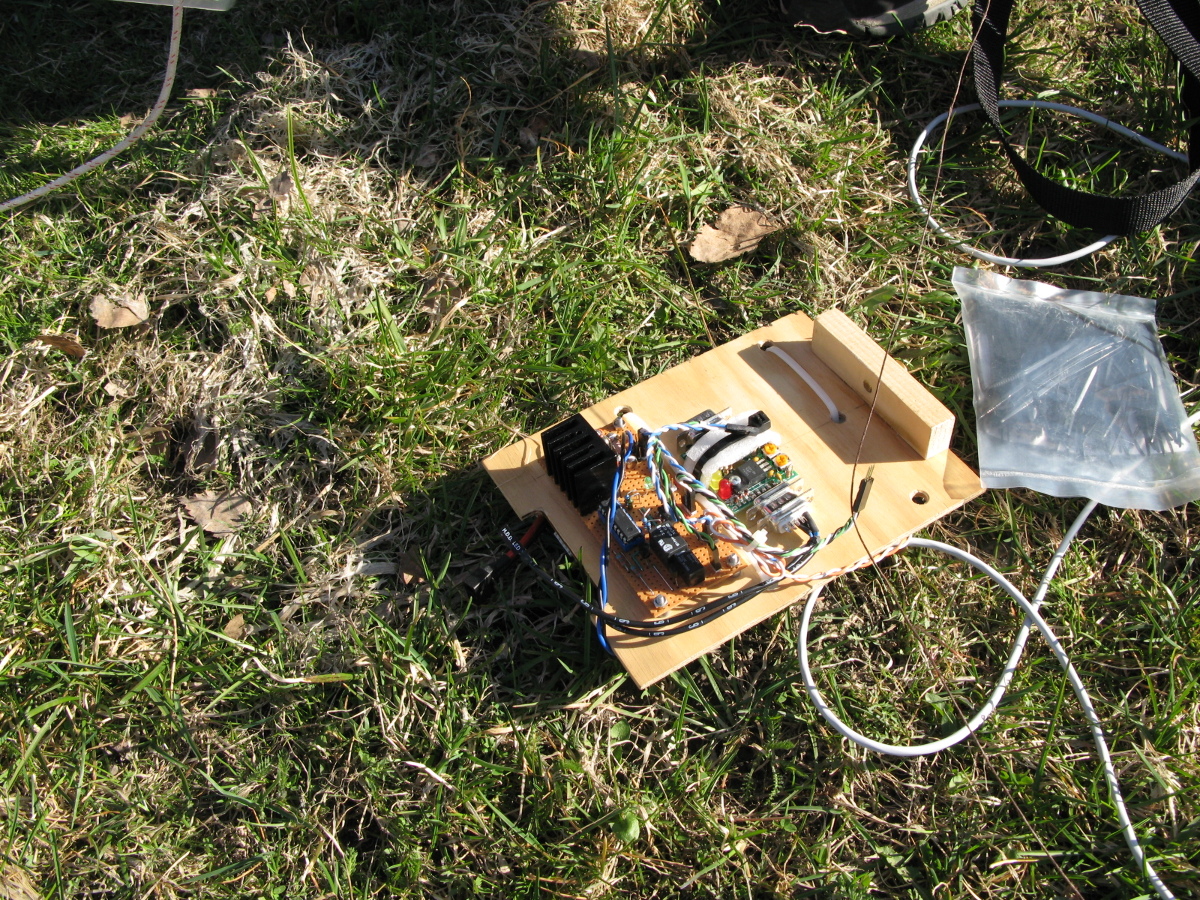
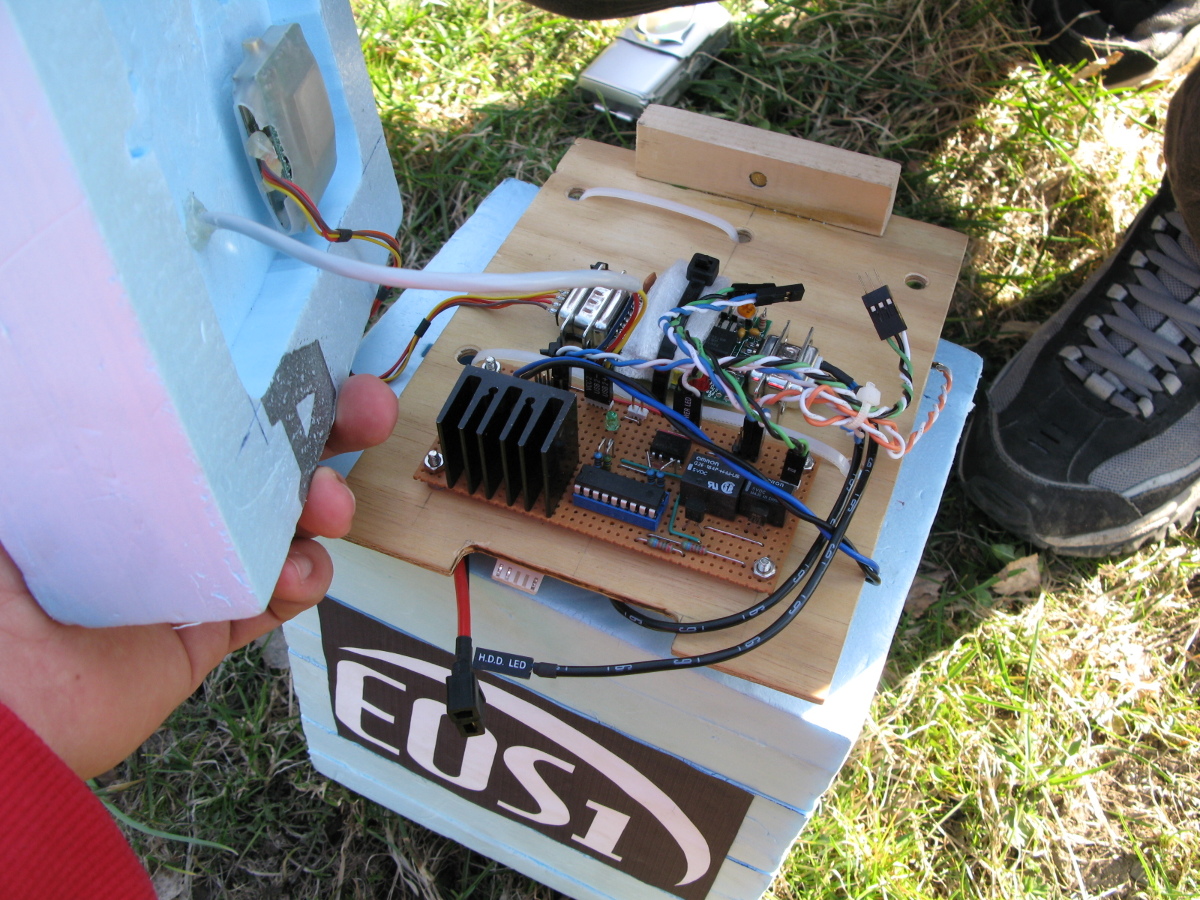
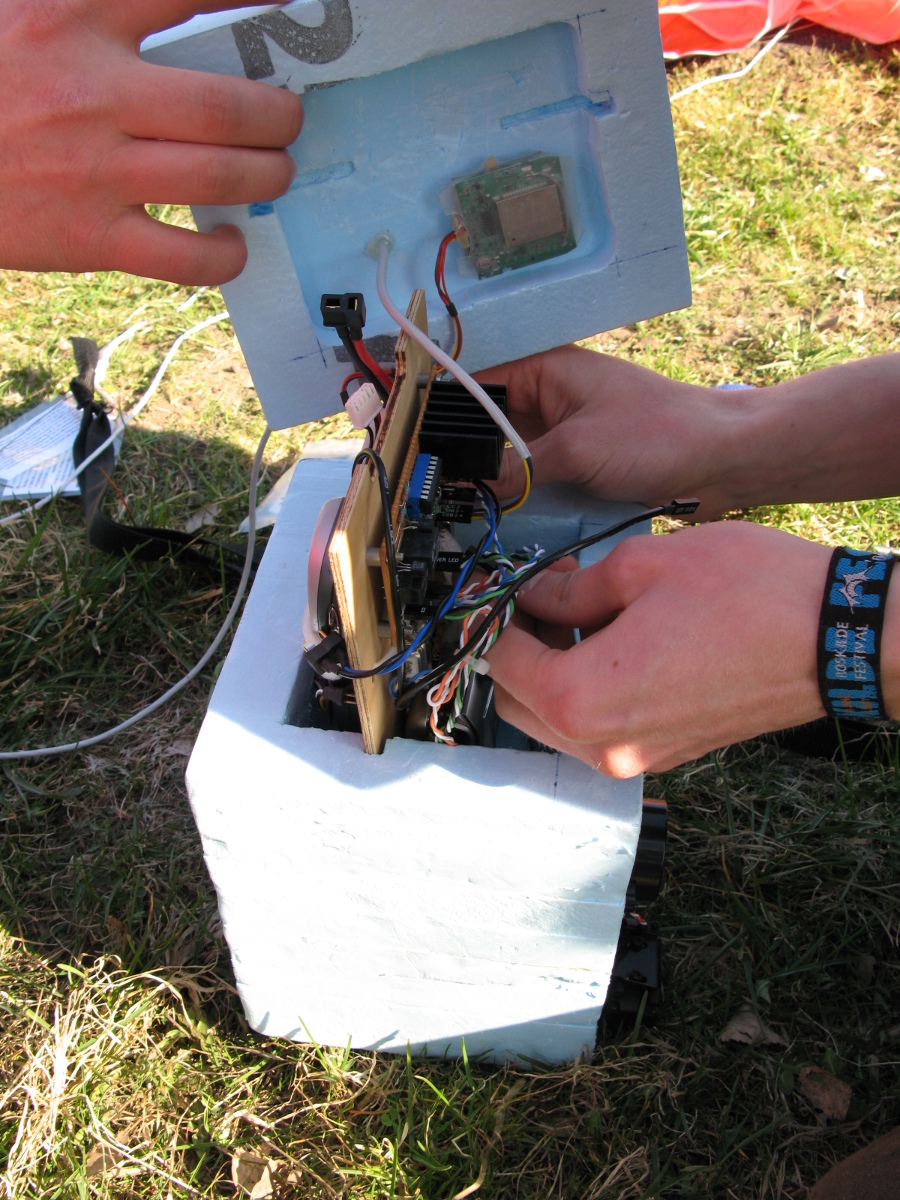
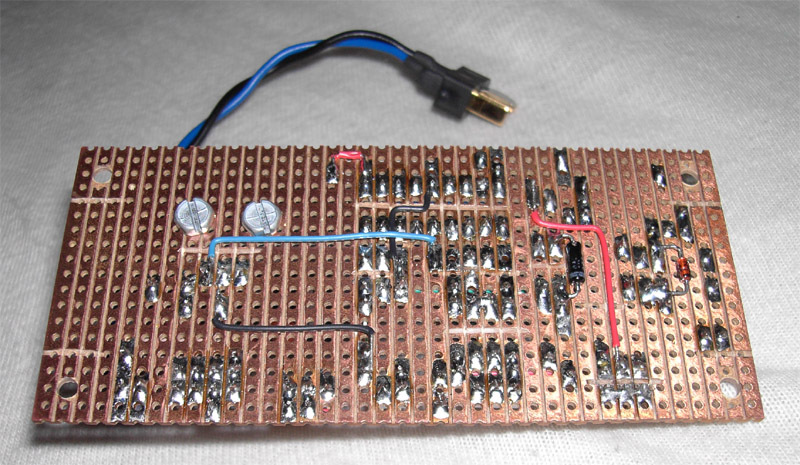
- A controller board mainly consisting of a PIC16F628A microcontroller which:
- Triggers the camera-shutter
- Toggles between the secondary and primary camera
- Power off the video-transmitter when it has reached ground to save power
- Power on a 120dB siren when it starts to fall
- Regulate 5V for all the 5V components
- Controls the servo for the parachute
Other technical information
- The primary camera transmits live video and takes pictures of the horizon with one minute intervals. The resolution is 4 Mpix on the still pictures, and the video is transmitted in PAL-format.
- The secondary camera has a wide angle lens, and transmit live video in NTSC-format.
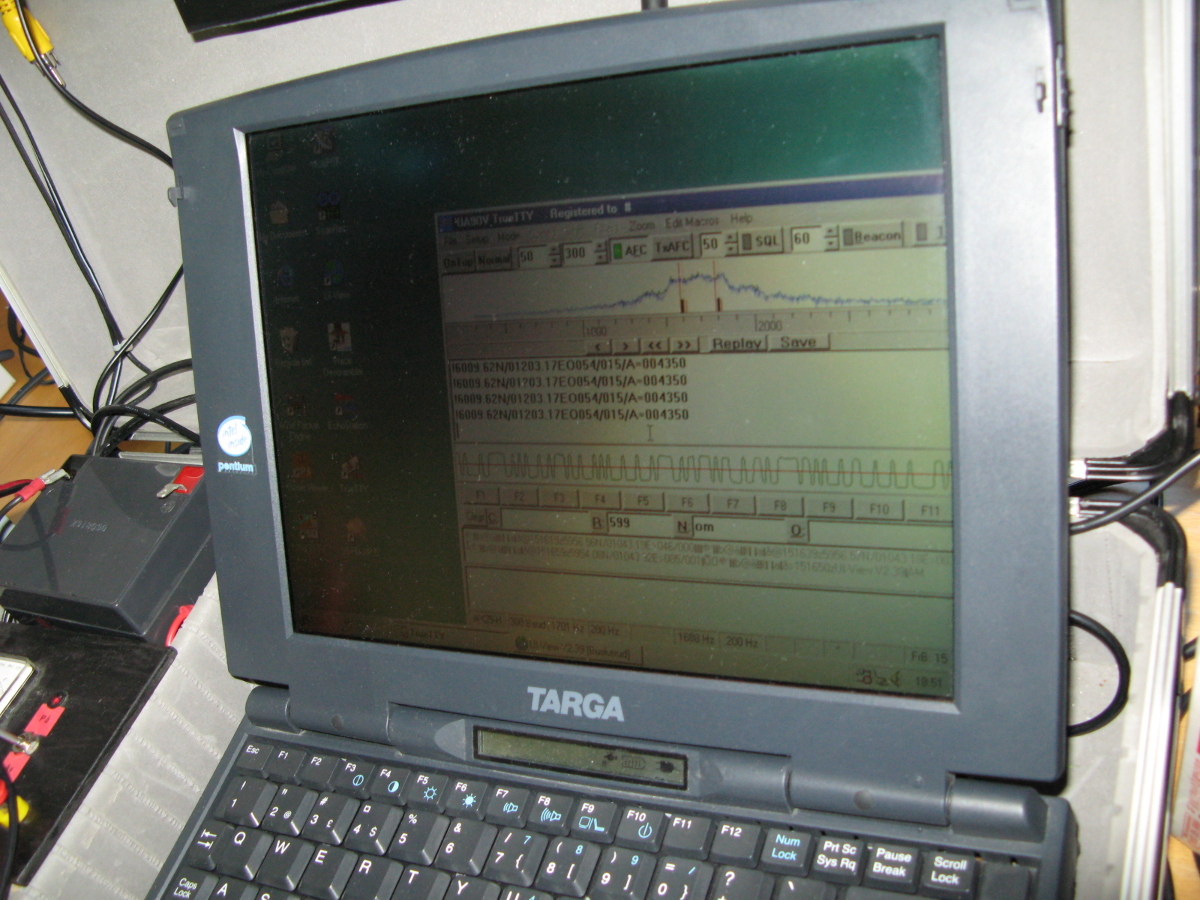
- Primary downlink: 600mW, 2.41GHz, PAL, video and sound. The video channel toggles between the secondary and primary camera with 10 second intervals. The sound channel transmits continuous 300 baud APRS packets including temperature, battery voltage, position and altitude.
- Secondary downlink: GSM cell phone with automatic answer. It transmits the same audio as the primary downlink.
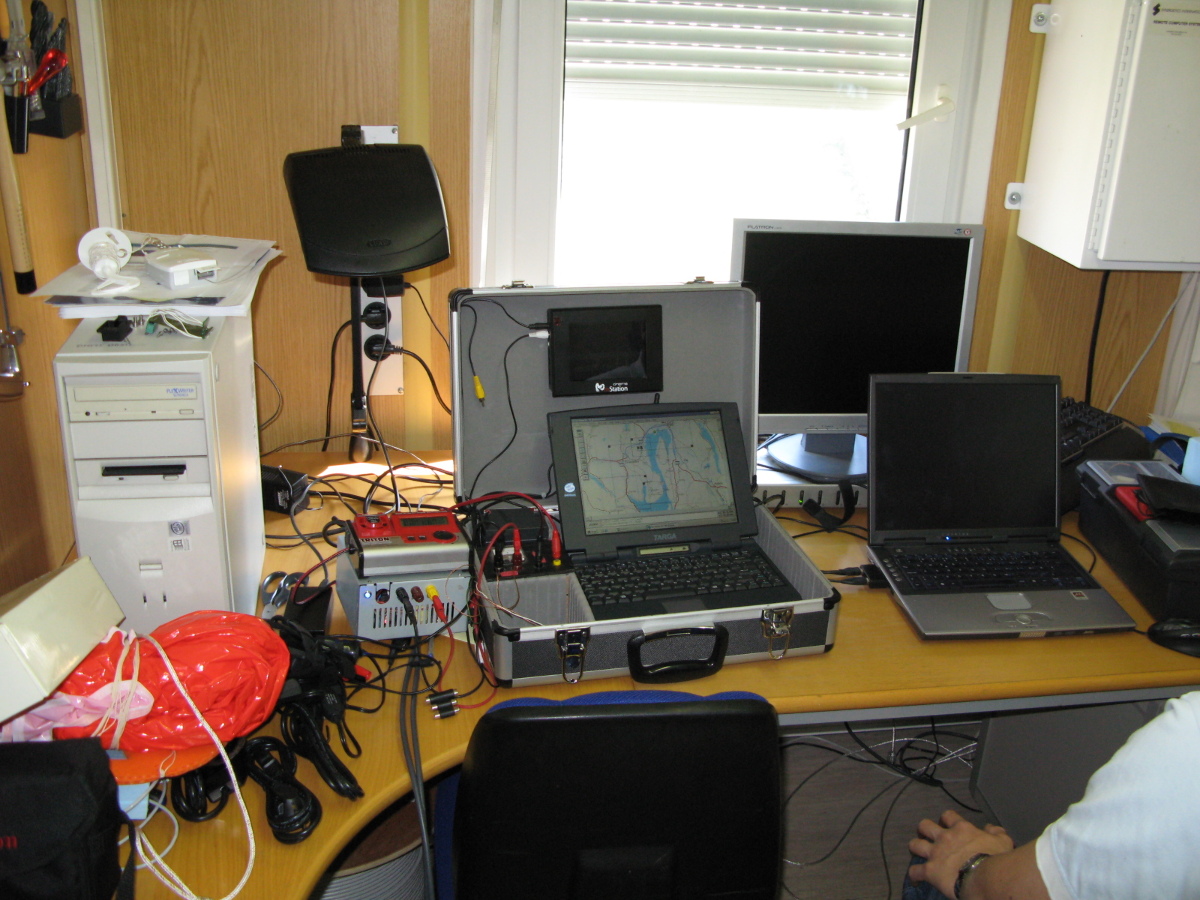
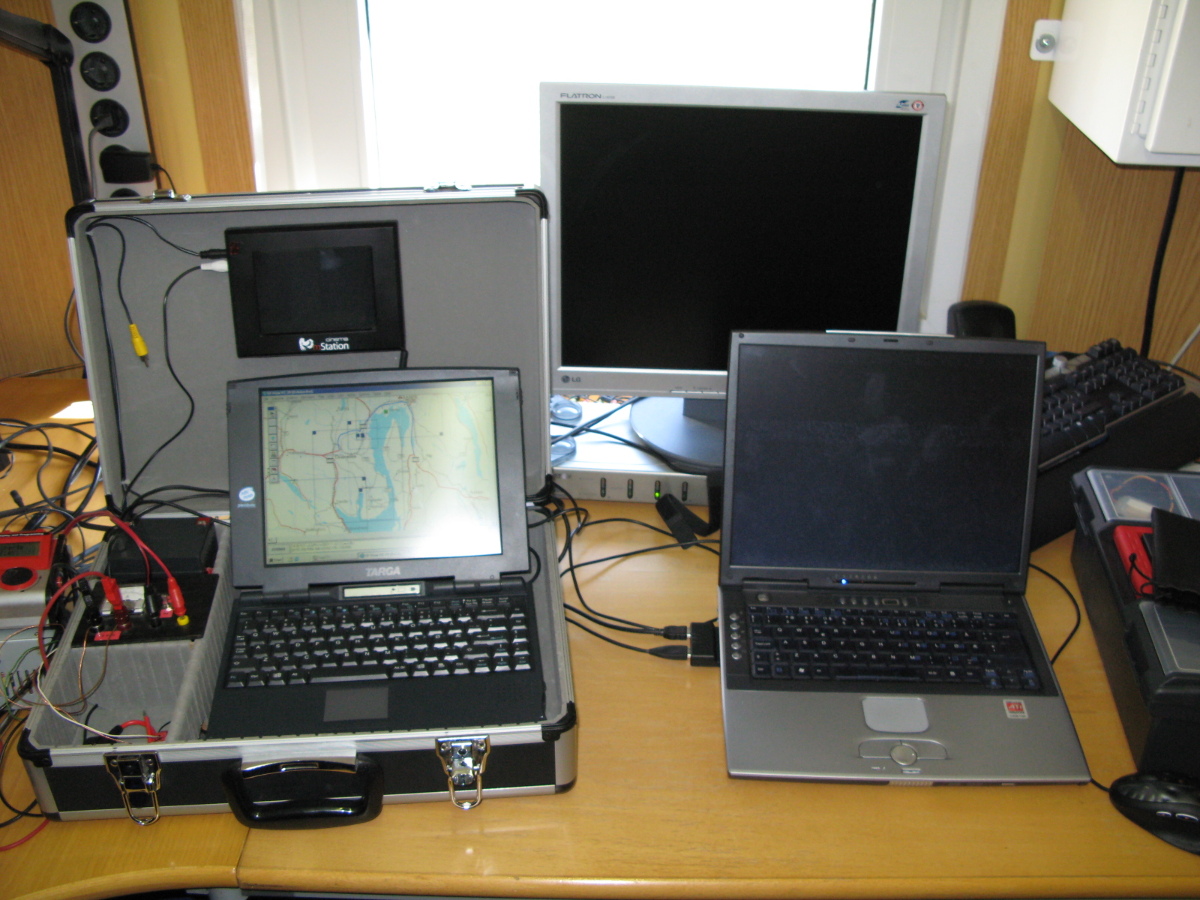
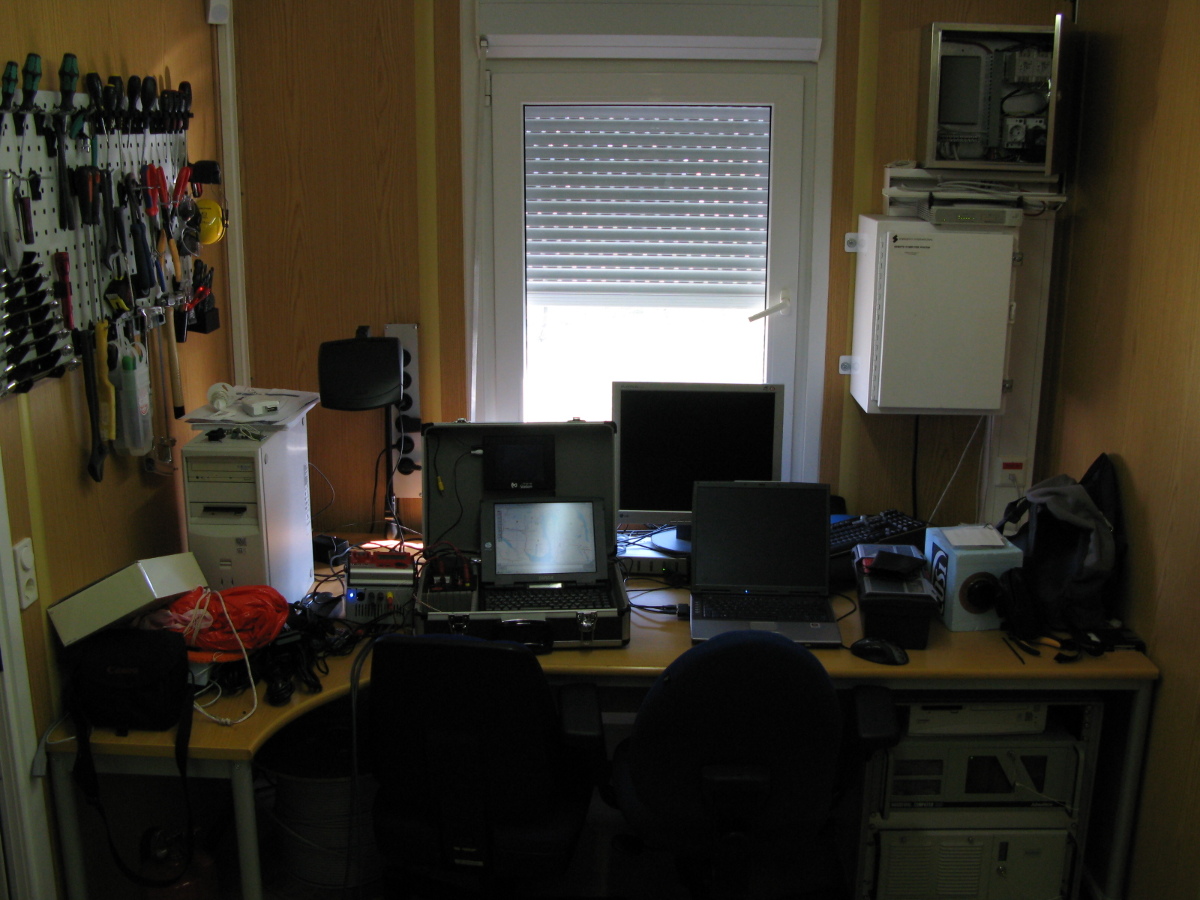
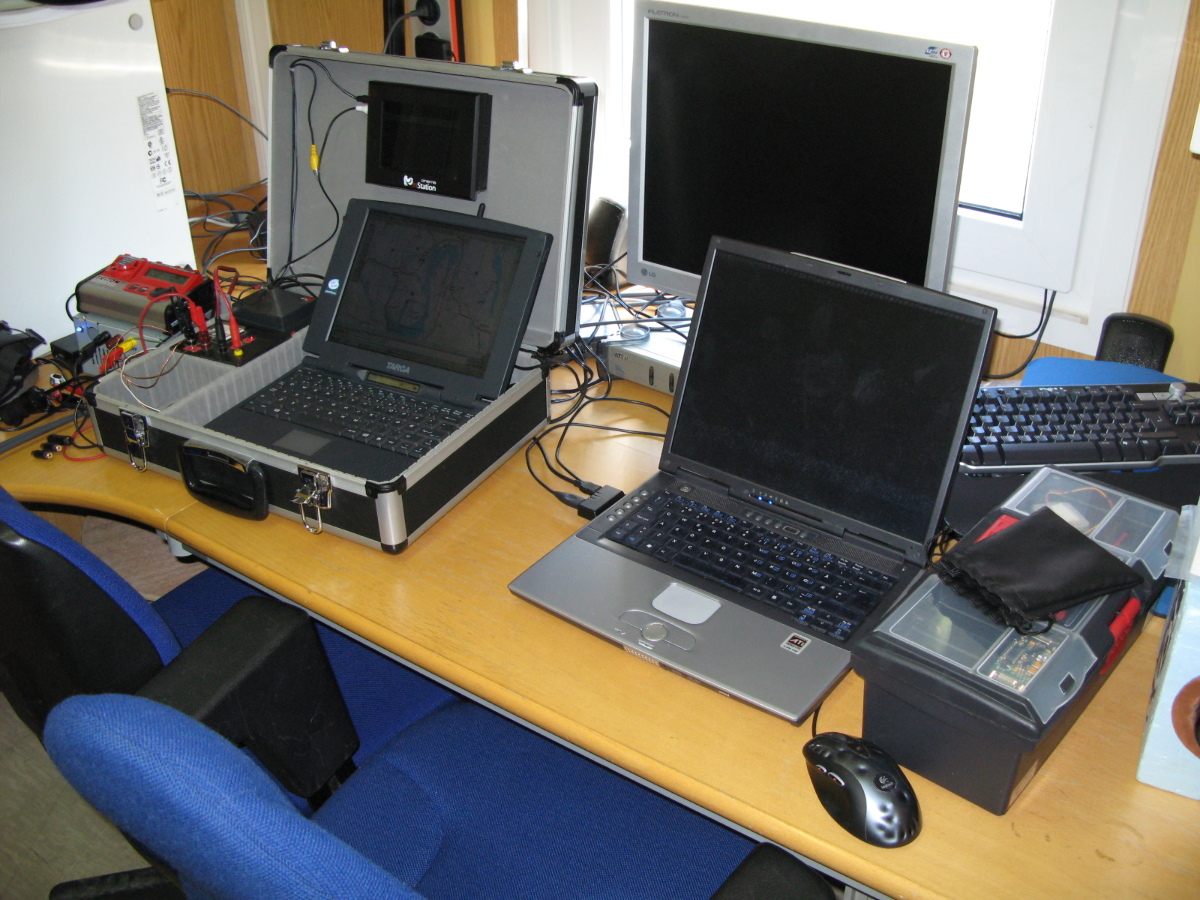
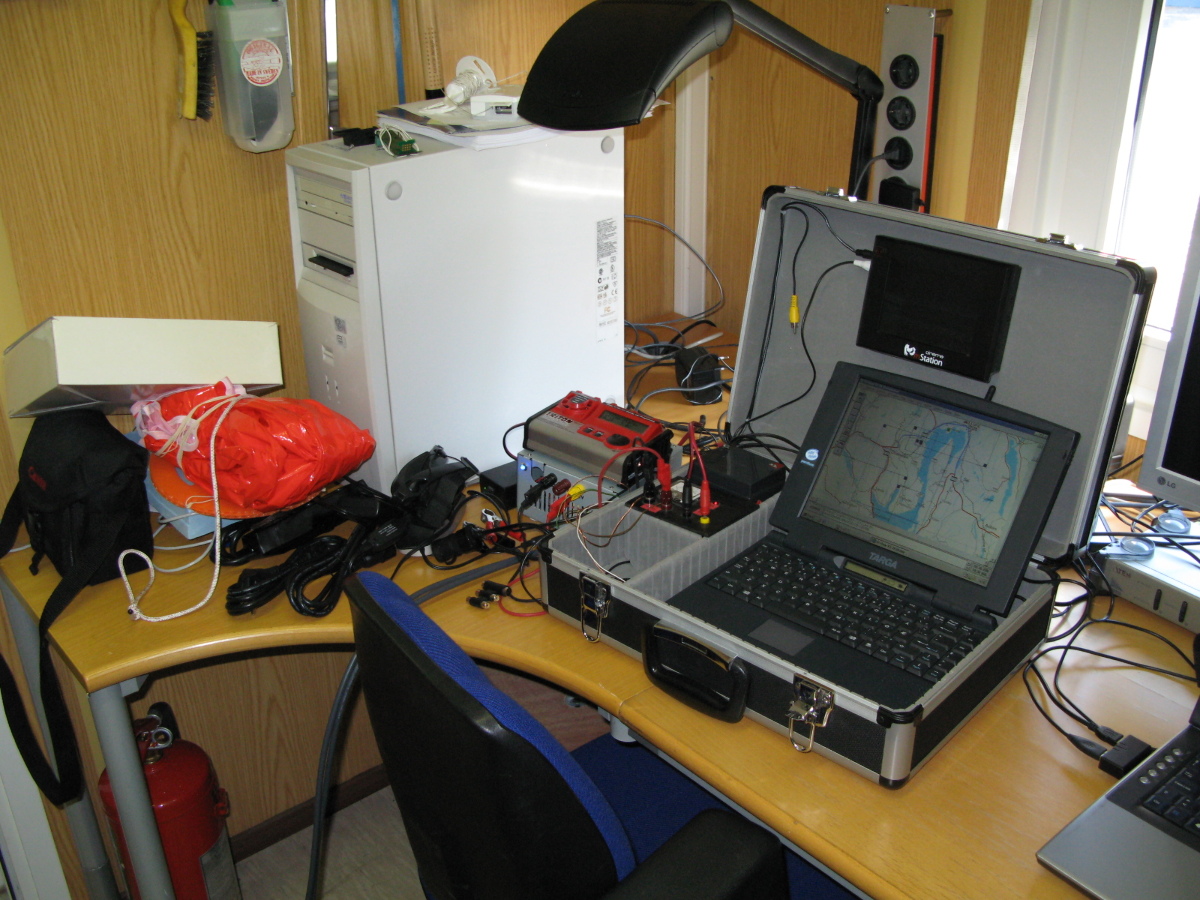
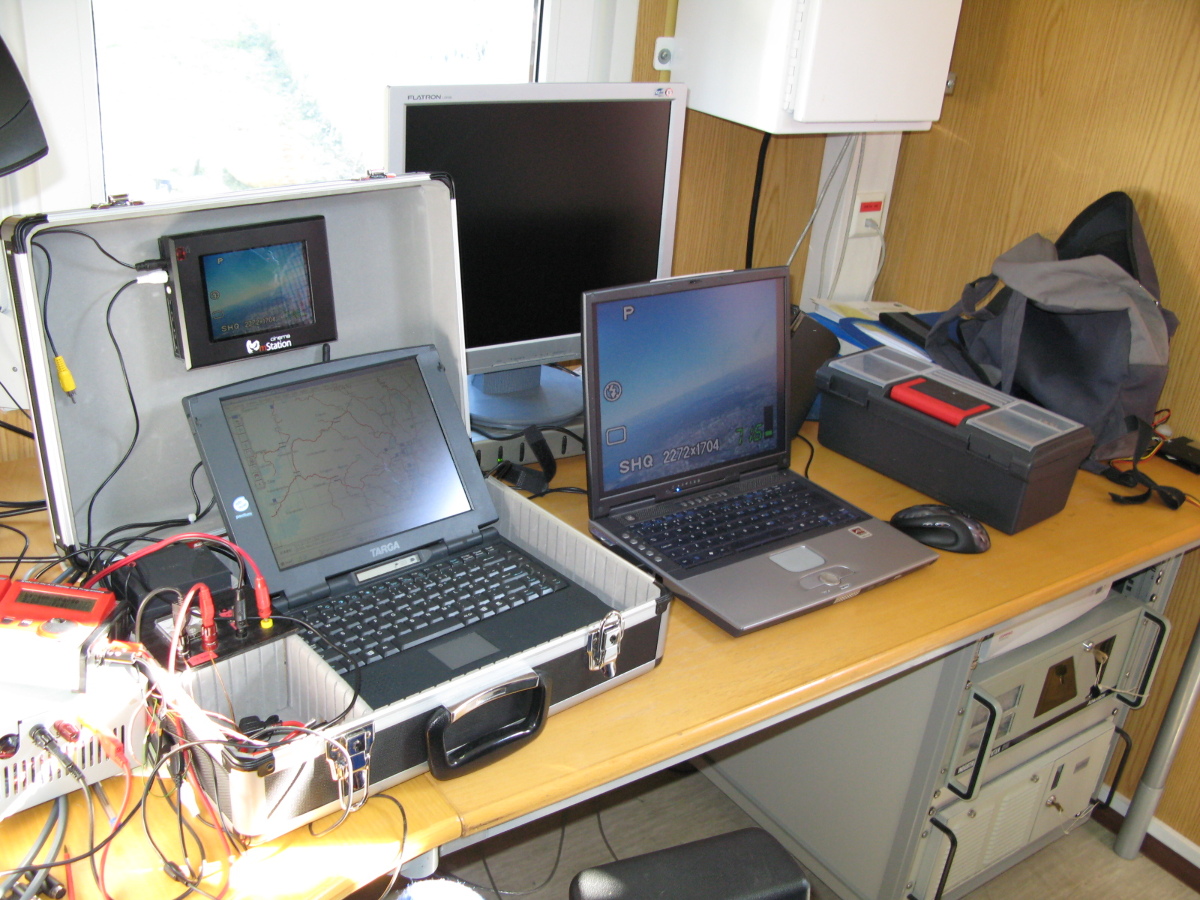
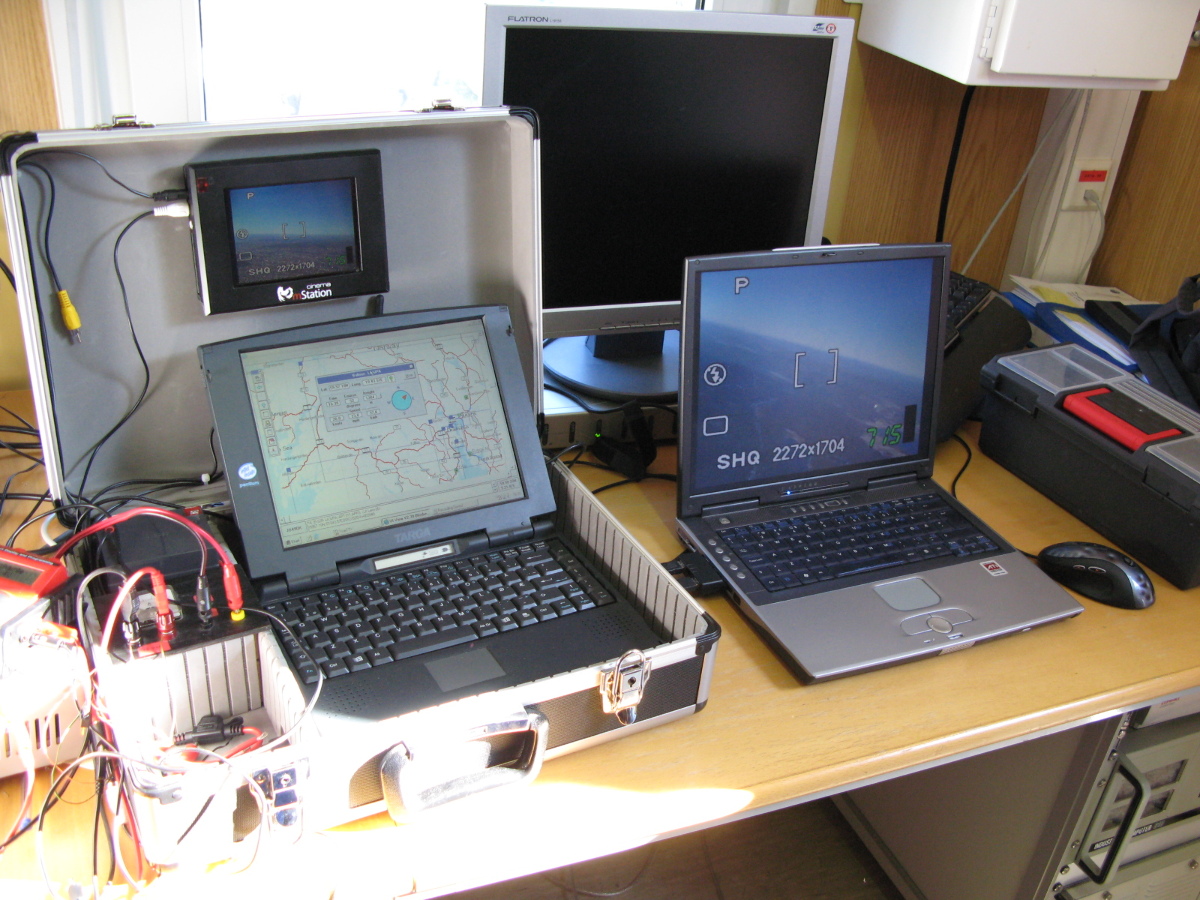
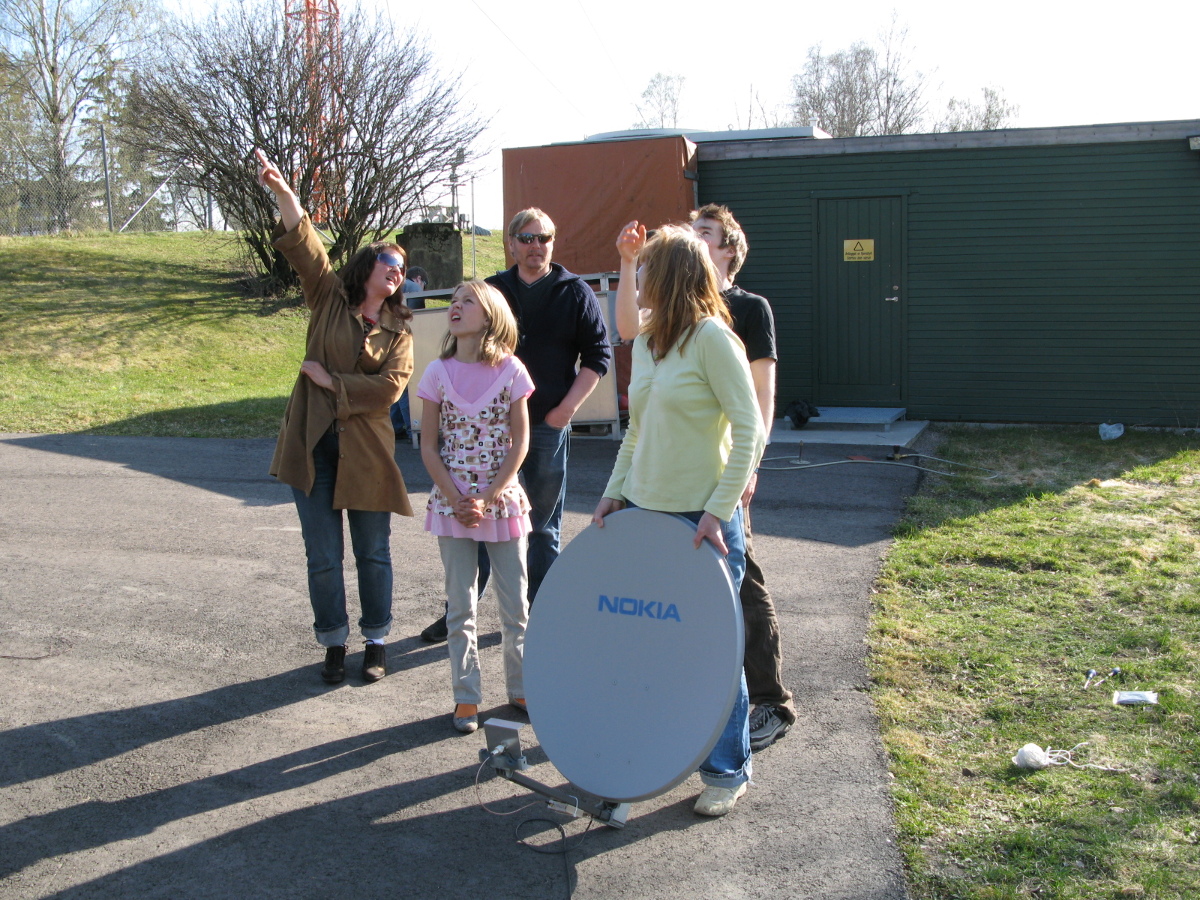
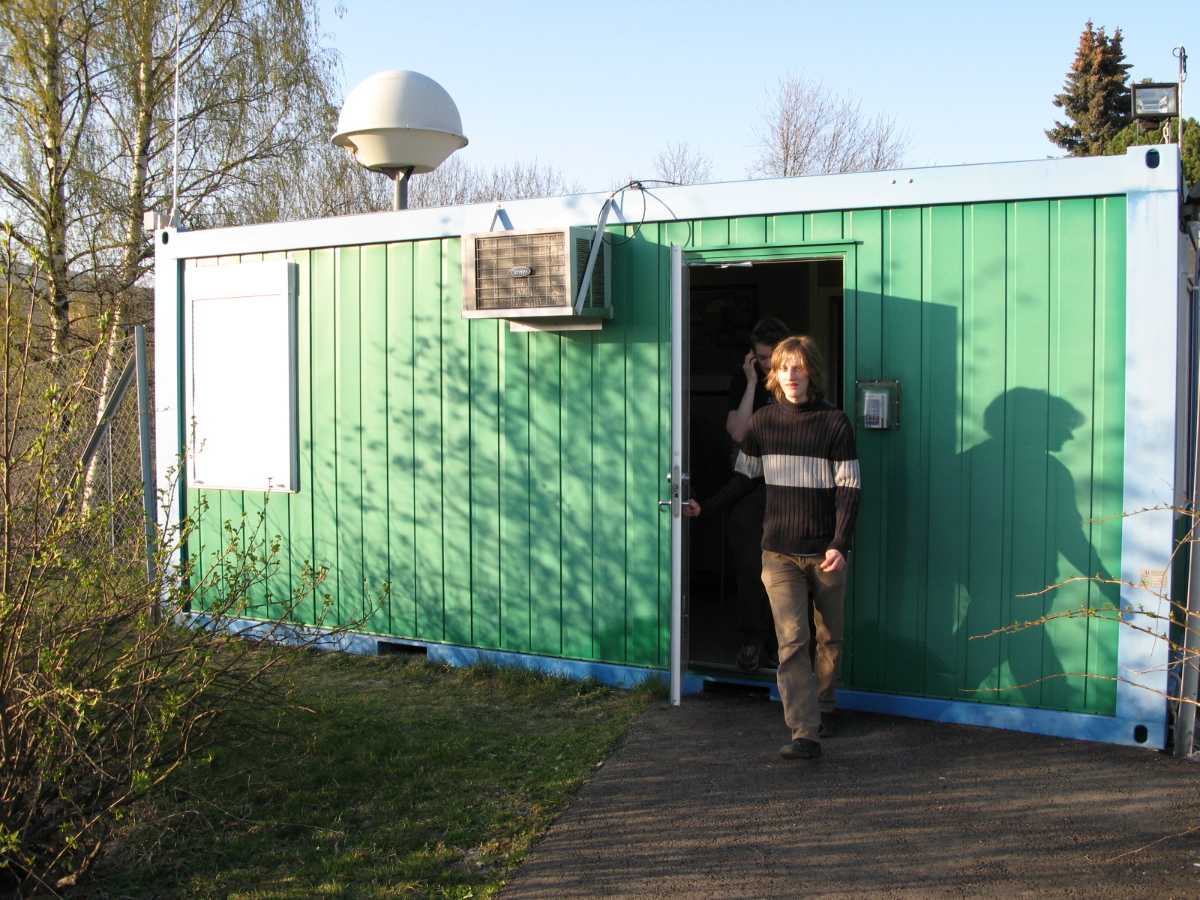
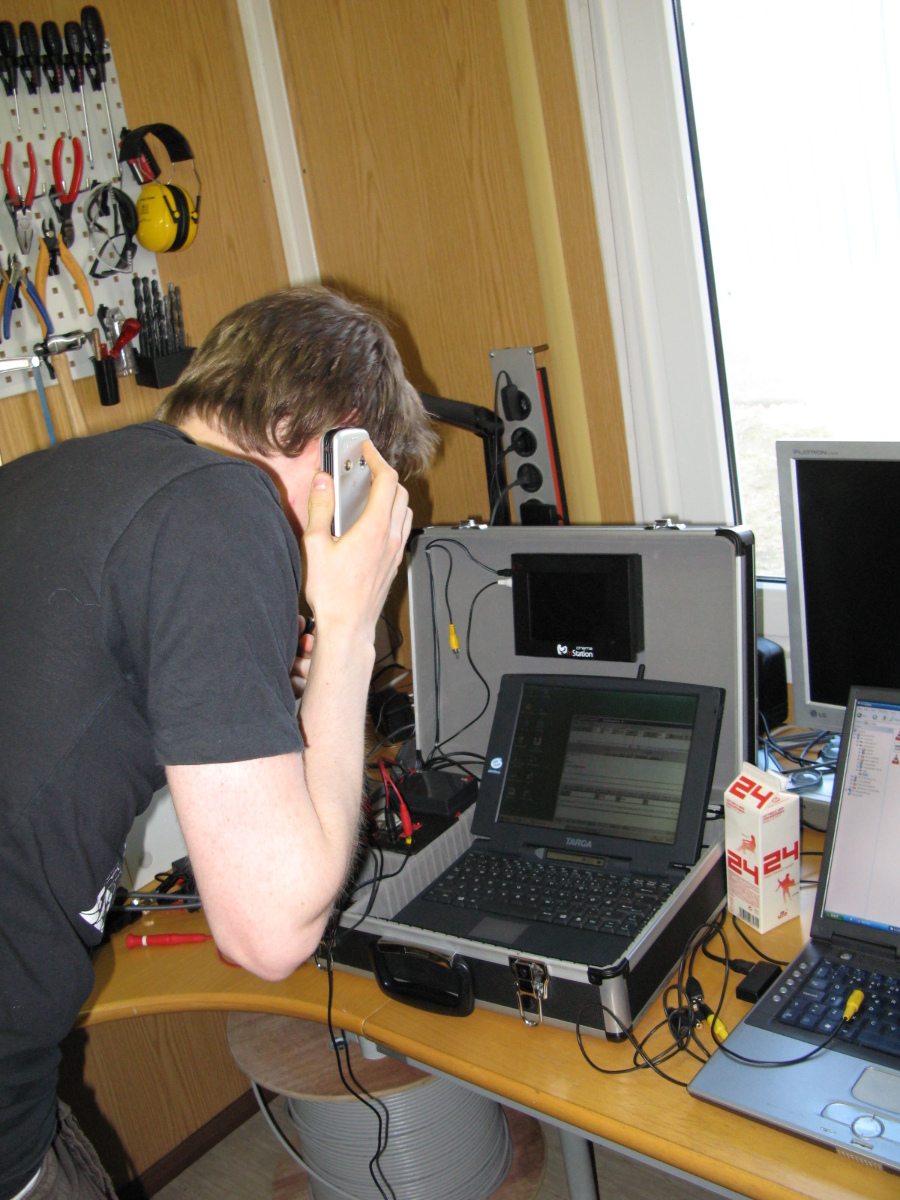
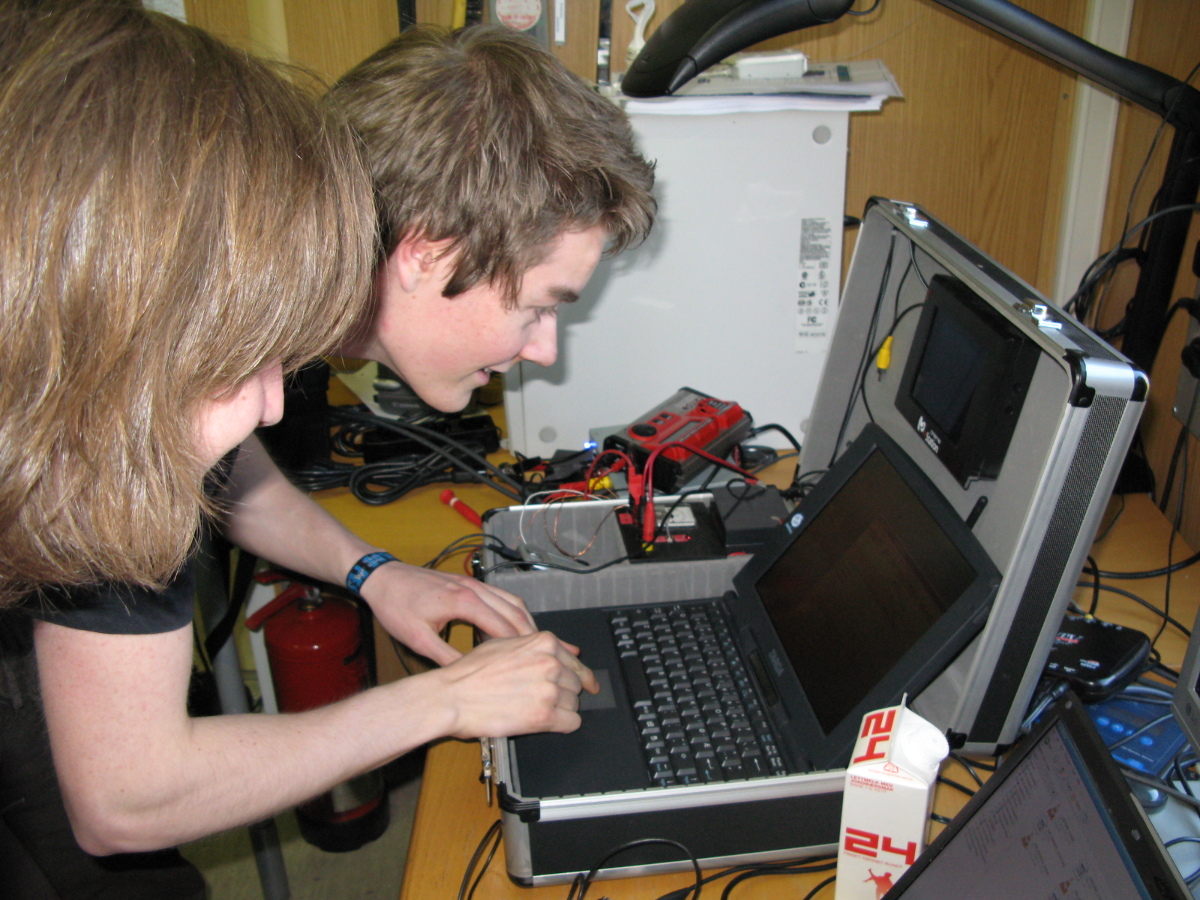
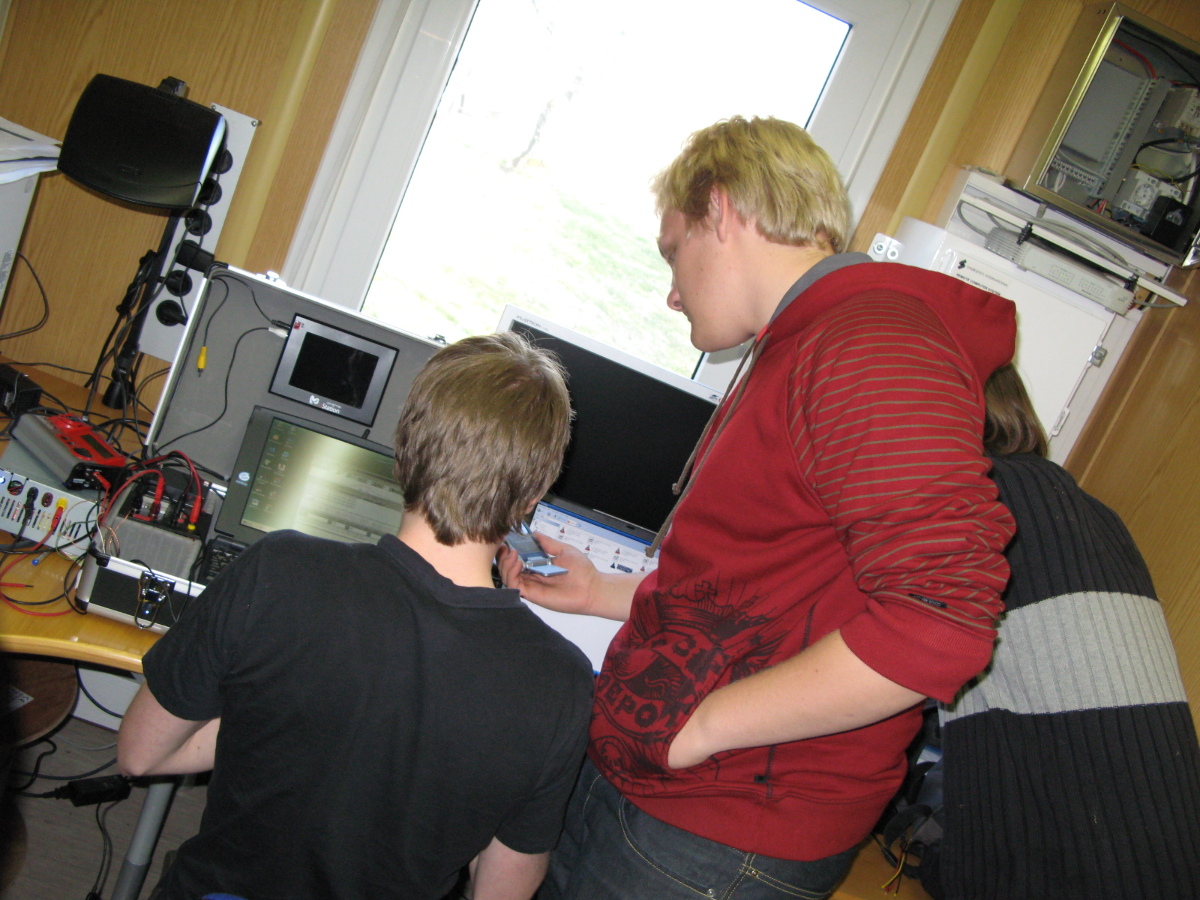
Ground station
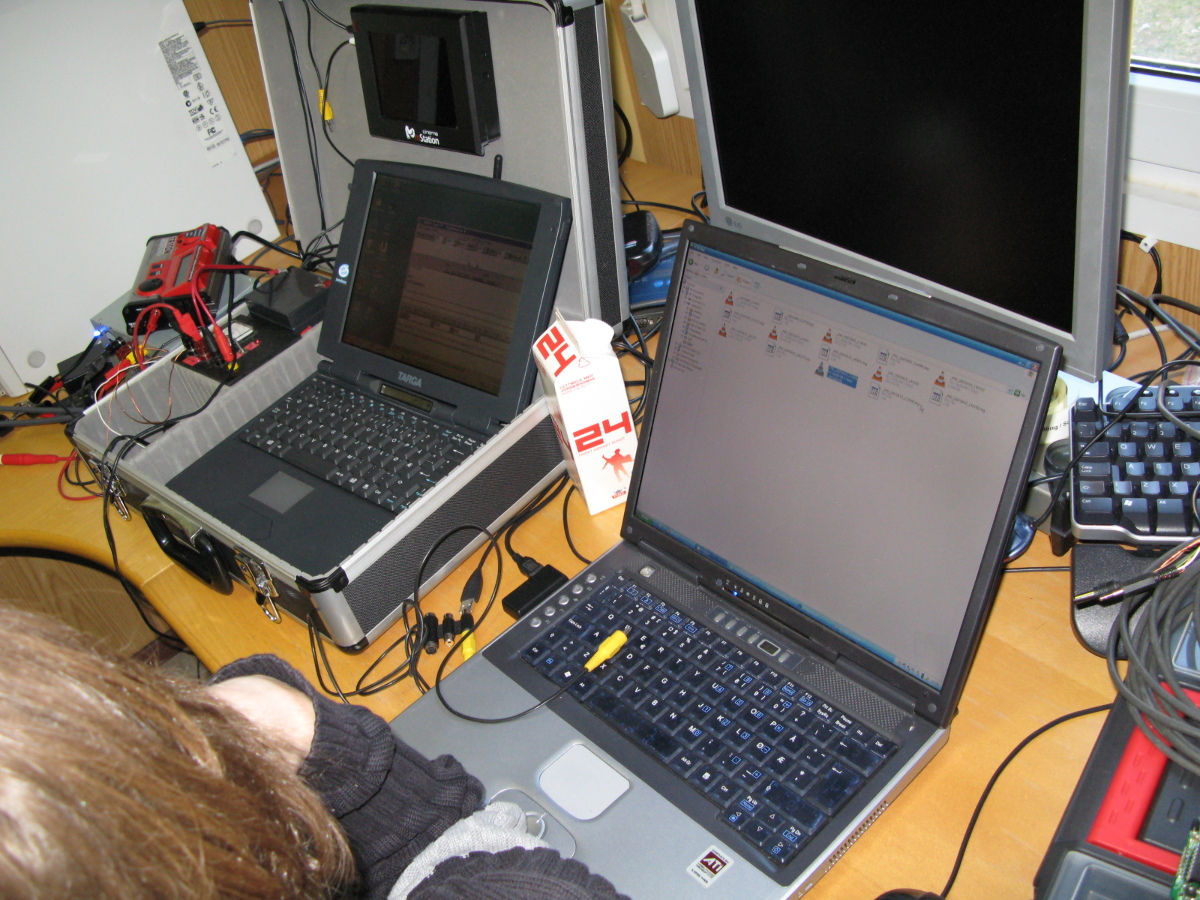
- Laptop running UI-View and TrueTTY
- Laptop with composite video input
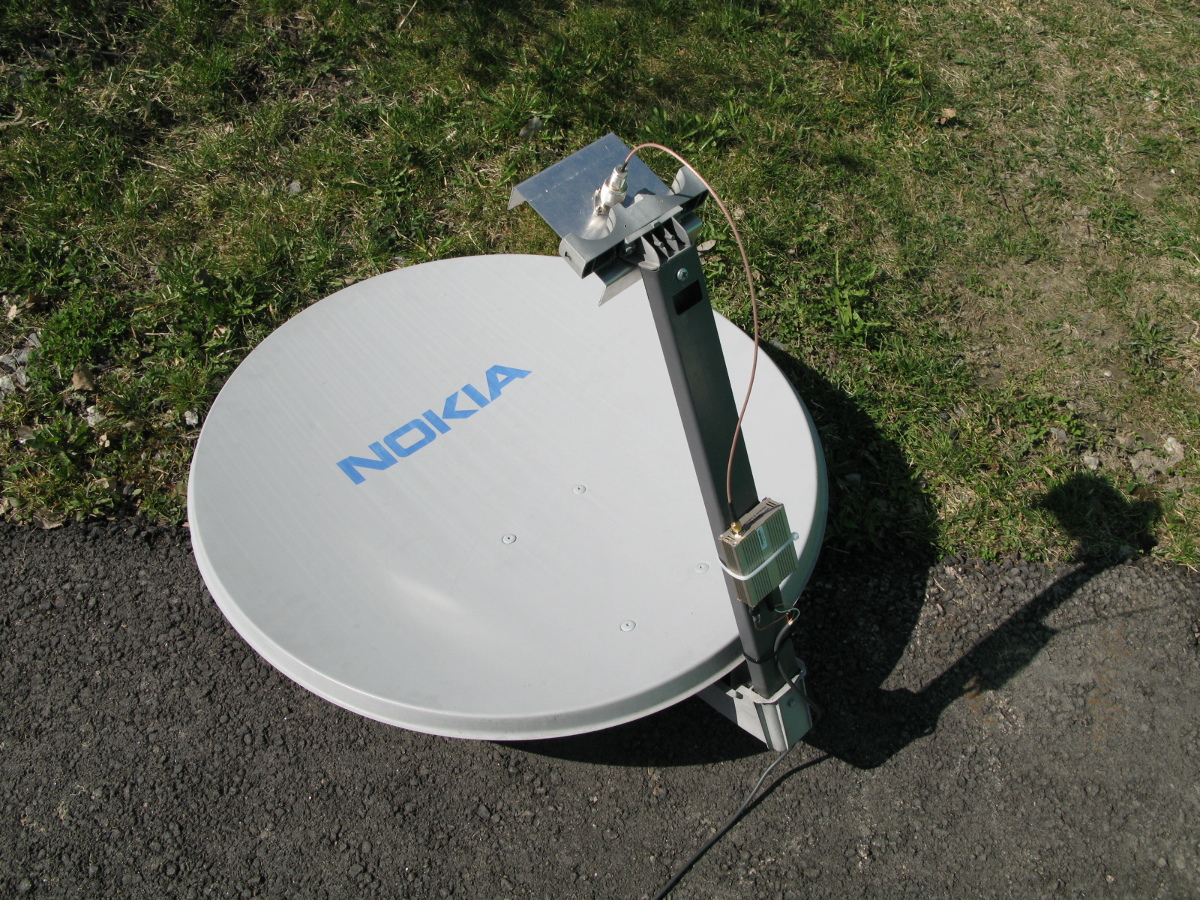
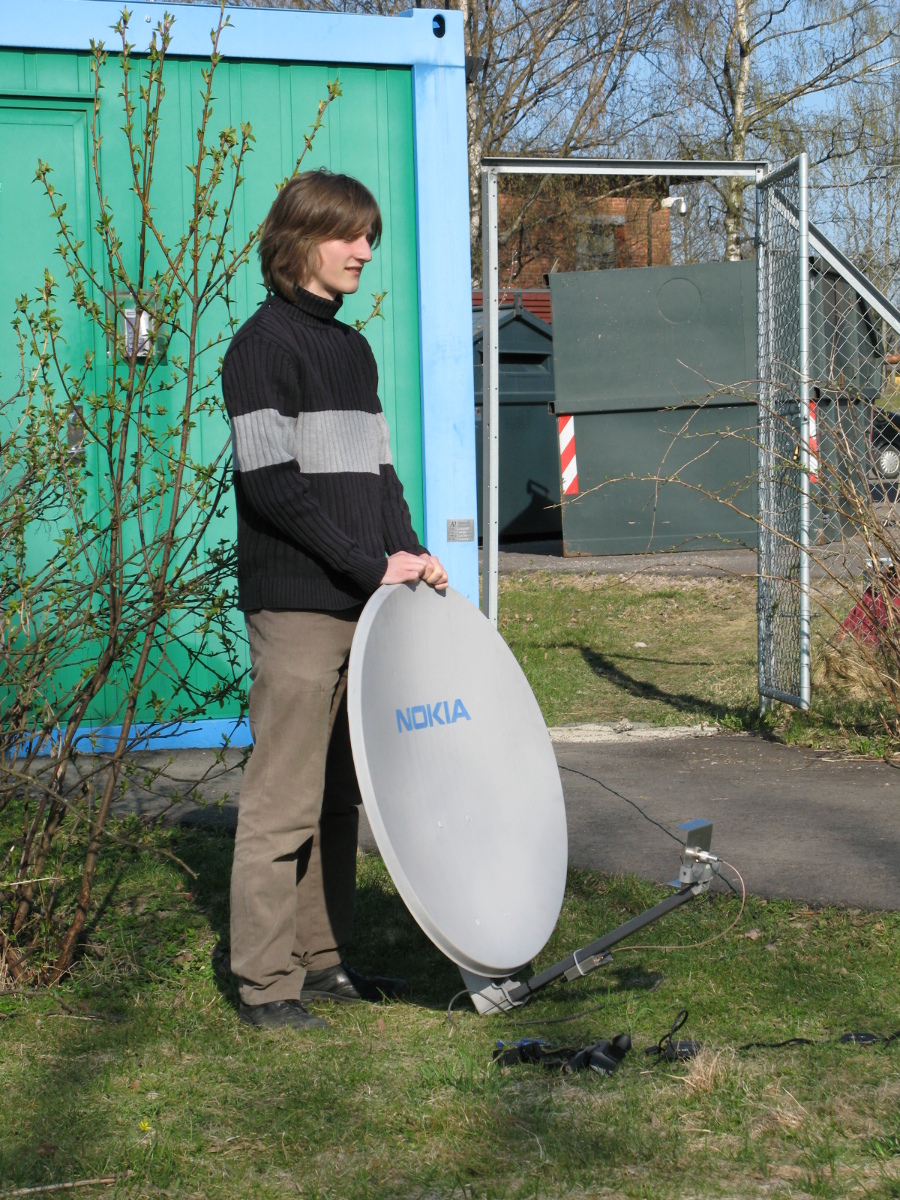
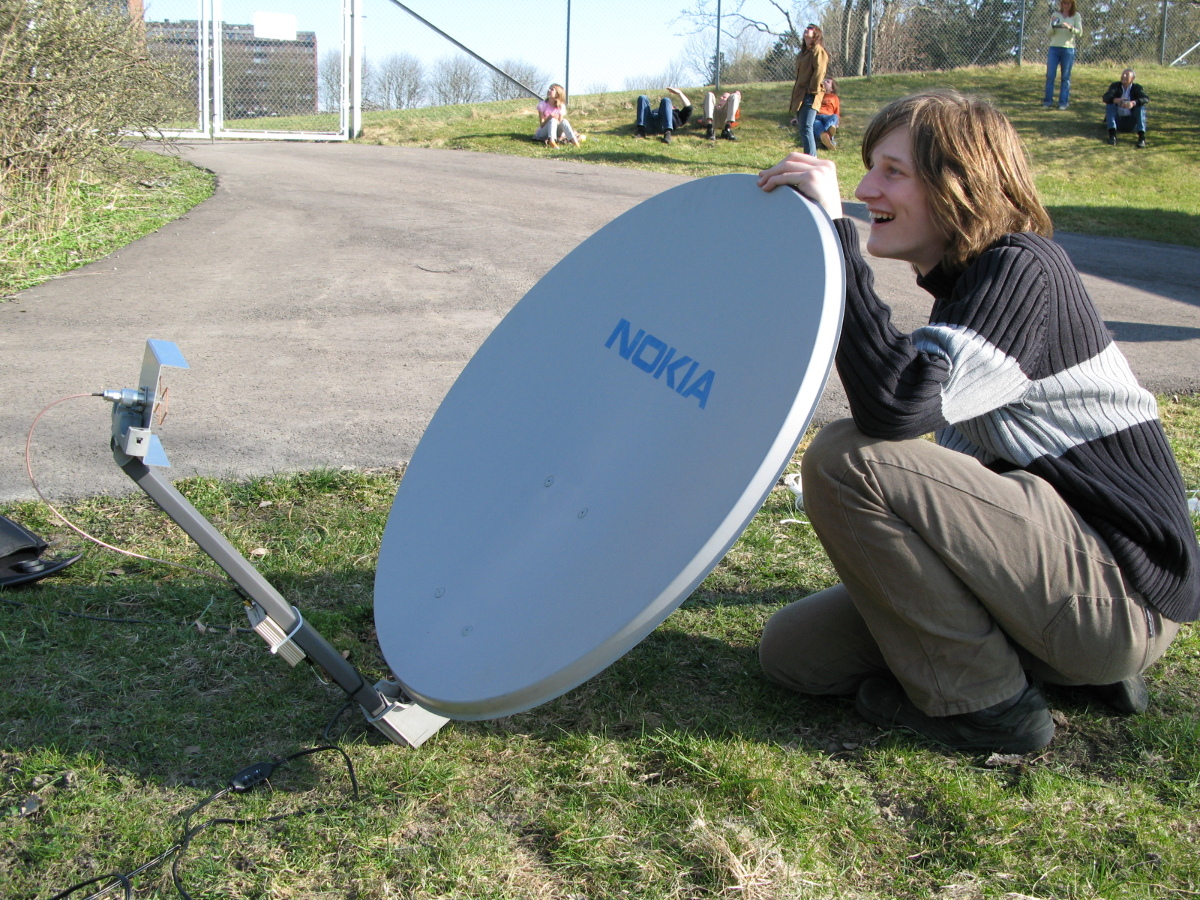
- Nokia parabolic antenna with a homebrew 2.4GHz bi-quad
- Black Widow 2.4 GHz A/V-receiver. The audio is fed into the first laptop, and the video channel is connected to the second laptop and the 5 inch monitor.
- 5" LCD-monitor
- Cell phone connected to the first laptop
Video
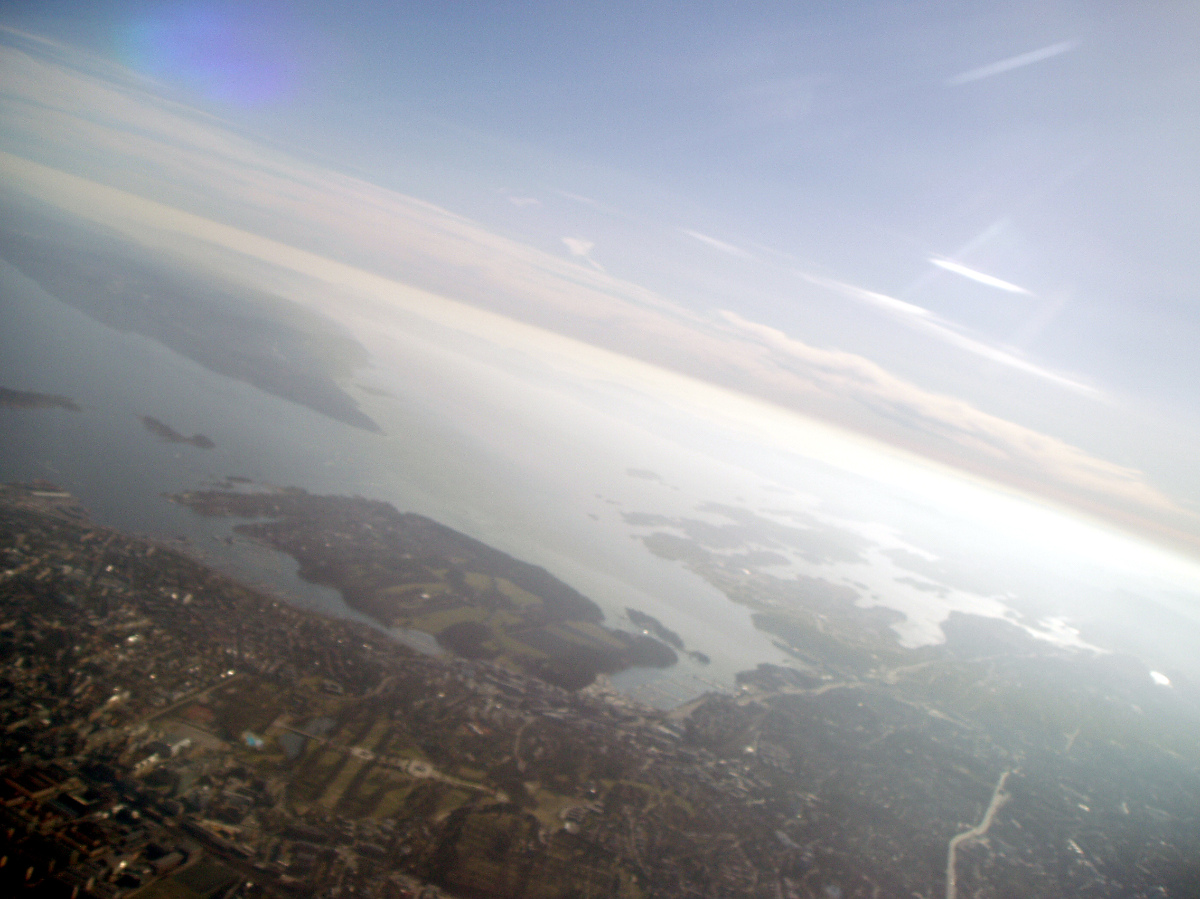
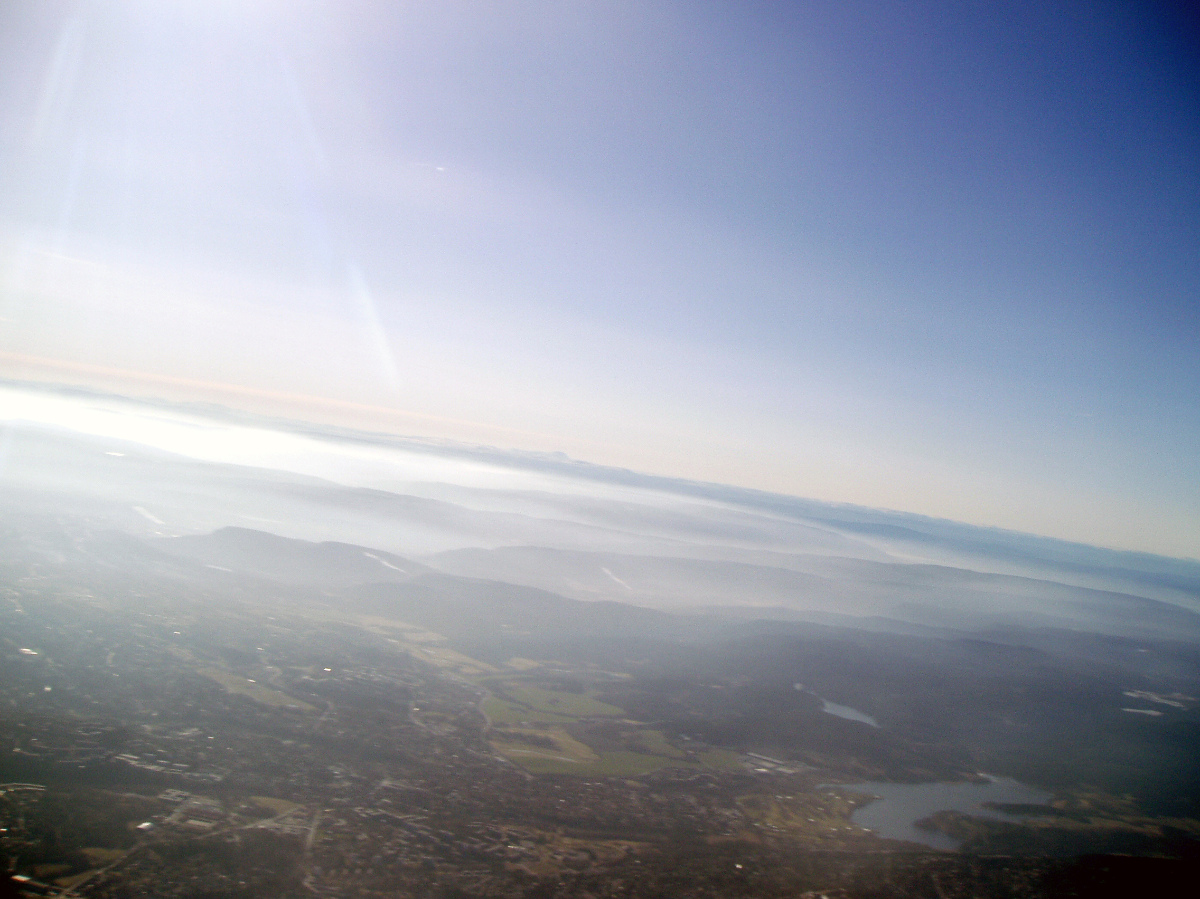
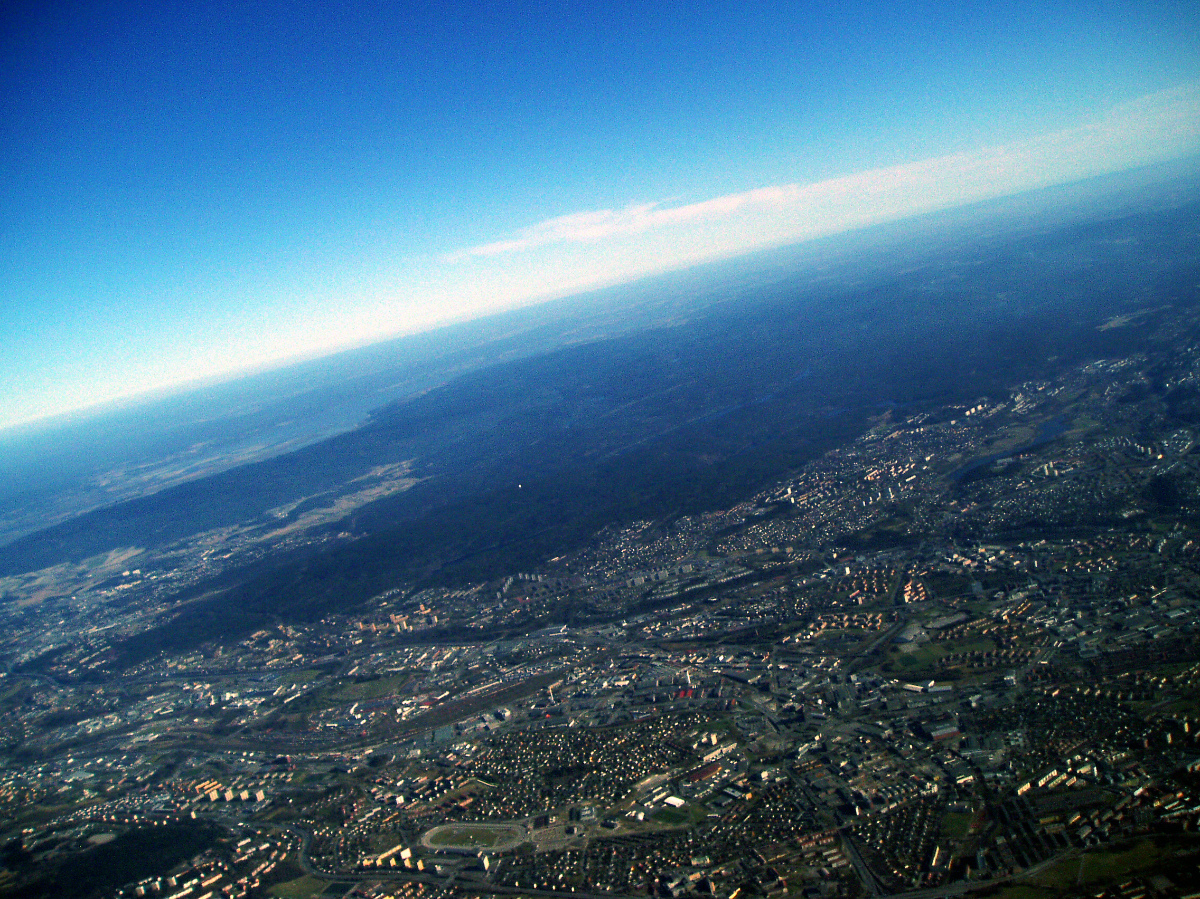
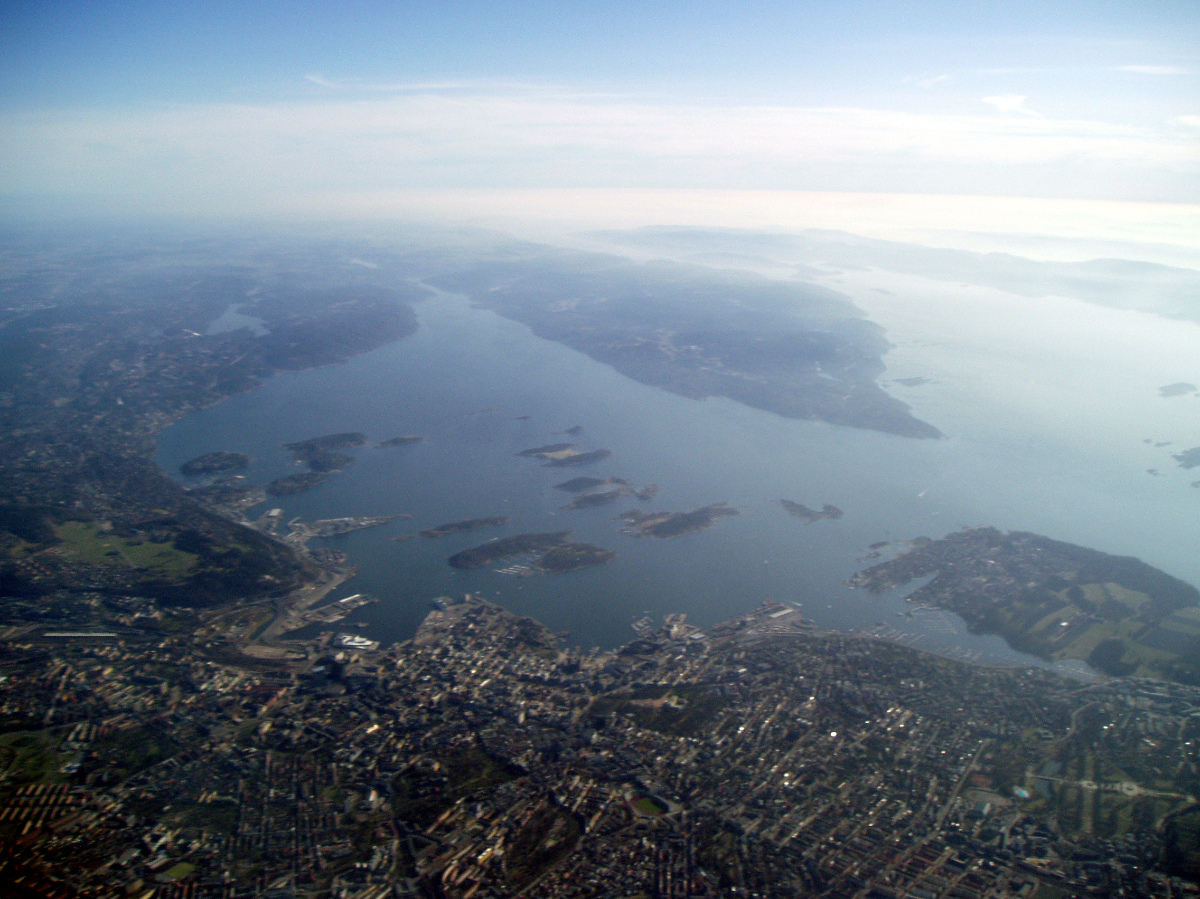
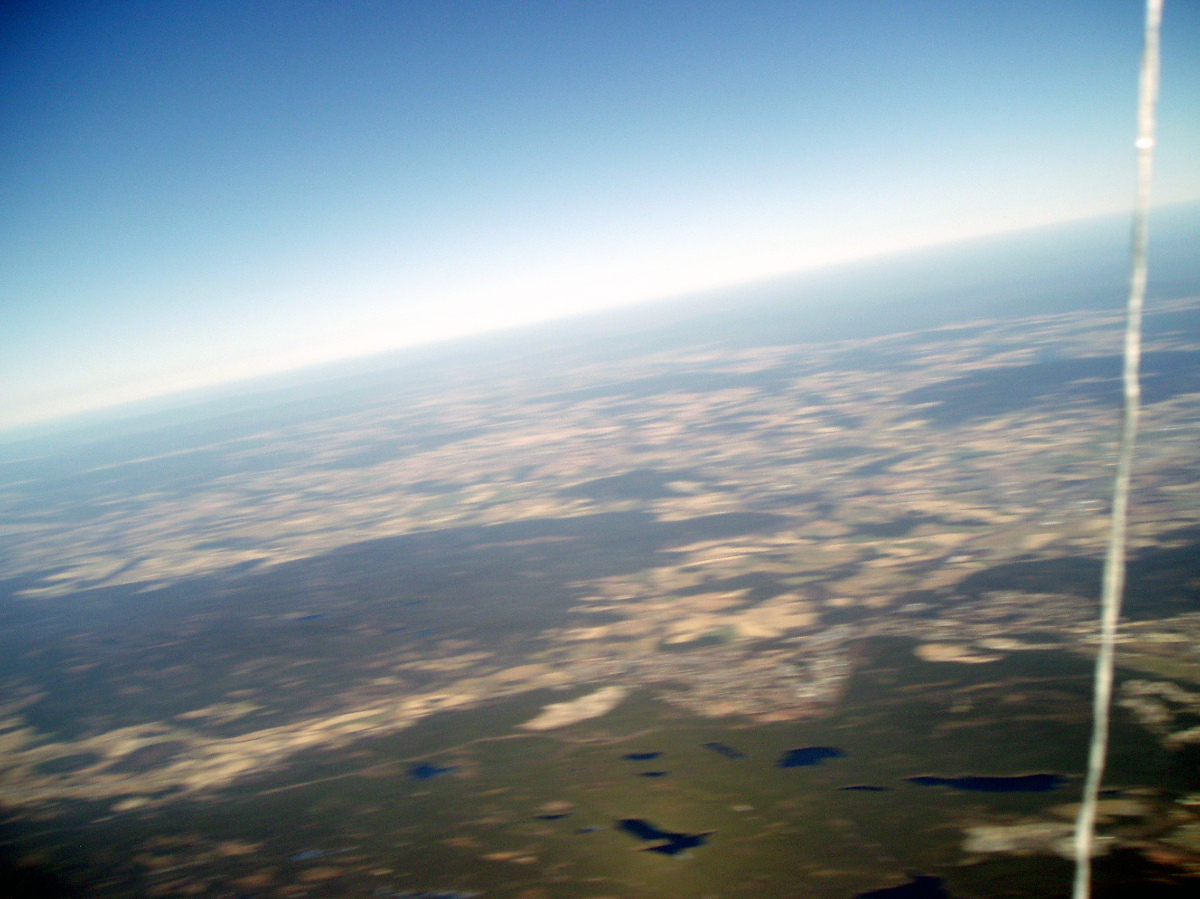
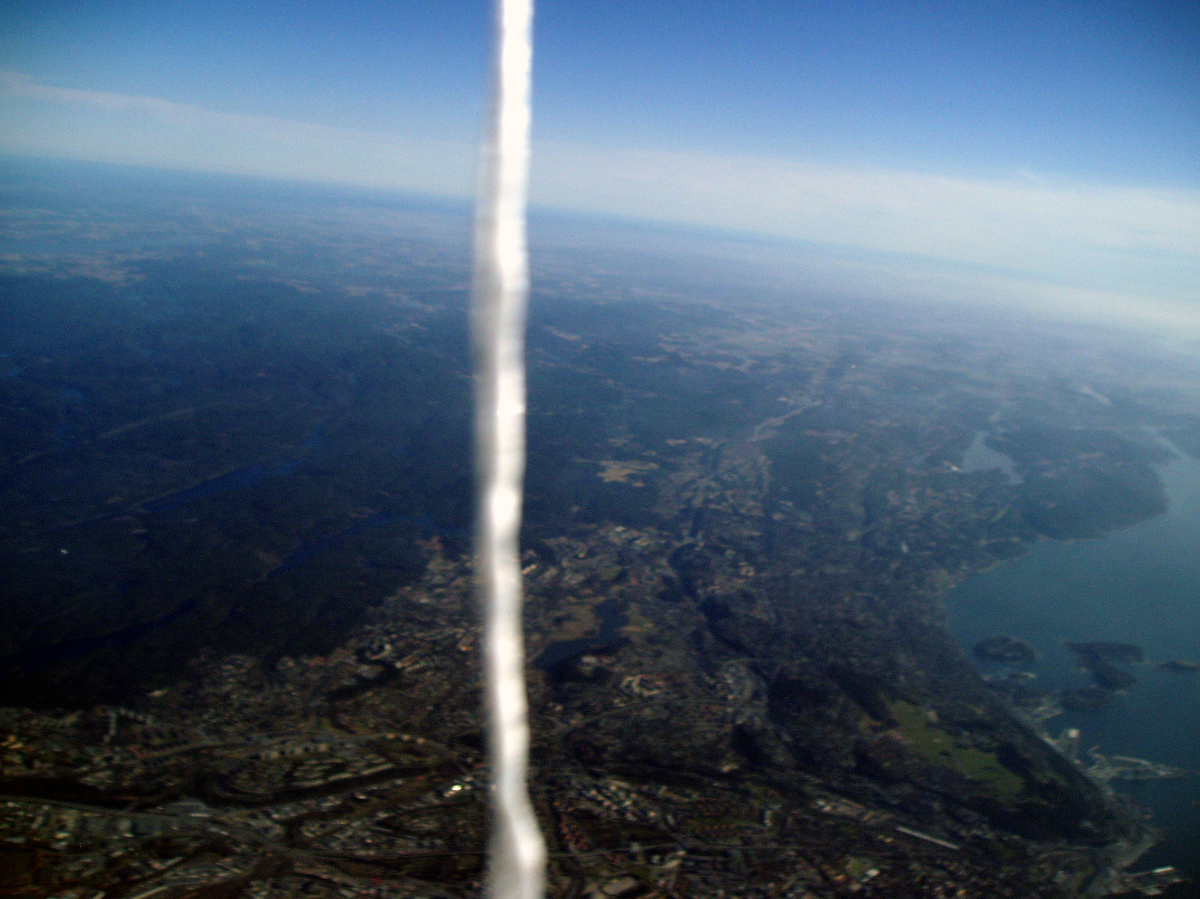
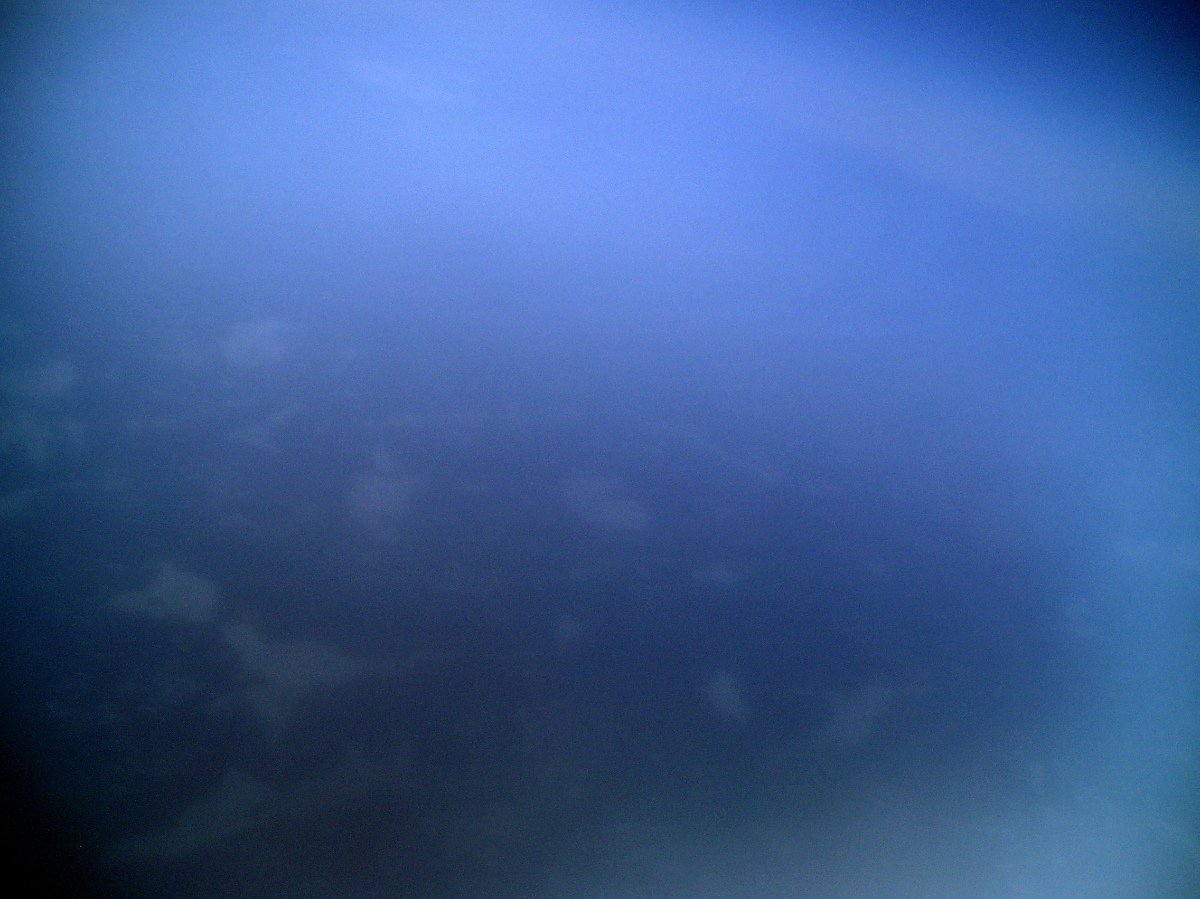
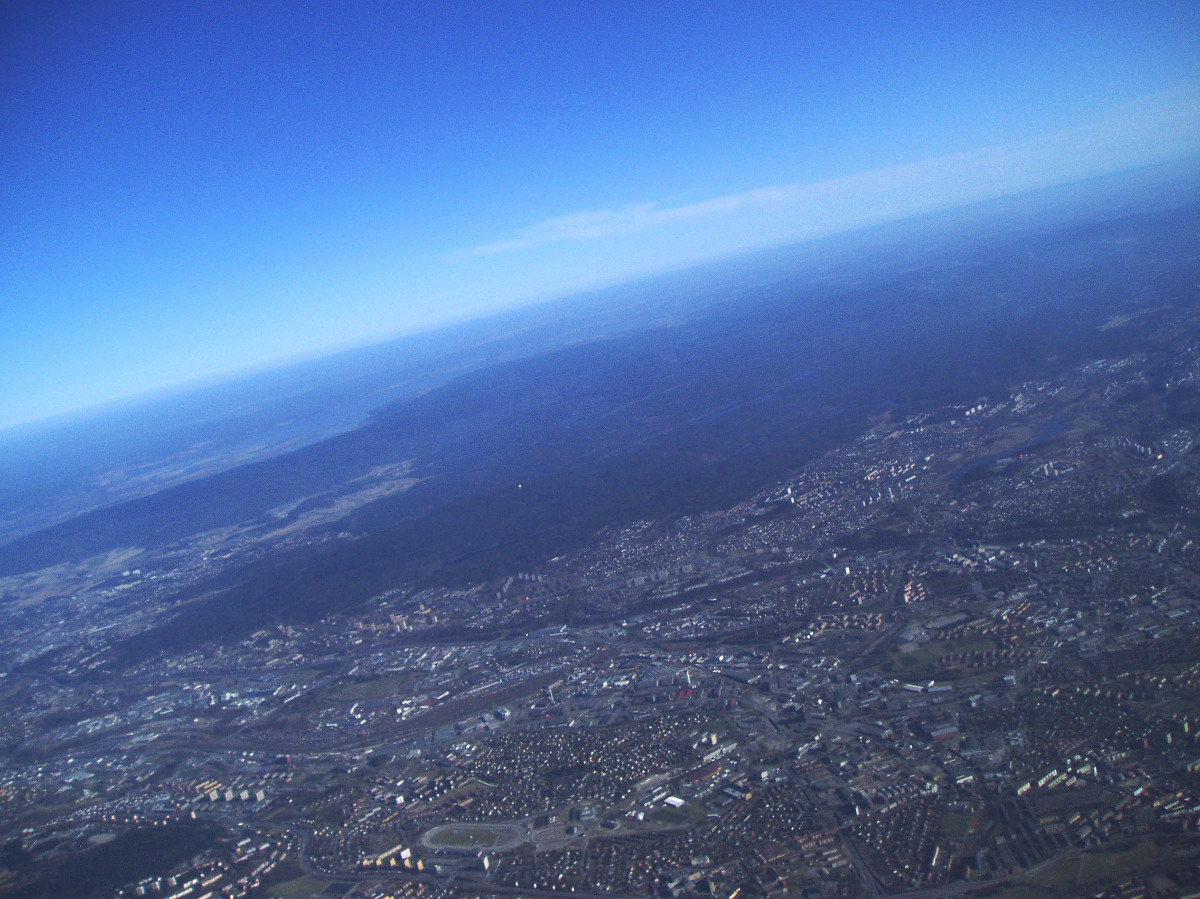
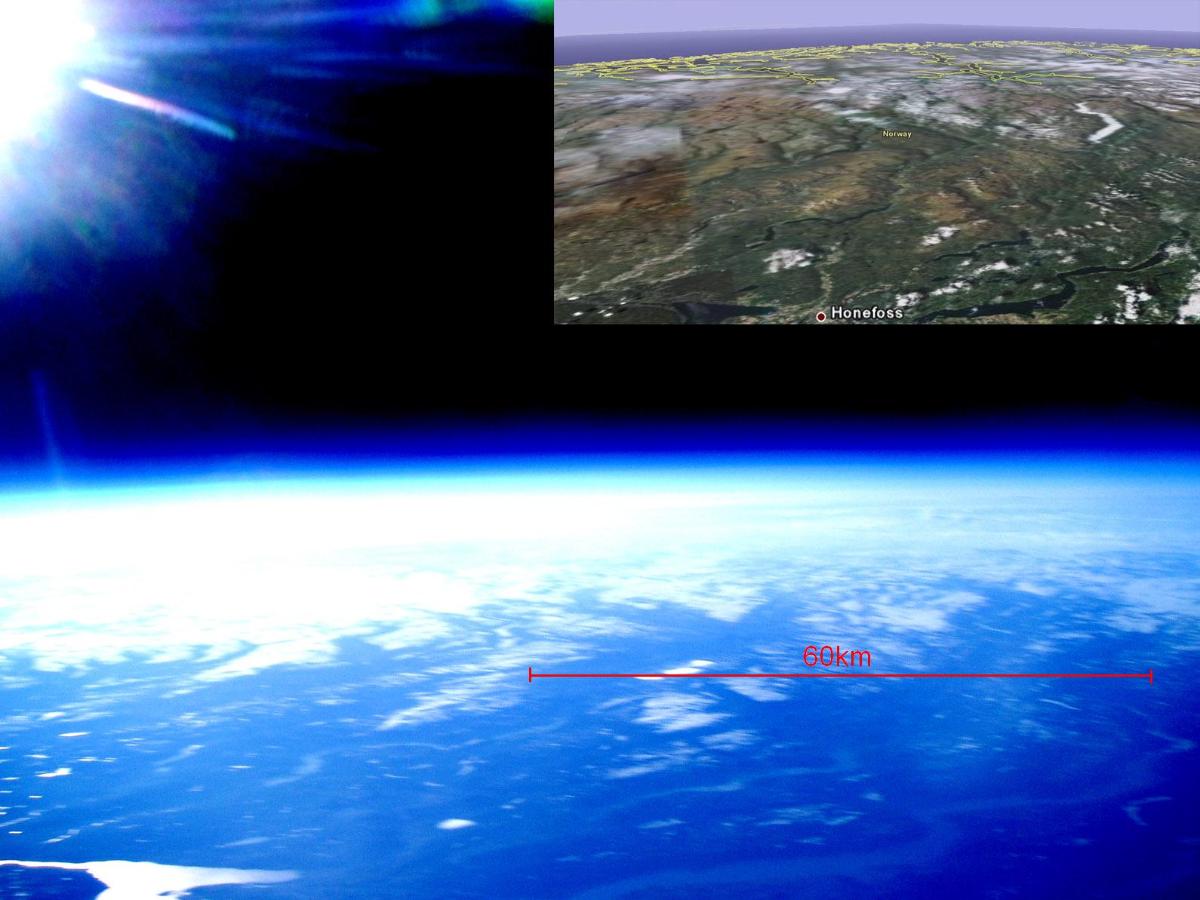
Pictures
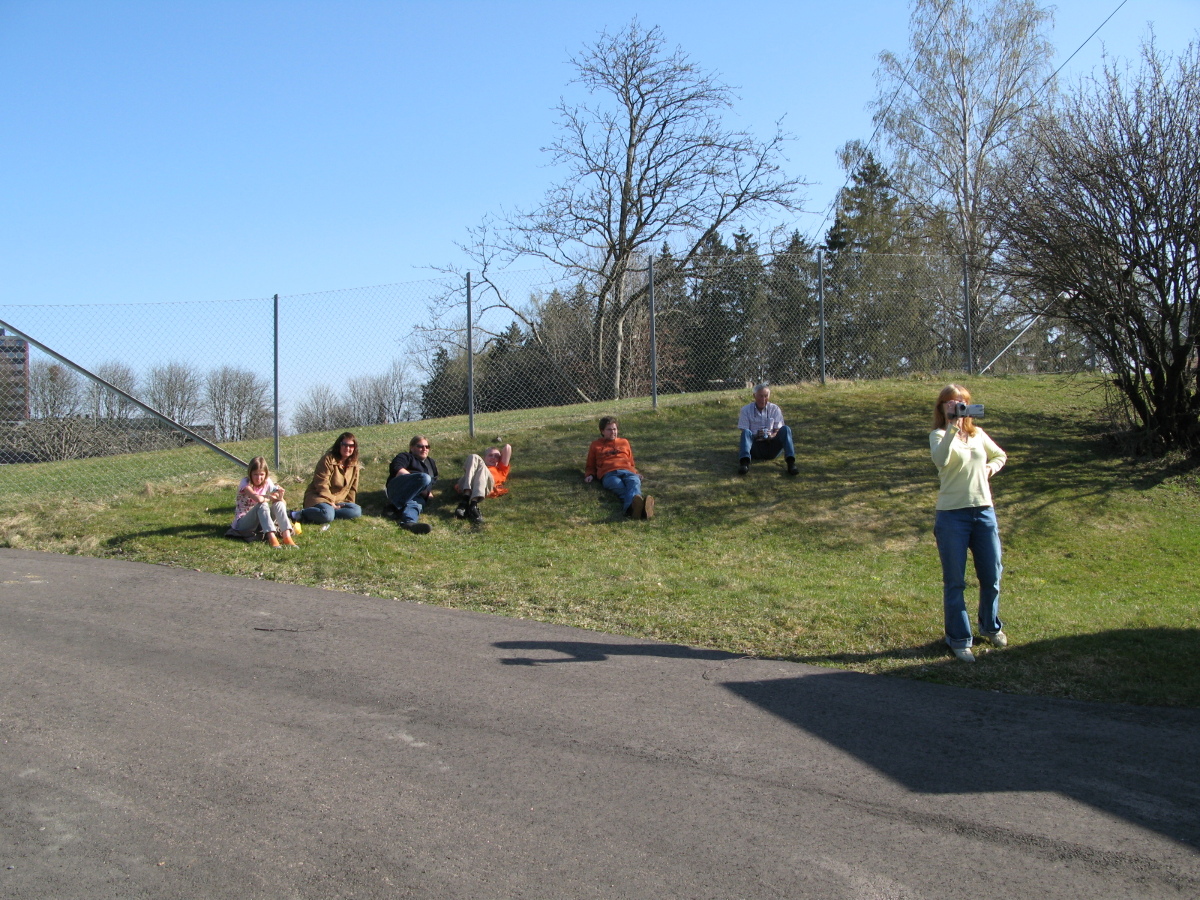
Airborne
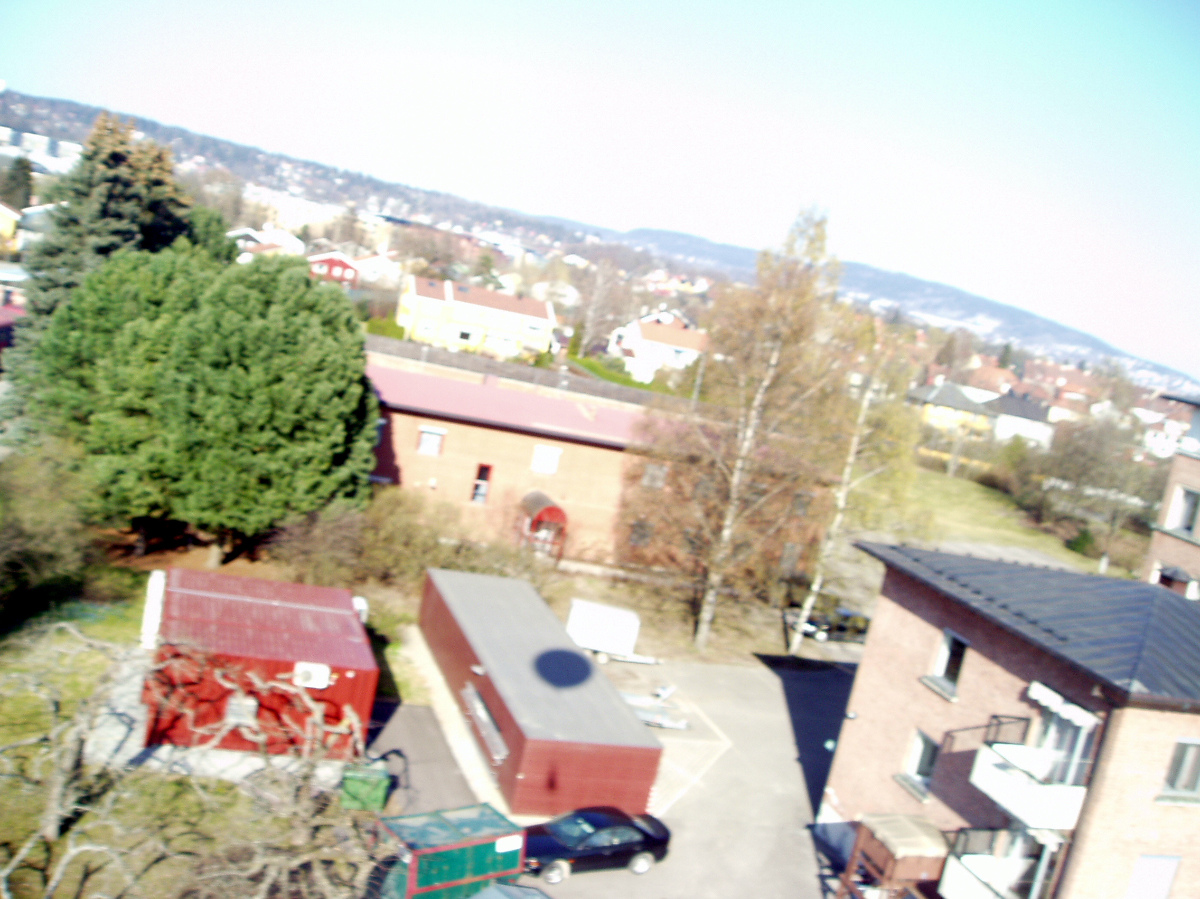


From the Meteorological Institute of Norway and the landing spot


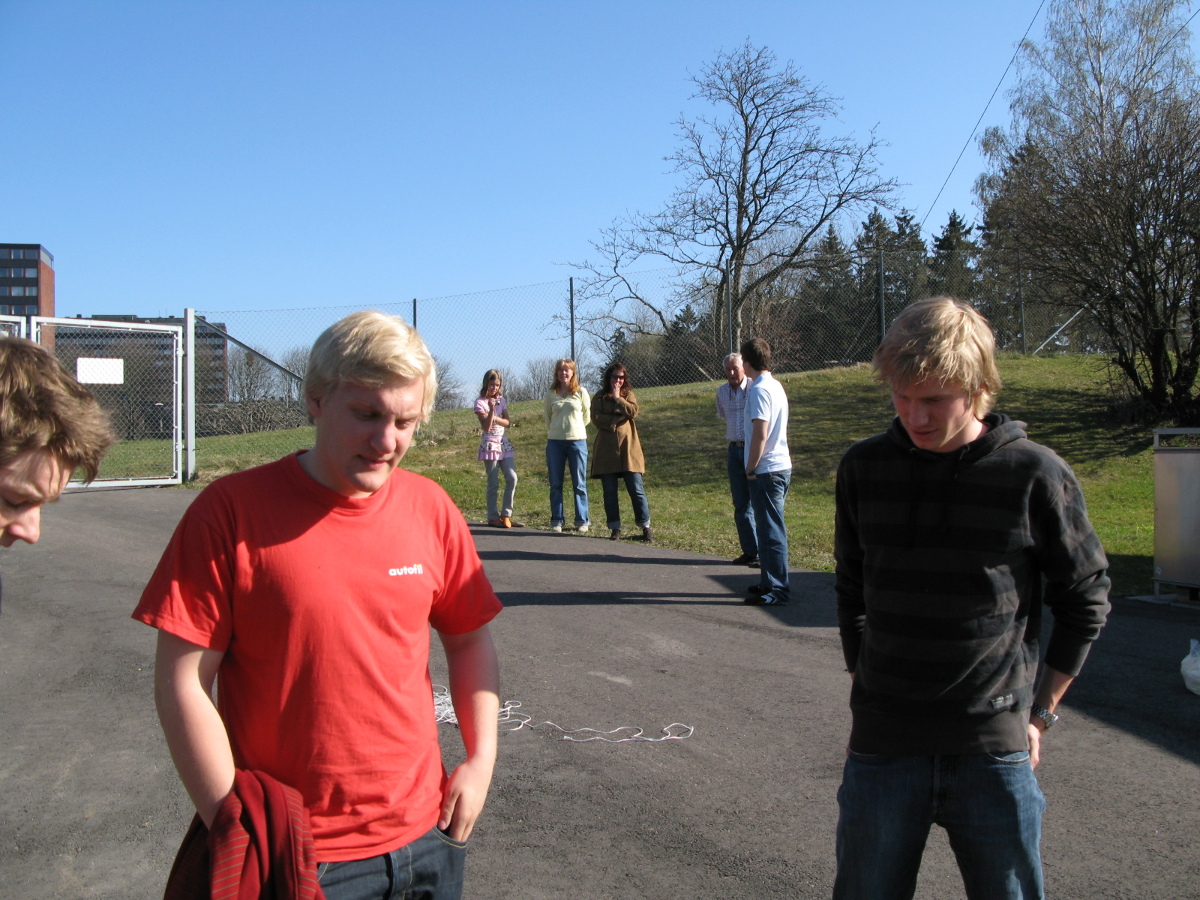
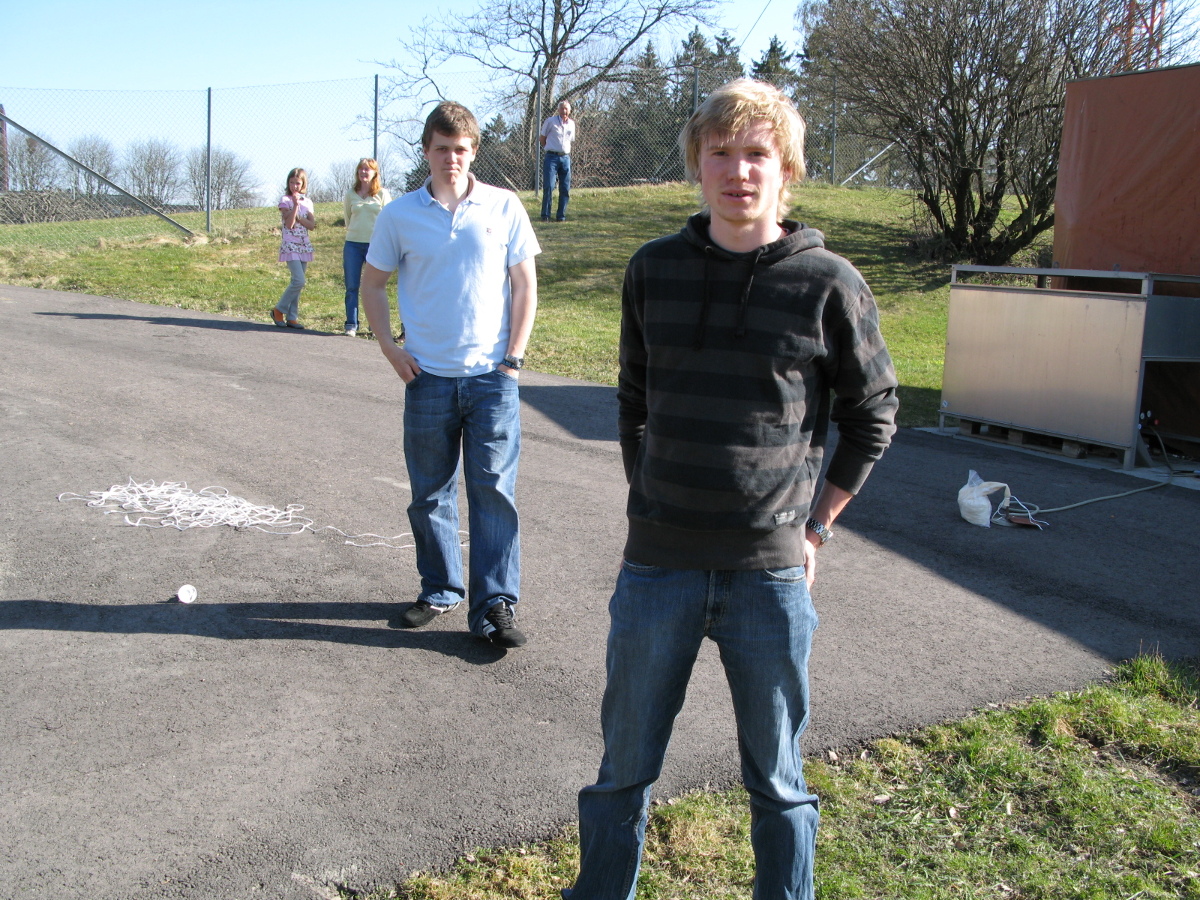


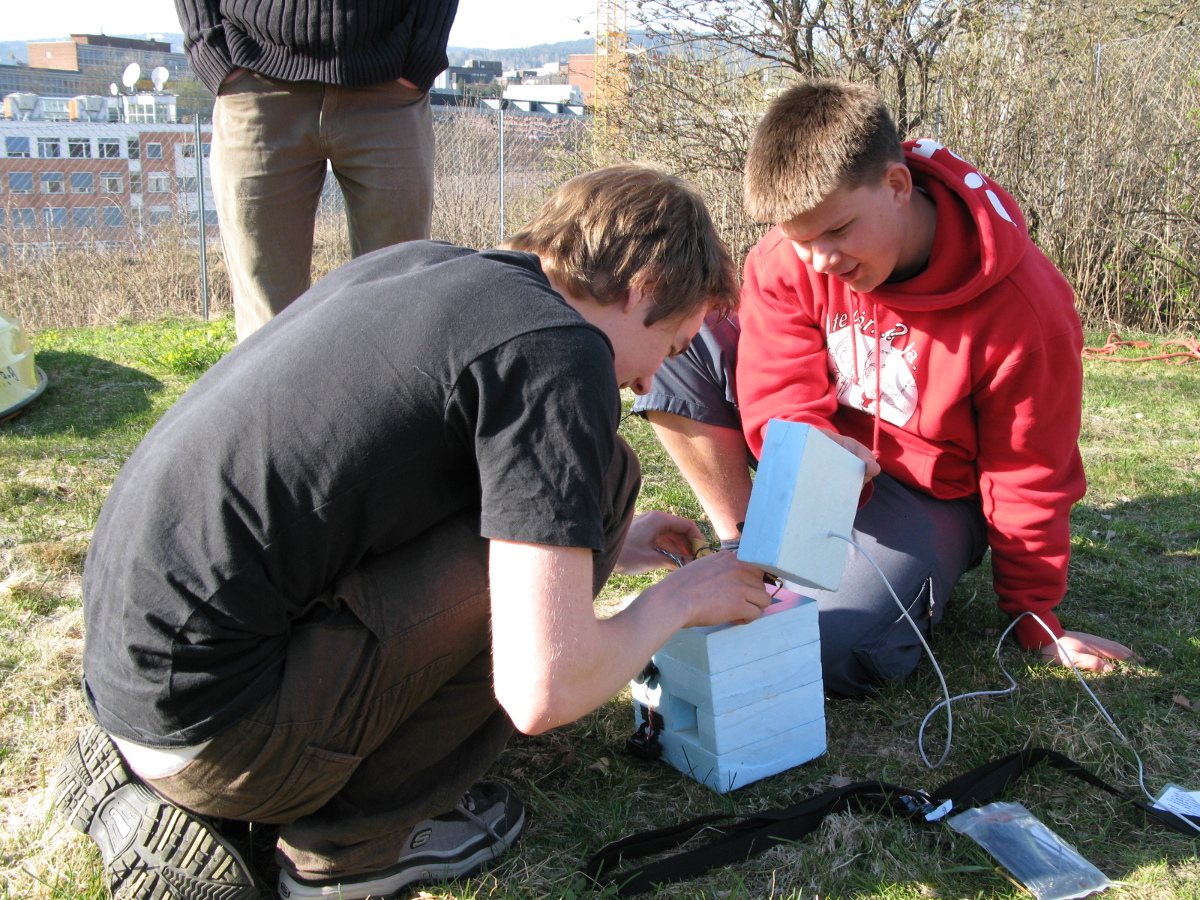

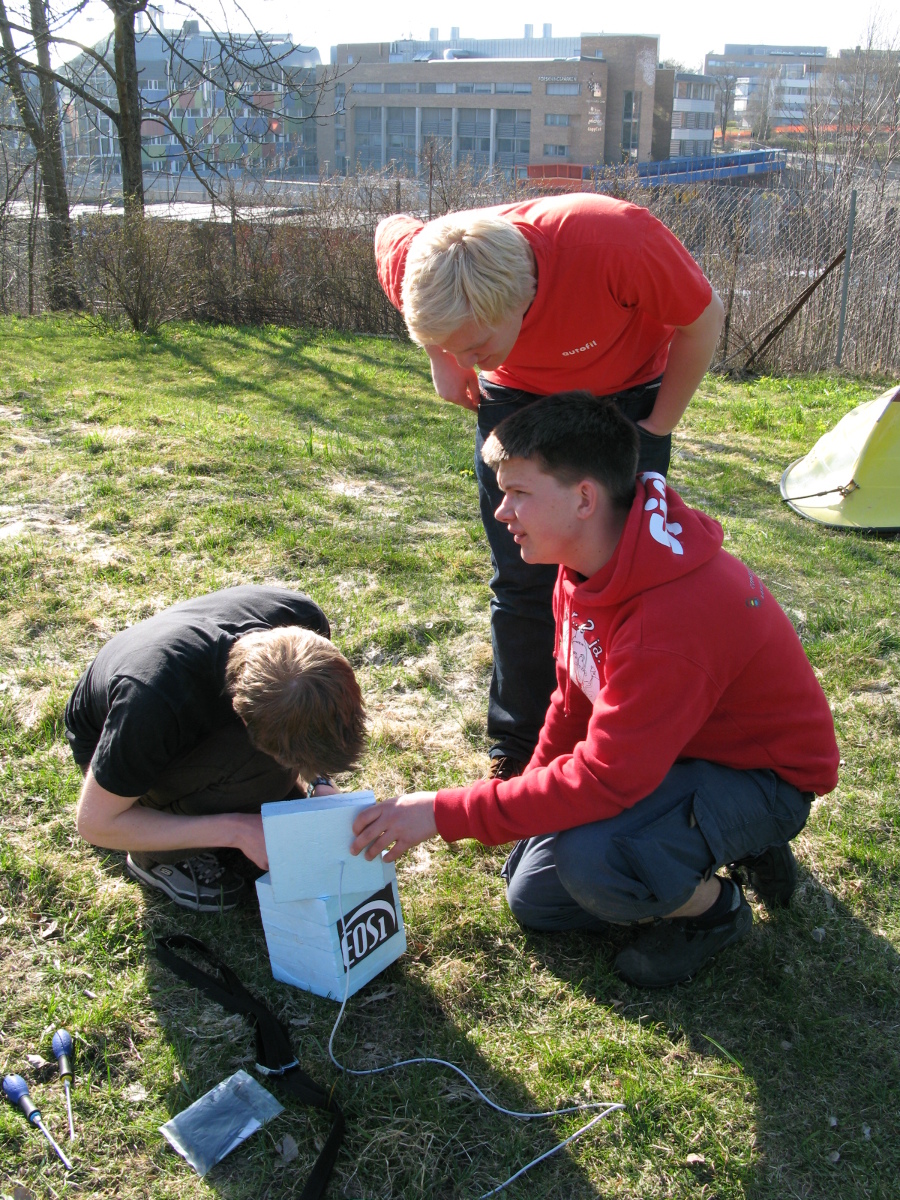
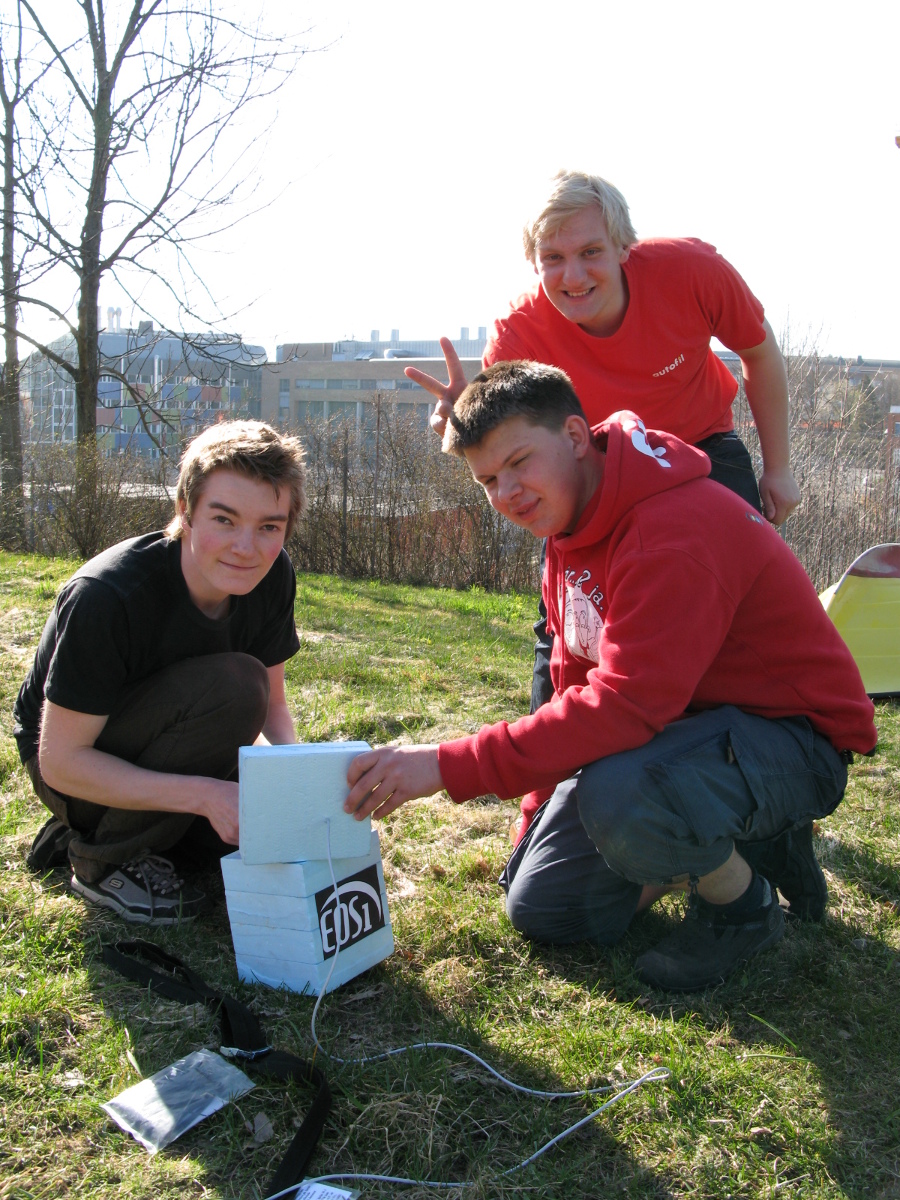


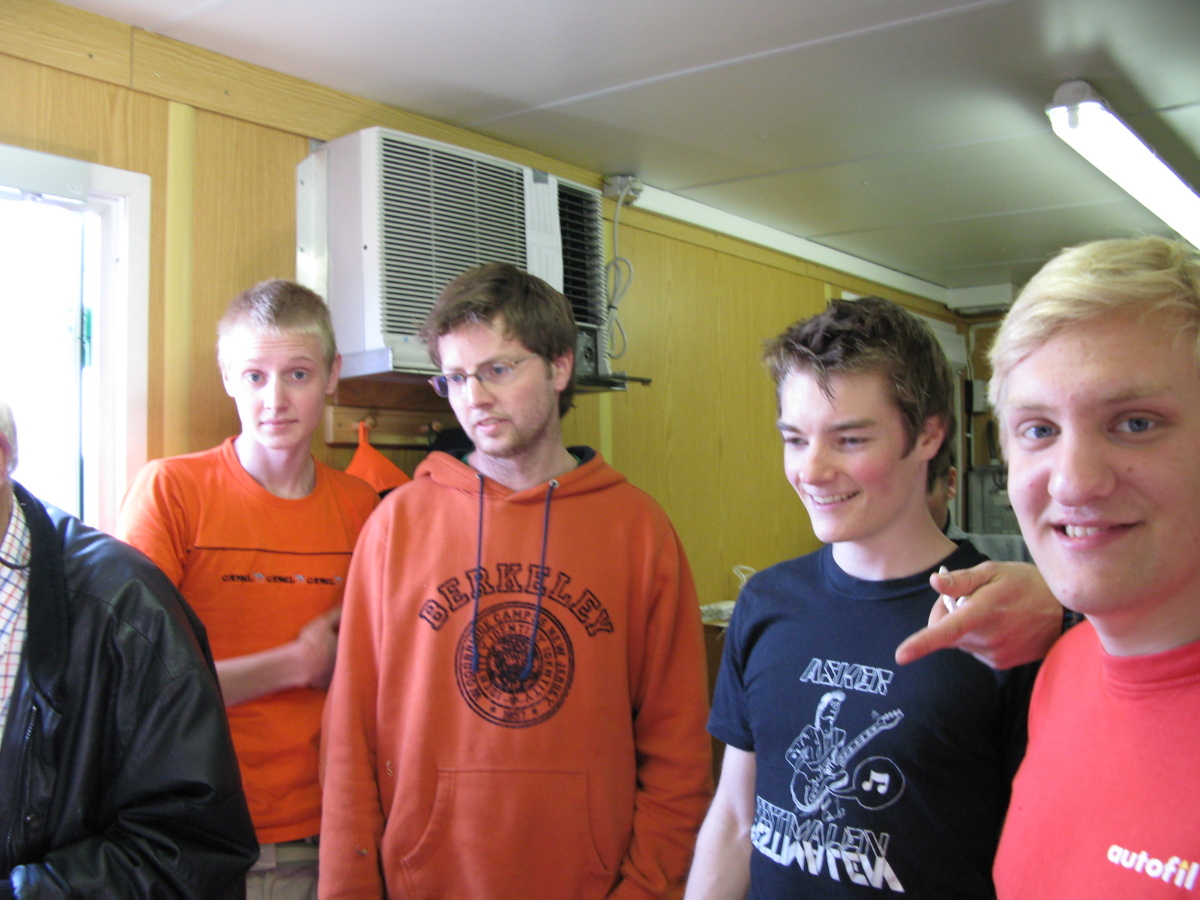


EOS1 when finished


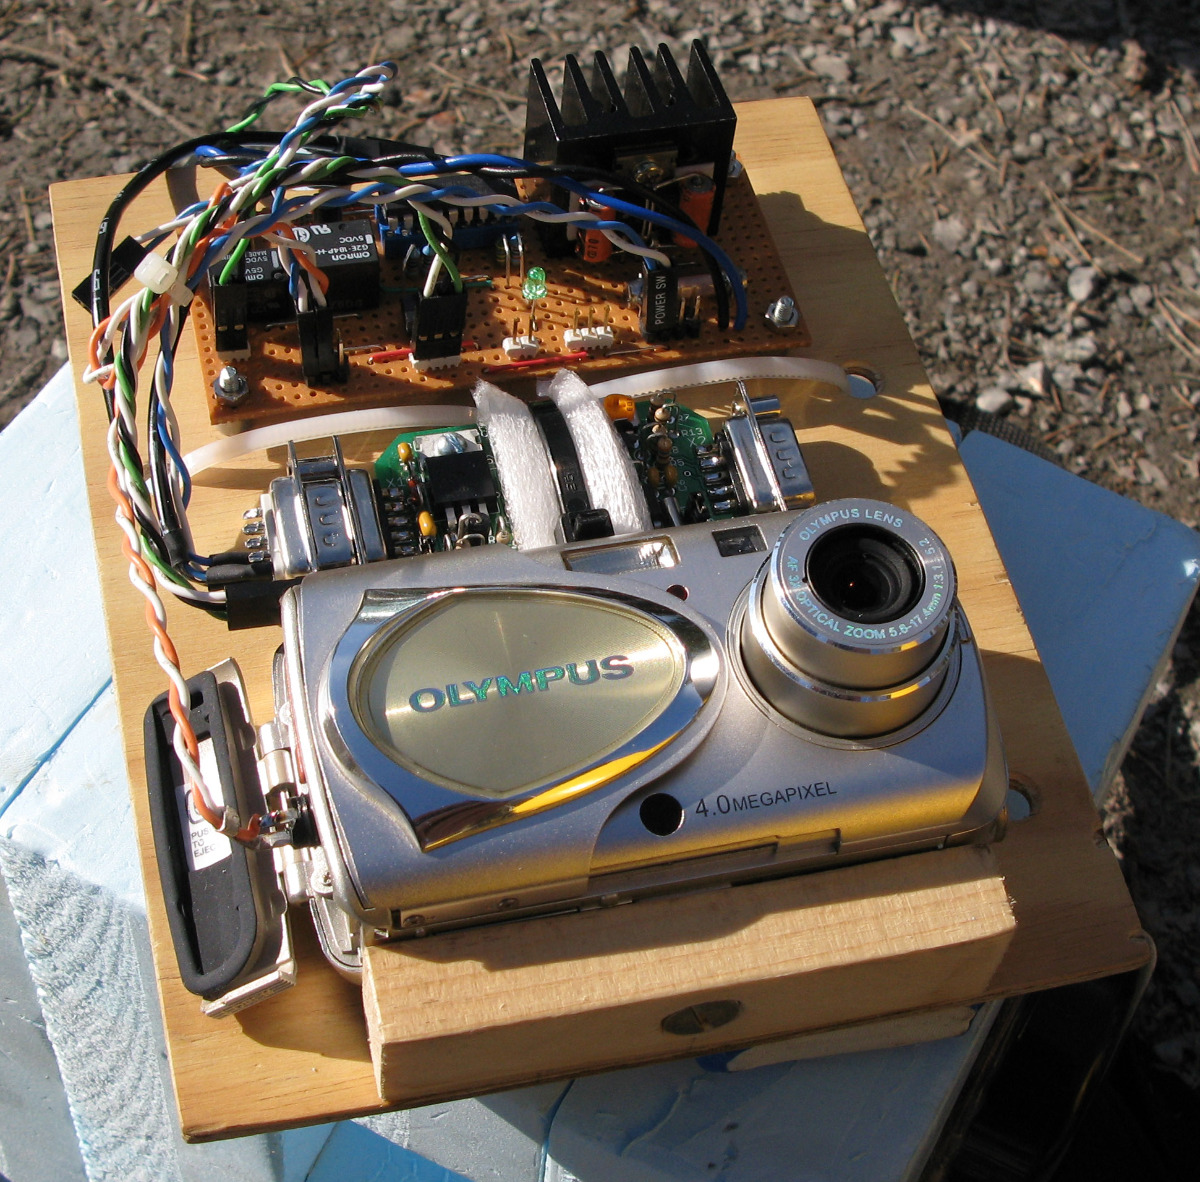
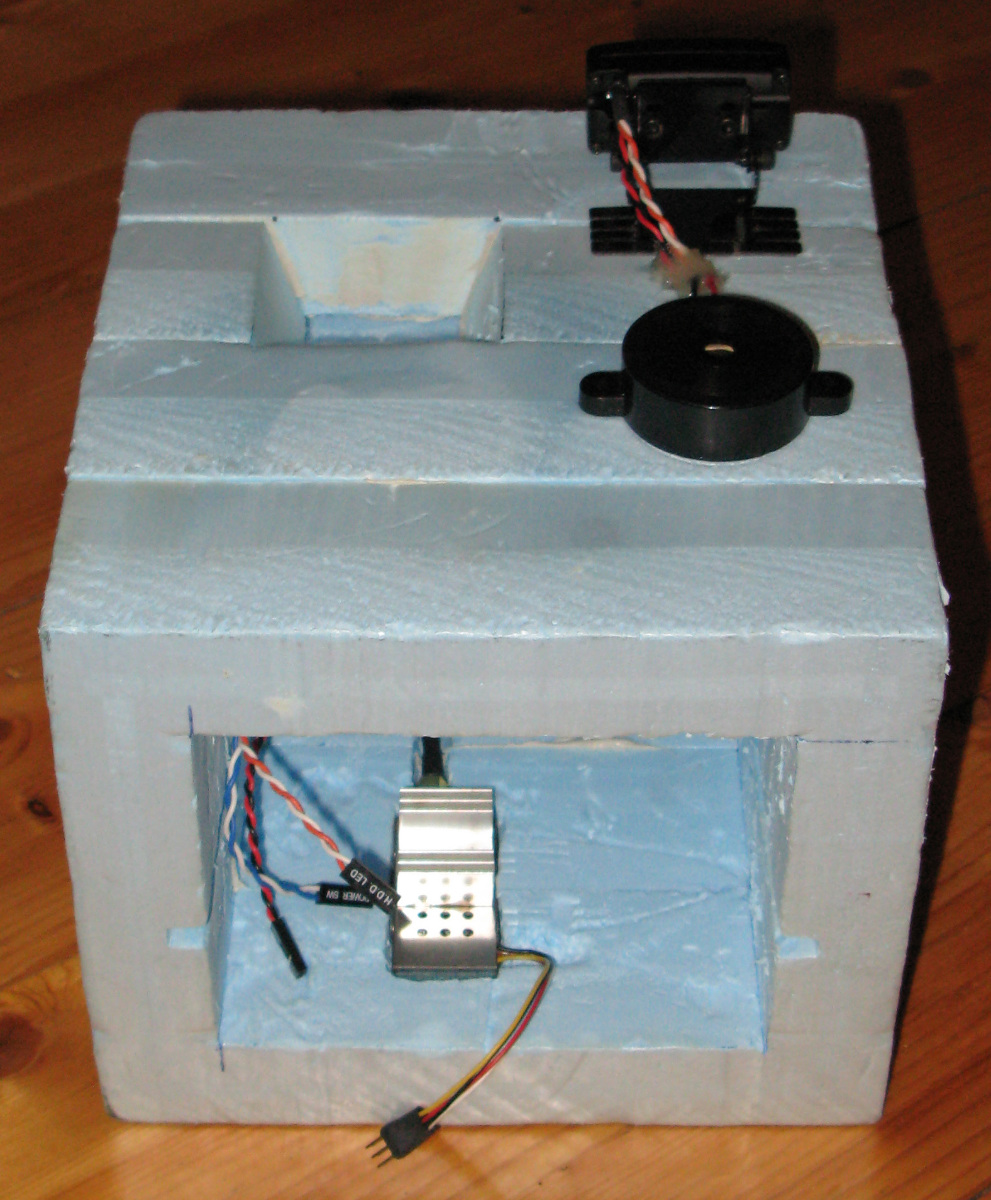
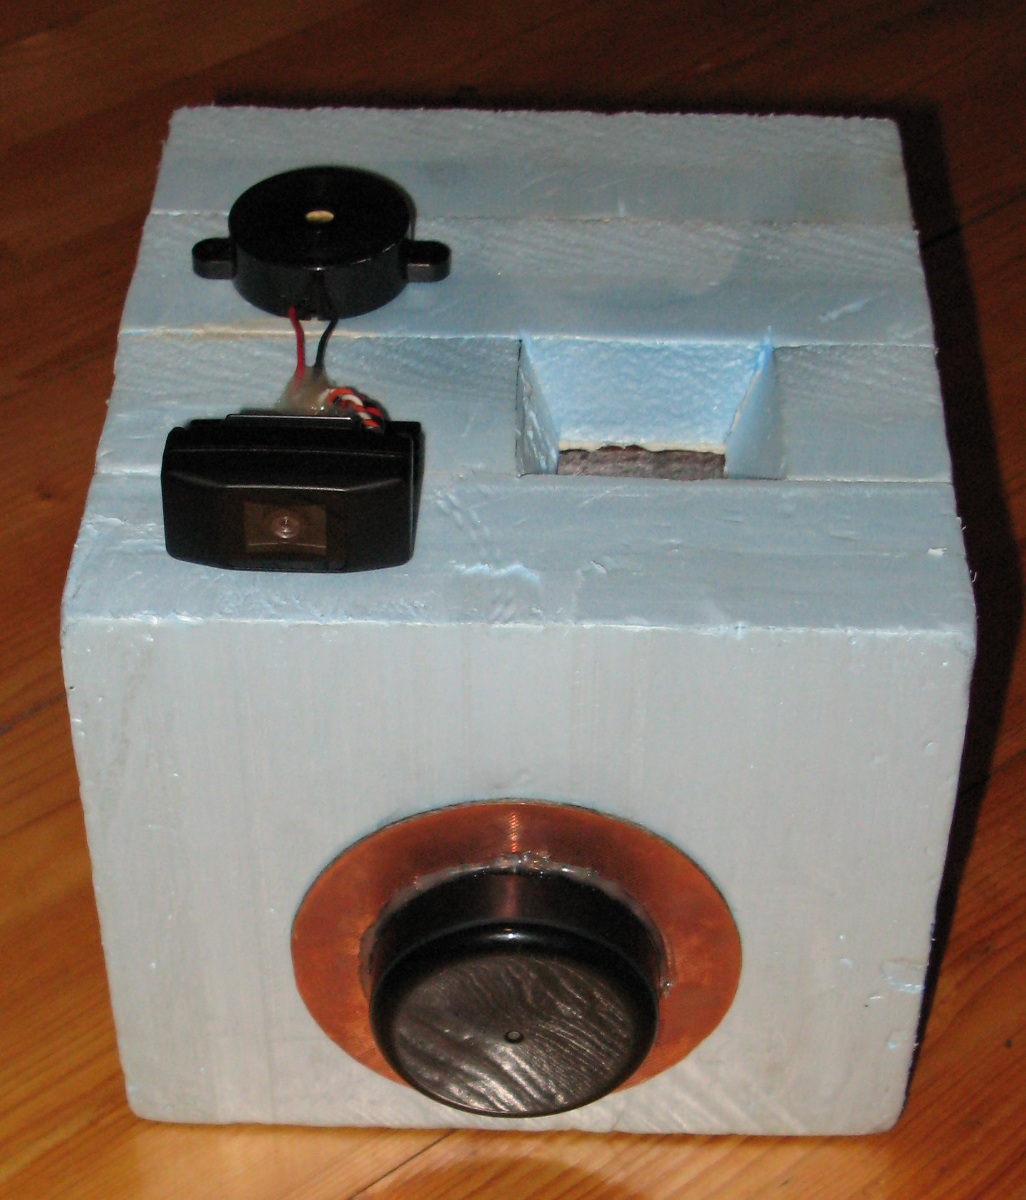


Some of the components


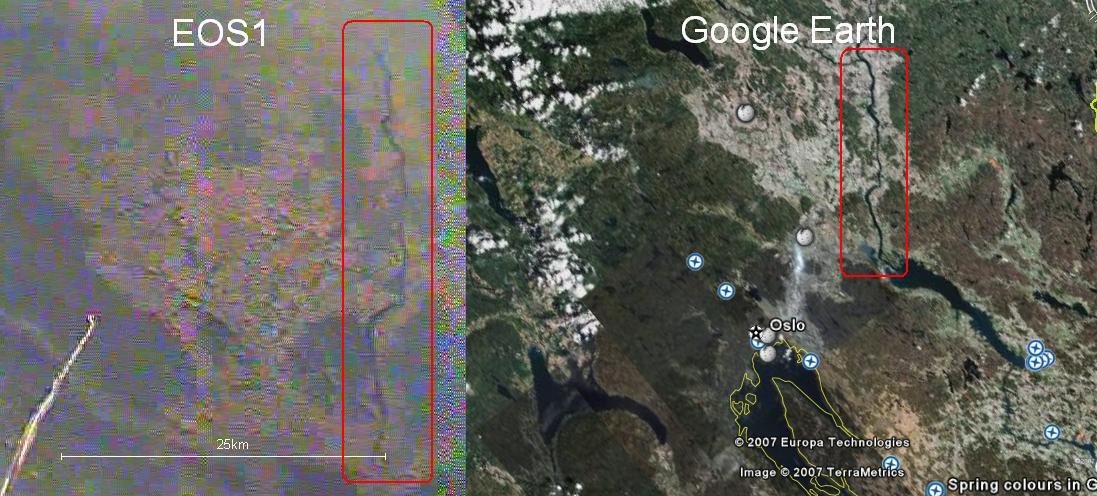
EOS1 vs. Google Earth


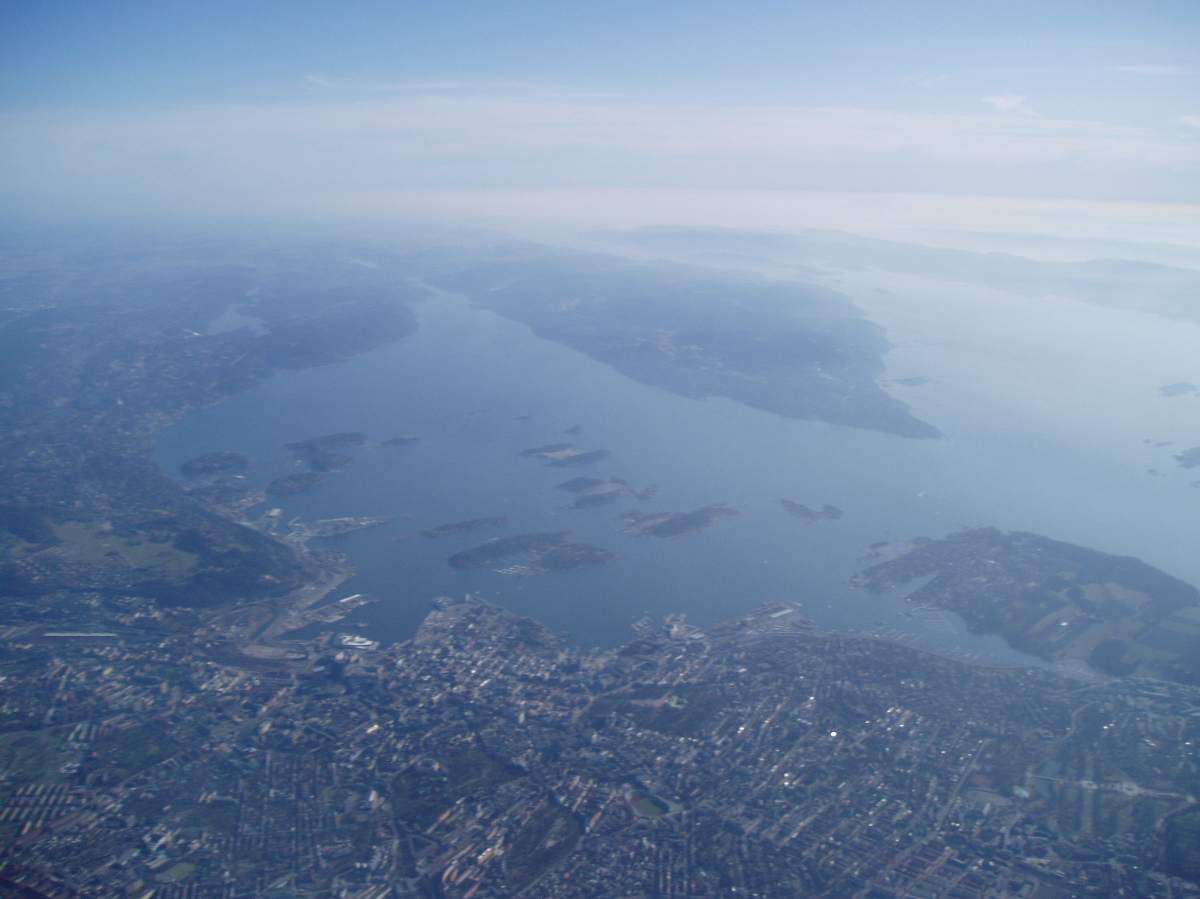
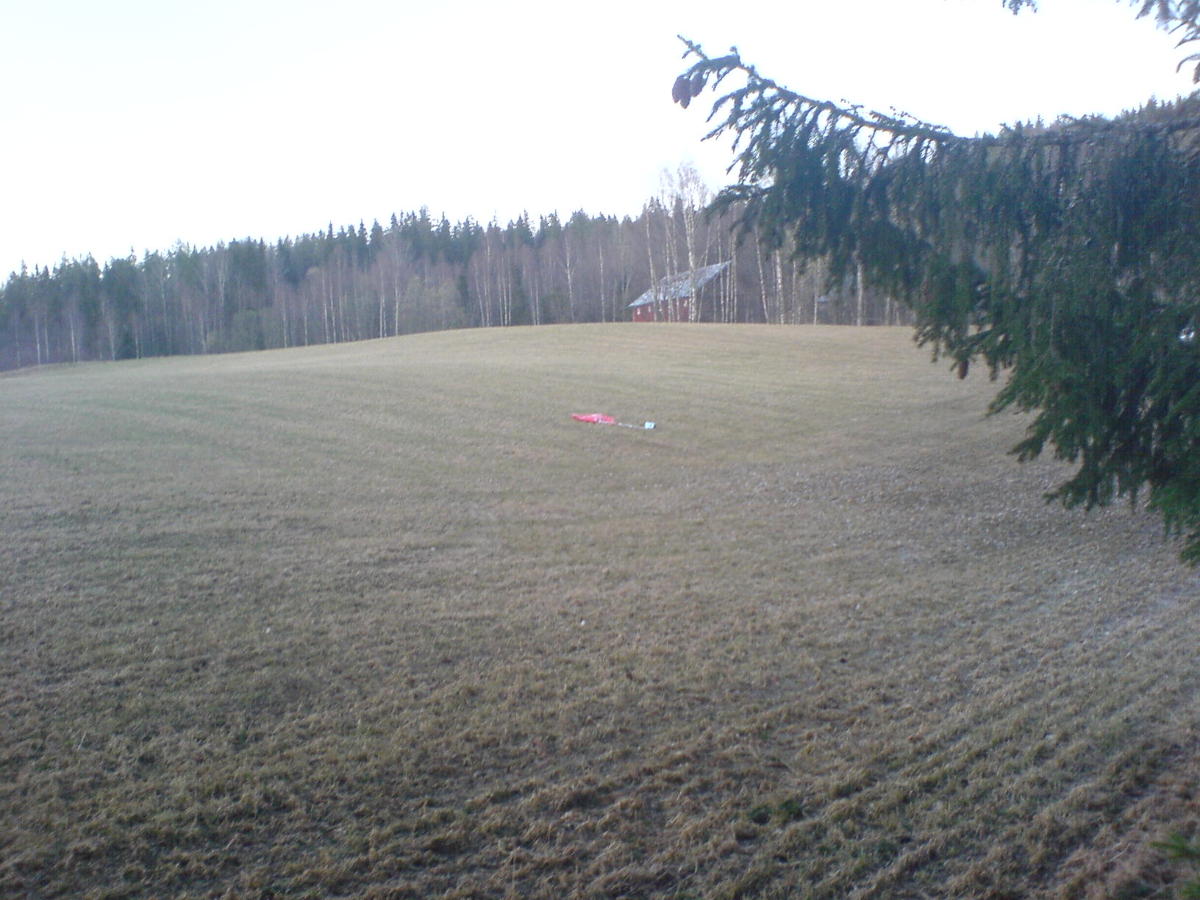
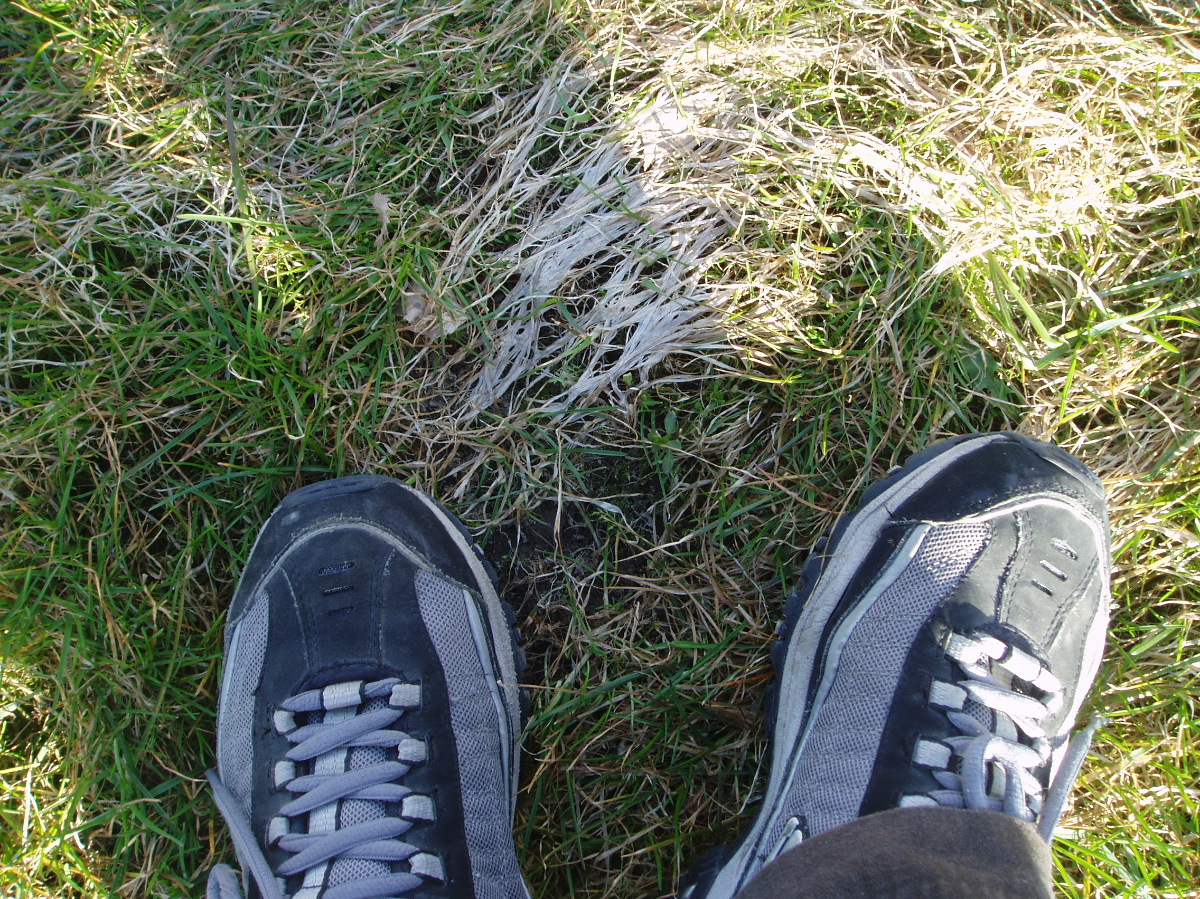
Landing spot