
Spaceship simulator

|
SummaryA "playful" approach at a spaceship simulator (for my daughter). Built around a modular dashboard with a lot of buttons, blinking lights and more. Software running on a Raspberry Pi, written in Python using the Pygame framework. |
Introduction
I've always wanted to build some sort of spaceship simulator, although I wasn't really sure where I was going with this project. I only knew that I wanted a cool instrument panel that can be fun for kids to play with, and plenty of audiovisual feedback. It is by no means meant to be a serious and/or physically correct simulator.Part 1: The instrument panel
- Uses a 3U subrack form factor for modularity
- Drawn in QCad and machined on my Shapeoko 3 in 2.5 mm aluminium
- Meant to look like old school 70's sci-fi instrument panels
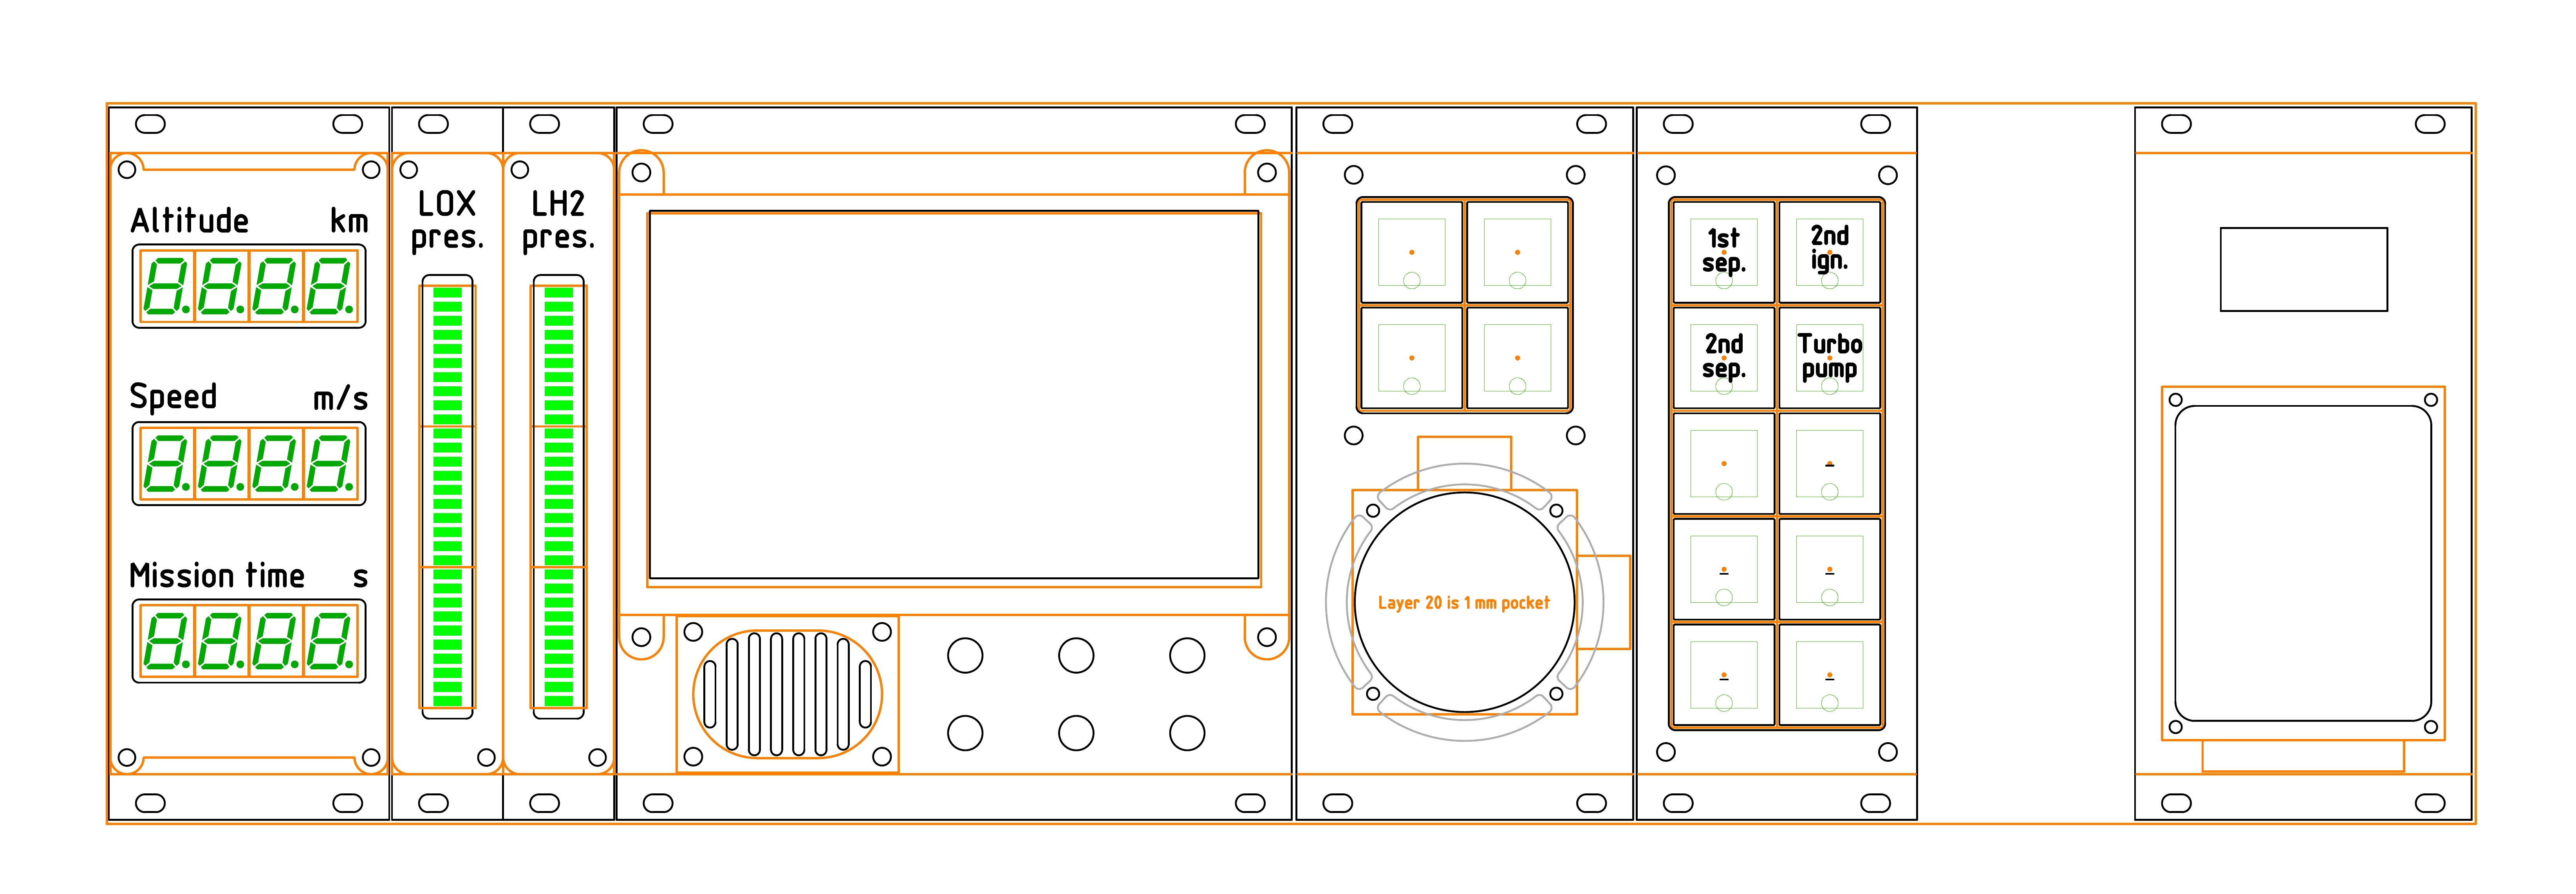
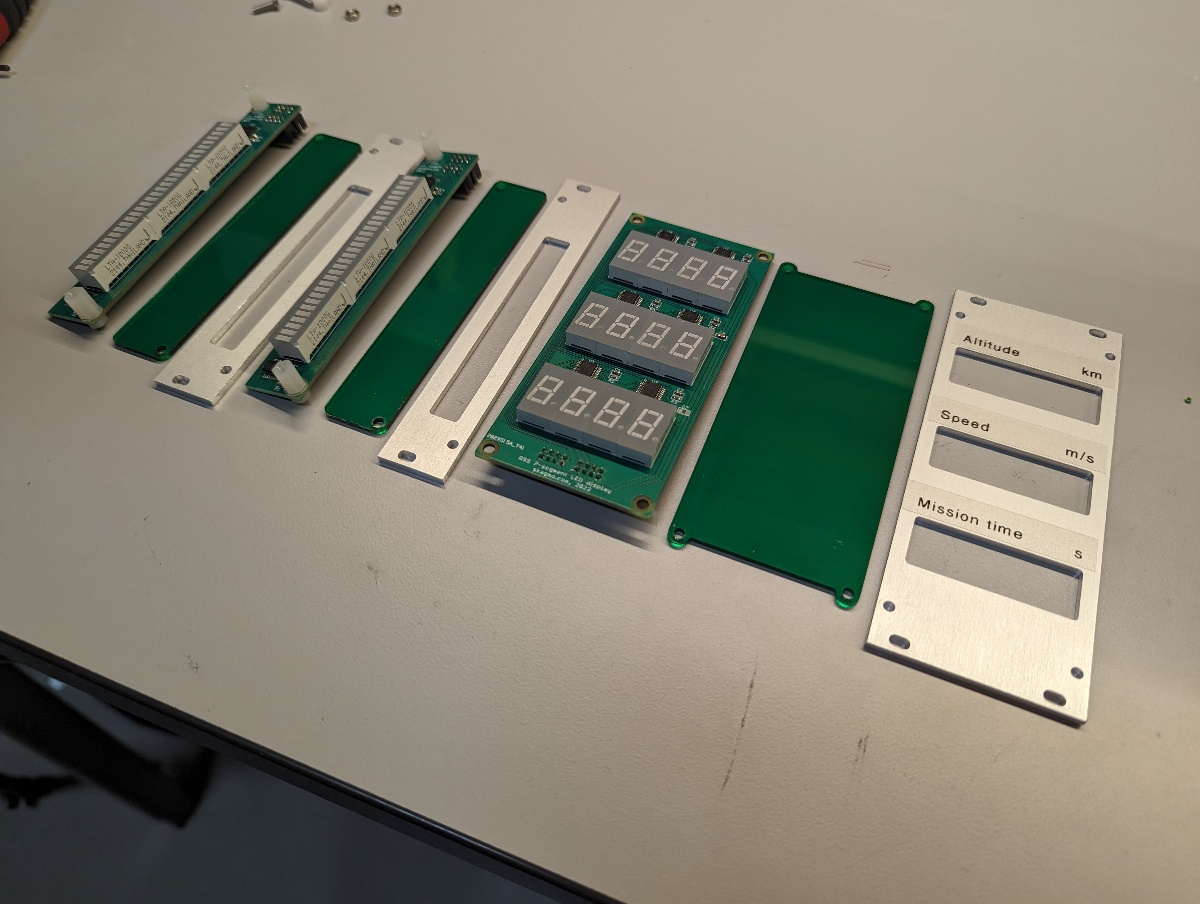
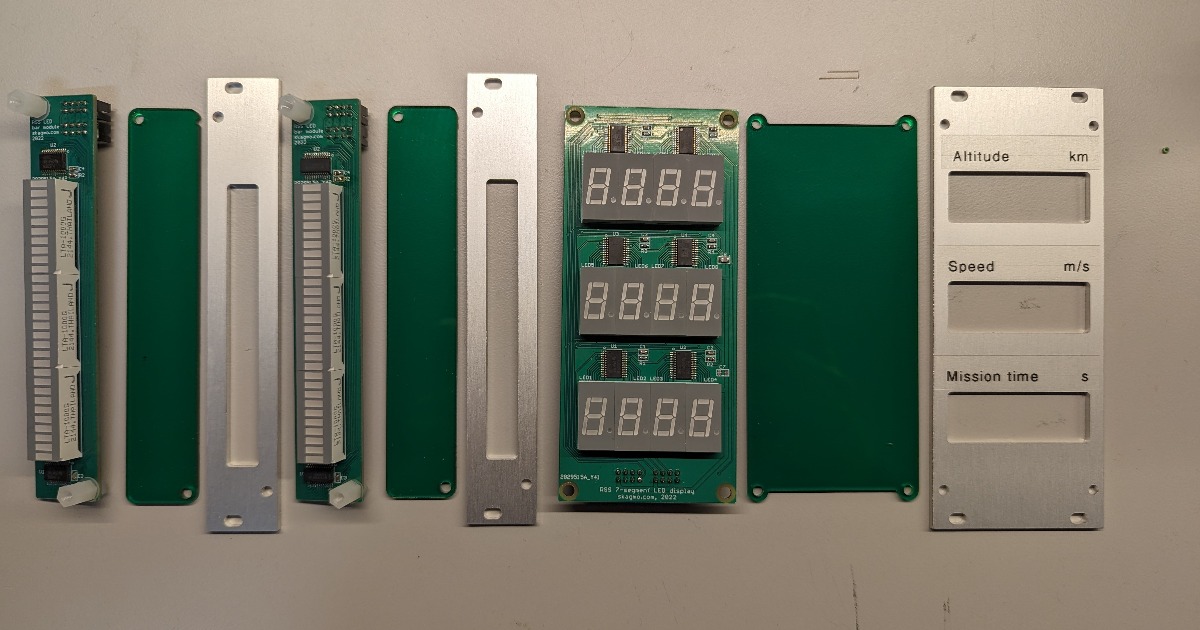
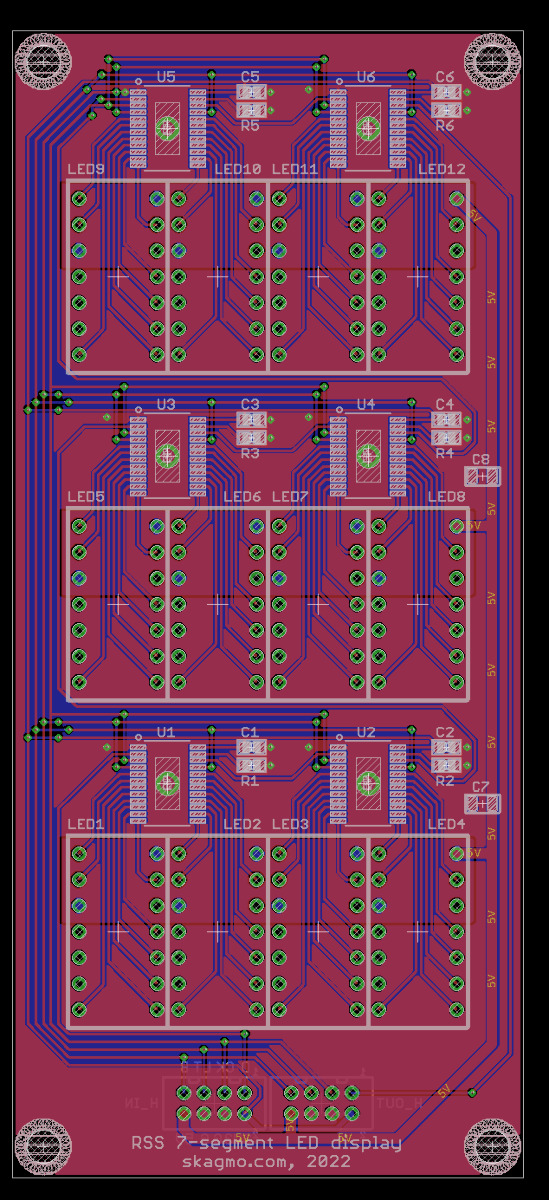
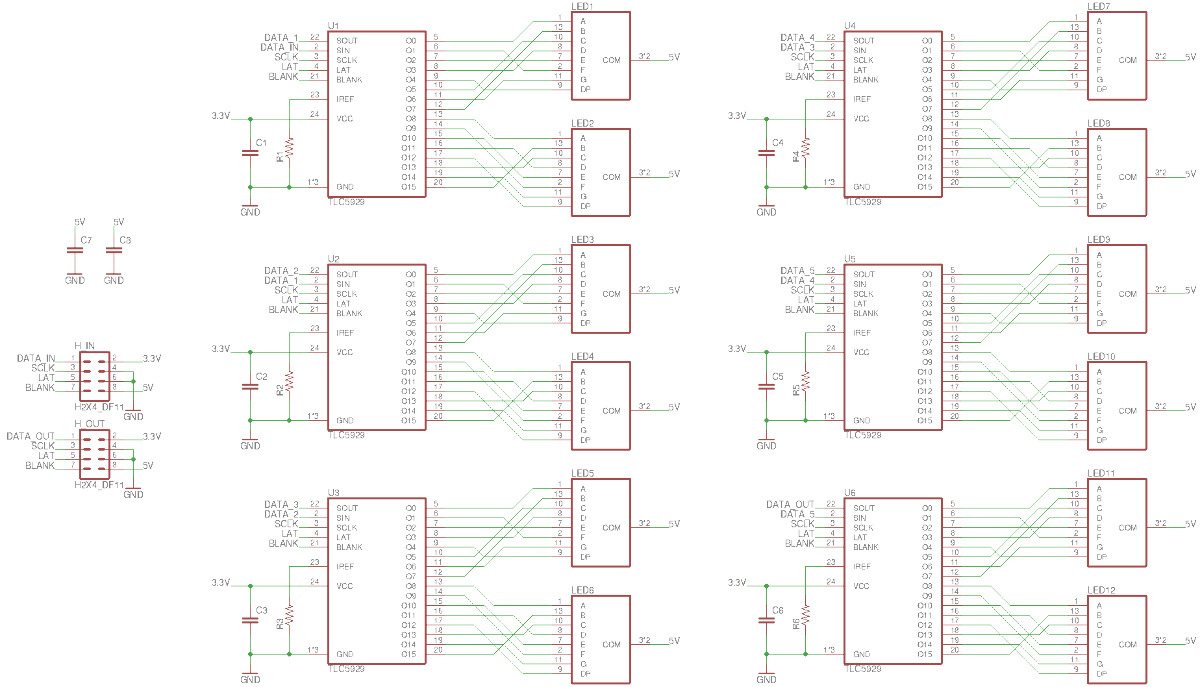
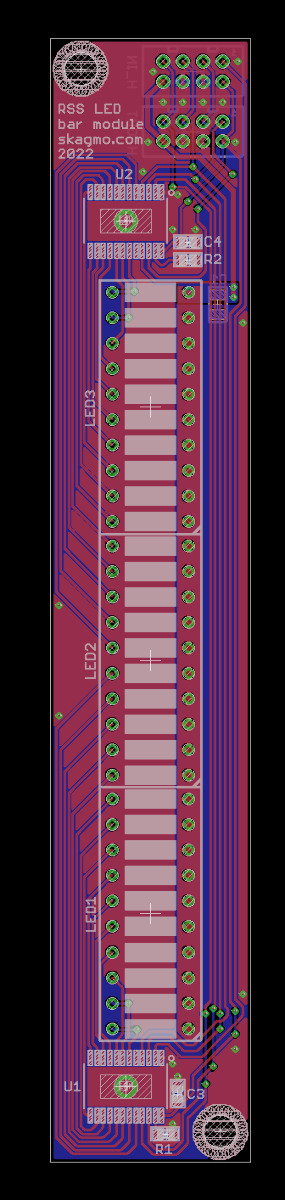
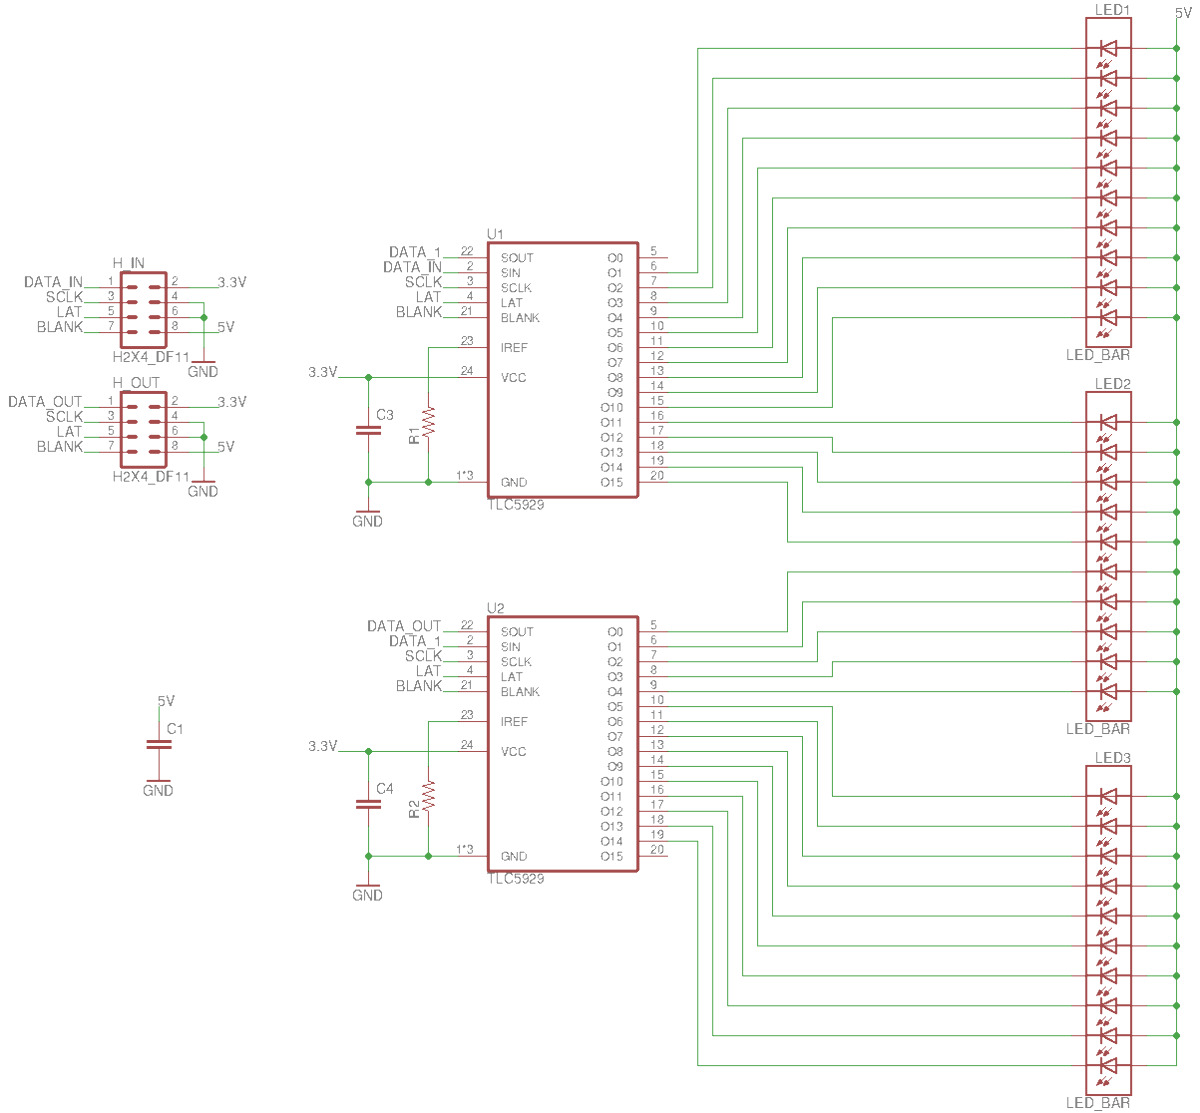
LED panels
The seven segment and bar LED displays use the Texas Instruments TLC59281, which is basically a 16 bit shift register (serial in, parallel out), with constant current LED drivers on the outputs. It's a simple all-in-one IC to drive LED signs and similar.Despite the large number of individual signals I decided to go in this direction of having a dedicated driver per LED, and not use a scanned matrix divided into rows/columns. The reason is that I can't stand the flicker and reduced brightness of scanned LEDs. Even with a very high scan rate, you'll be able to see the flickering with a camera. Having constant current drive for every LED looks super smooth.
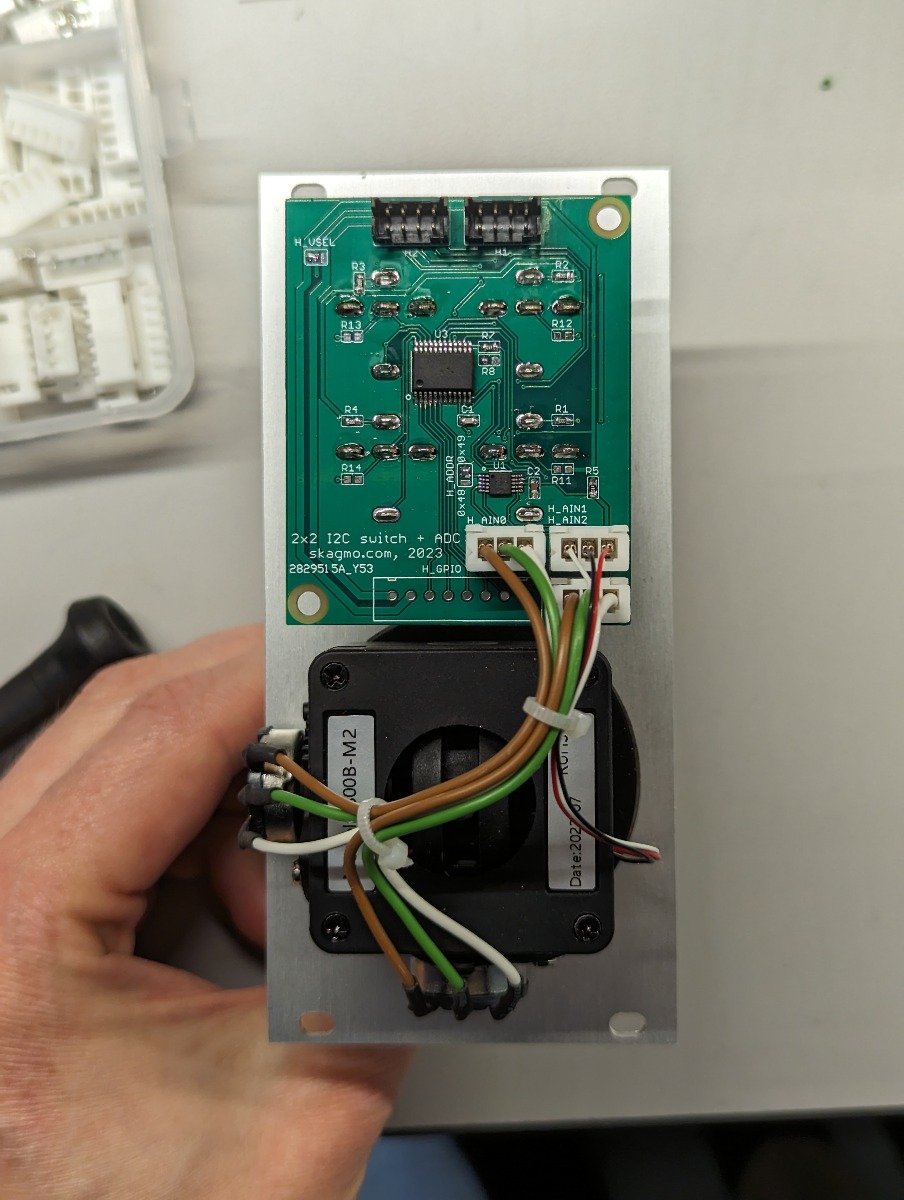
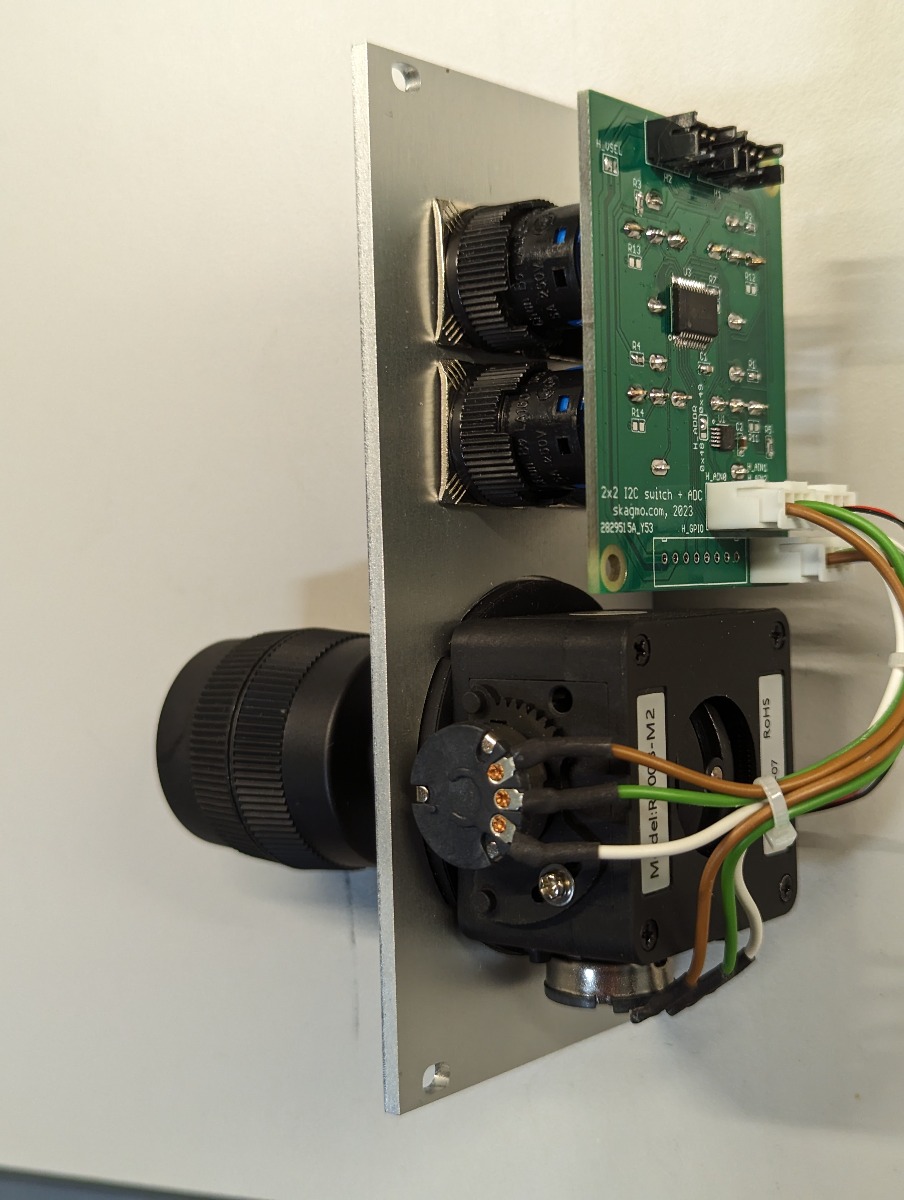
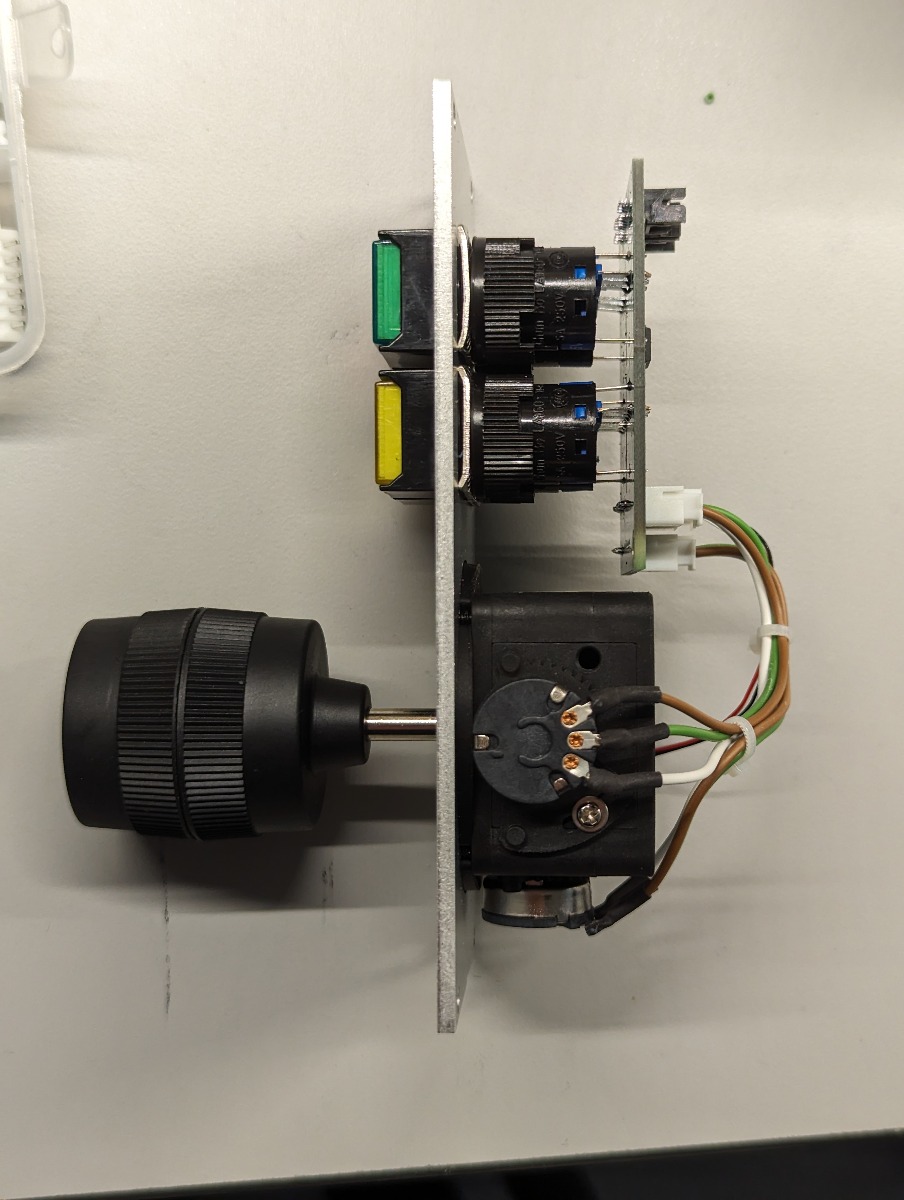
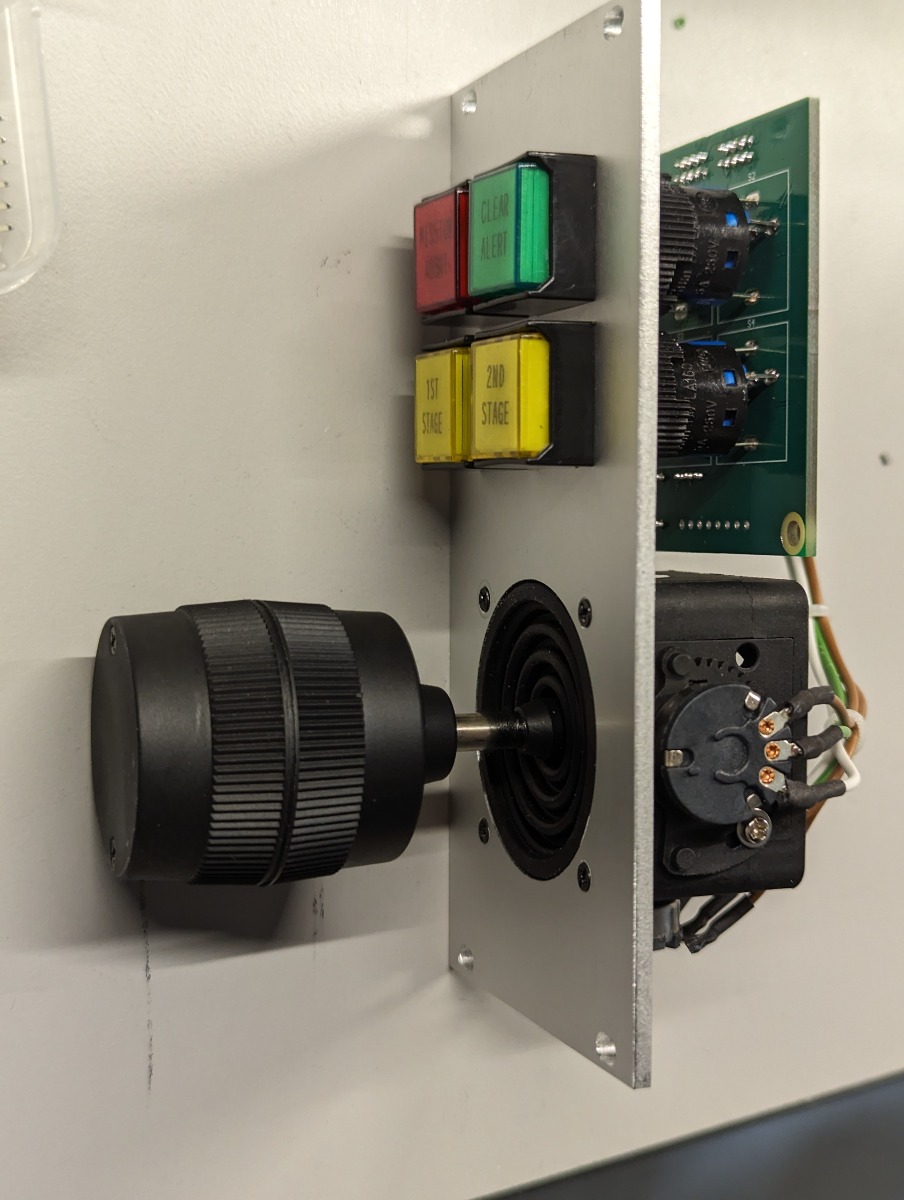
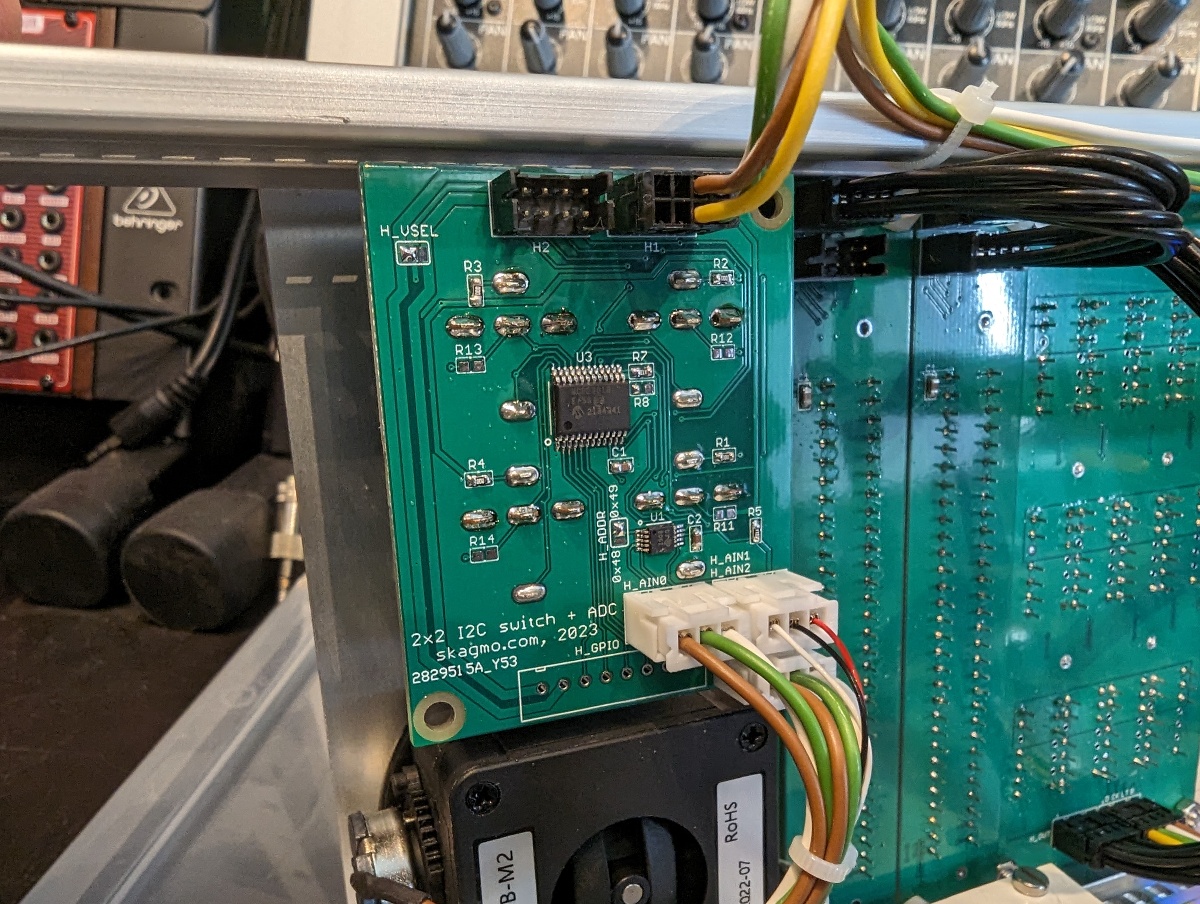
Button and joystick panel
- Uses an I2C port expander (Microchip MCP23018) to read button states and drive LEDs
- Uses an ADS1115 I2C ADC to sample the three axes of the joystick
Software
- Written in Python
- Written drivers for the TLC59281, MCP23018 and ADS1115
- Mapped all segments and provided a class for the displays to easily add more displays and e.g. easily display a decimal number on a section of a display.
- Using PyGame to play back audio, handle timing/fixed frame rate etc.